La Crosse Technology TX3U User Manual
Tx3u remote control sender instruction manual
TX3U
Remote Control Sender
Instruction Manual
Contents
Language
Page
English
2
Français
29
Spanish
60
GB
P.2
R
FCC DISCLAIMER
This device complies with part 15 of the FCC rules. Operation is subject to
the following two conditions:
(1) This device may not cause harmful interference.
(2) This device must accept any interference received, including interference
that may cause undesired operation.
GB
P.3
GB
P.4
GB
P.5
GB
P.6
GB
P.7
REMOTE CONTROL
SENDER
433MHz
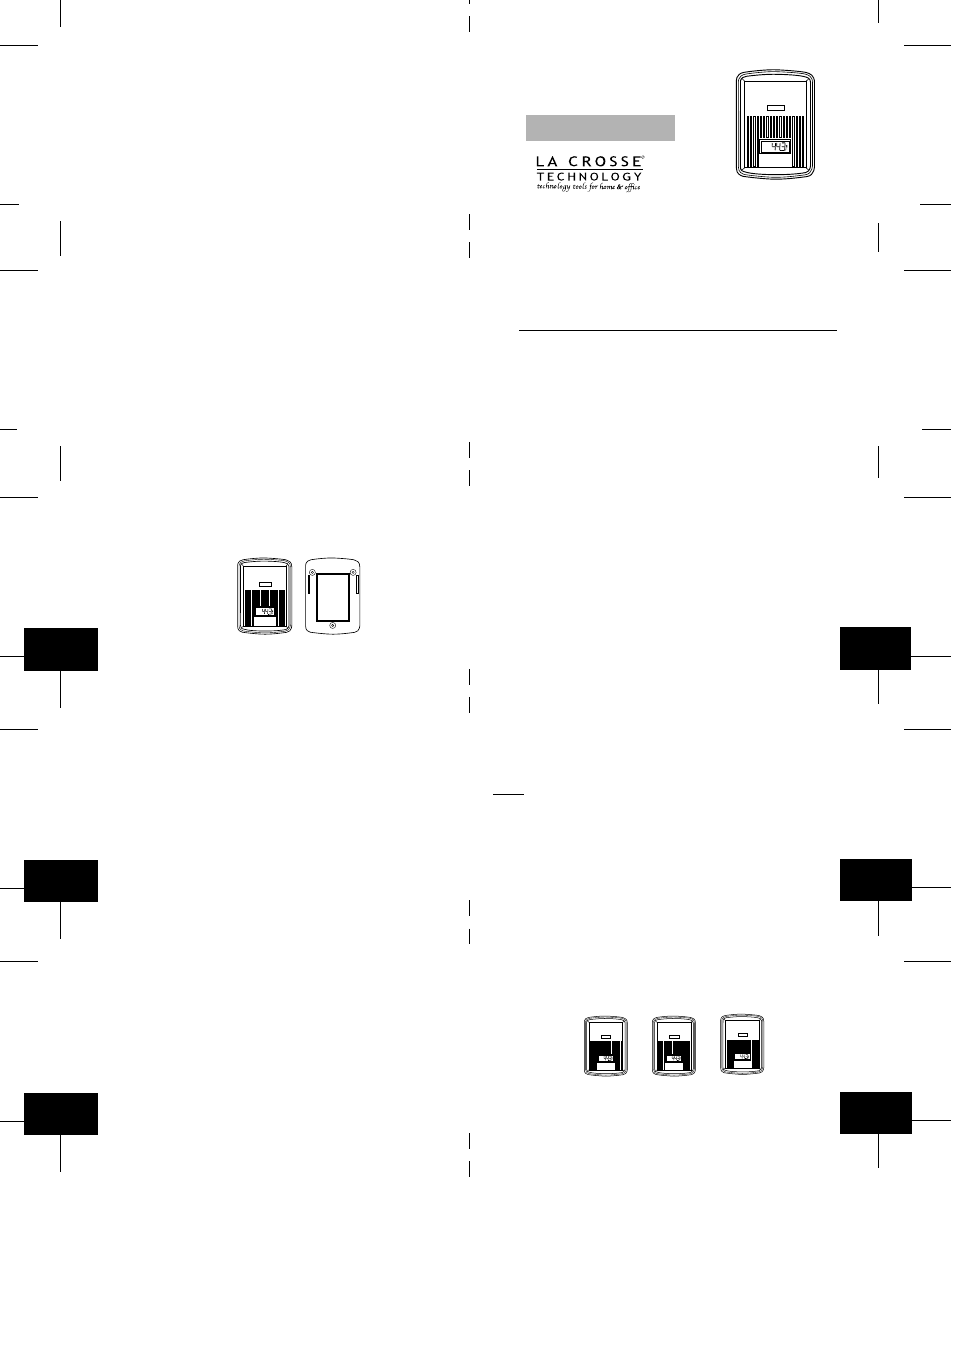
TX3U REMOTE CONTROL SENDER
The TX3 Remote control sender measures the outdoor temperature and
transmits the data to the Indoor Temperature Station.
INVENTORY OF CONTENTS
1. The Remote Control Sender (RCS).
2. The Mounting Bracket.
3. Three each, 1/2" Philips mounting screws.
4. One strip double sided adhesive tape.
5. Instruction manual and warranty return card.
ADDITIONAL EQUIPMENT (not included)
1. One Philips screwdriver.
2. One Flat screwdriver.
3. Two fresh AAA 1.5V batteries.
I. SETTING UP
Before you begin, assign a number to each RCS (i.e. #1 will be for outdoors,
#2 will be for the garden, etc.). This will help you determine which
temperature, from which Sender, you are reading on the Indoor Temperature
Station.
Note: Remove batteries from all existing units in operation-including RCS
units and Indoor Temperature Stations. When setting up multiple units it is
important to insert batteries first into all the RCS’s, and in numeric sequence.
Second install batteries into the Indoor Temperature Station. Transmission
problems will arise if this is not done correctly and if the total time for setup
exceeds 6 minutes.
A. BATTERY INSTALLATION
Follow these directions when first setting up, when replacing batteries, or
for resetting purposes.
1. Remove the batteries from all existing units in operation.
2. Remove the battery covers to all RCS’s. Use the flathead screwdriver to
remove the screw located in the lower-central position of the unit. Place
the screw partially back into the hole and angle it slightly, so the threads
grab the battery cover. With the screw, pull the battery cover off.
3. Place RCS’s in sequential order.
REMOTE CONTROL
SENDER
433MHz
Remote Control Sender
Mounting Bracket
REMOTE CONTROL
SENDER
433MHz
REMOTE CONTROL
SENDER
433MHz
REMOTE CONTROL
SENDER
433MHz
#1
#2
#3