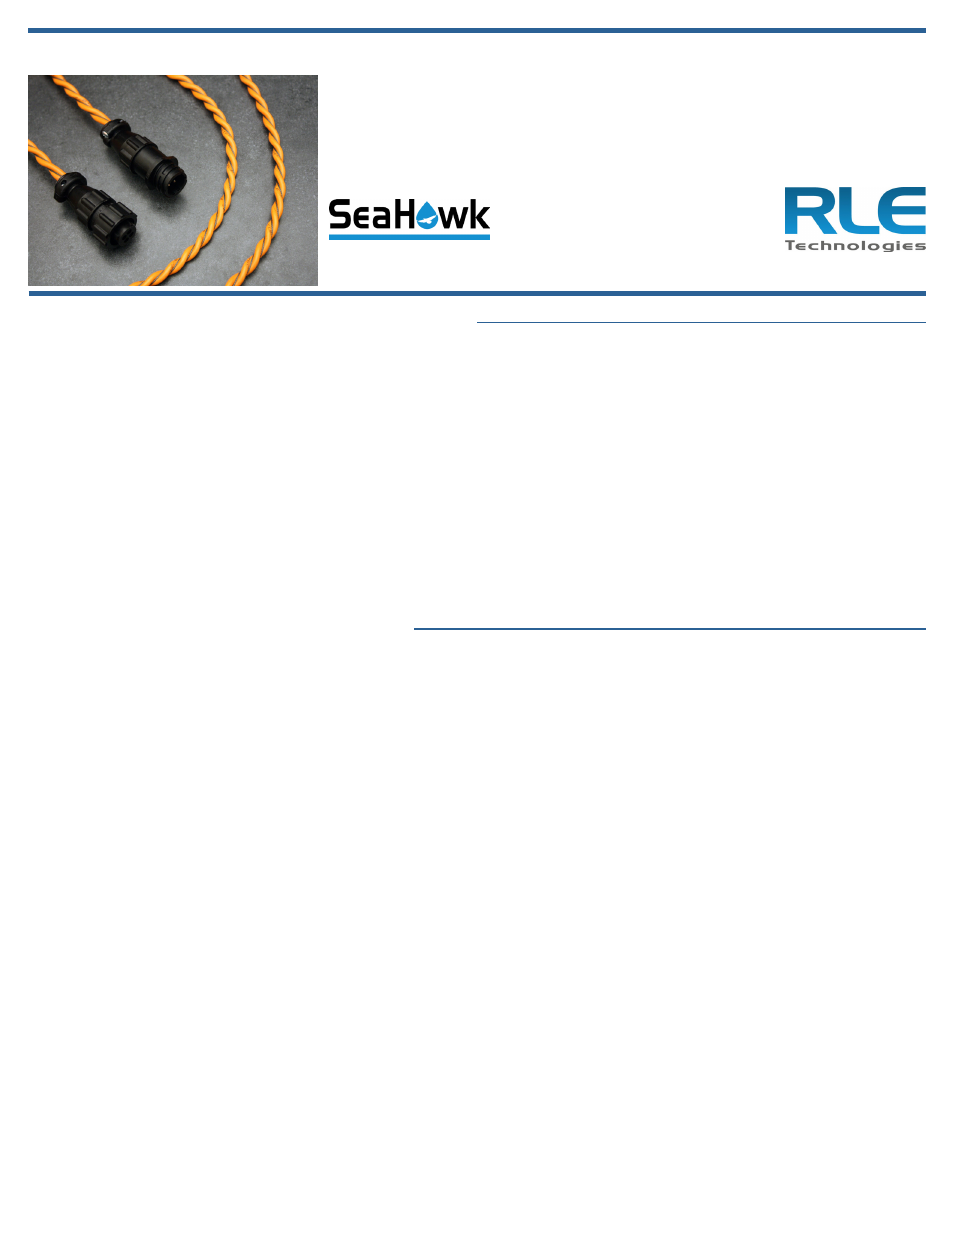
RLE SeaHawk Sensing Cable Installation User Manual
Seahawk sensing cable installation guidelines
© Raymond & Lae Engineering, Inc. 2011. All rights reserved. RLE® is a registered trademark and Seahawk™, Falcon™, and Raptor™ are trademarks of
Raymond & Lae Engineering, Inc. The products sold by Raymond & Lae Engineering, Inc. are subject to the limited warranty, limited liability, and other terms
and conditions of sale set forth at http://rletech.com/RLE-Terms-and-Conditions.html.
Test the SeaHawk Sensing Cable and Controller
Before you lay any SeaHawk sensing cable in an installation, it is wise to connect the cable to the controller and ensure proper
communications.
1. Attach the leader cable to the controller.
2. Connect the sensing cable to the leader cable.
3. Attach the end-of-line terminator to the end of the last run of sensing cable.
4. Turn on the controller and test the sensing cable. The easiest way to test the cable is to pour a 2” (5cm) puddle of
water on the floor and put a strand of sensing cable in the puddle. If you’re not able to pour a puddle of water on the
floor, wrap a clean damp cloth or paper towel around a small section of cable. Do not hold the cloth or towel with your
hand - this creates uneven pressure on the cable and can cause erratic readings on distance read controllers. Once the
cable is dampened, the controller should alarm within a reasonable time. This time may vary depending on controller
type and the alarm time frame set within the controller.
Do not saturate a section of cable - the cable will go into alarm with a very small amount of water, and if you saturate
the cable fully, it will take a longer for the cable to dry and the alarm to reset.
5. Once the cable passes the initial test, proceed to the sensing cable installation.
Install SeaHawk Sensing Cable on Floors
SeaHawk sensing cable is durable, flexible, and designed to mitigate false alarms. While installation is fairly straightforward - lay
the sensing cable according to the preconfigured layout on your map and secure the sensing cable to the floor with J-clips - keep
the following guidelines in mind to avoid complications:
• Do not install sensing cable that is damaged or dirty - while the cable is designed to mitigate false alarms, visibly dirty
cable will need to be cleaned before installation. If your sensing cable needs to be cleaned, refer to the Sensing Cable
Care and Maintenance Guide.
• Do not run sensing cable through contaminants - ie. dirty or greasy areas. The floor must be clean of contaminants for
the sensing cable to function properly and for J-clips to adhere. If necessary, clean the floor before installation.
• Avoid laying sensing cable in the direct downstream of air conditioning units - these units discharge moisture, which will
skew leak detection readings. Place the cable 4 to 6 feet (1.2 to 1.8m) away from air conditioning units to avoid false
alarms and contamination.
• Tools or heavy objects can damage sensing cable. Avoid rolling, dropping, or setting heavy items on sensing cable.
Whenever possible, install sensing cable out of the way of foot traffic.
• Use J-clips to secure the sensing cable. J-clips are nylon cable clips with a self-adhesive backing. J-clips hold sensing
cable securely in place without pinching or binding the cable, which can cause false alarms.
• J-Clips should be placed 5 to 6 feet apart throughout an installation, and 3 feet apart when cable is routed in front of
CRAC units. Because the J-clip’s adhesive backing does not work well on porous concrete floors, apply a drop of silicone
or another nonconductive adhesive to help secure the J-Clip to the floor.
• Ensure the sensing cable is installed directly on the floor, and there are no gaps between the cable and the floor. Use
additional J-clips as necessary to avoid large gaps.
SeaHawk Sensing Cable Installation Guidelines
Thank you for purchasing SeaHawk sensing cable. This guide outlines sensing cable
installation.
If you need further assistance, please contact RLE Technologies via our website -
http://www.rletech.com/ or call us at 800-518-1519, Option 2.
v2.0
(10/2012)