Sea Eagle Rowing Frame / Sliding Seat for PaddleSki User Manual
Sea Eagle Hardware
Installation of Rowing Frame
& Sliding Seat for PaddleSki
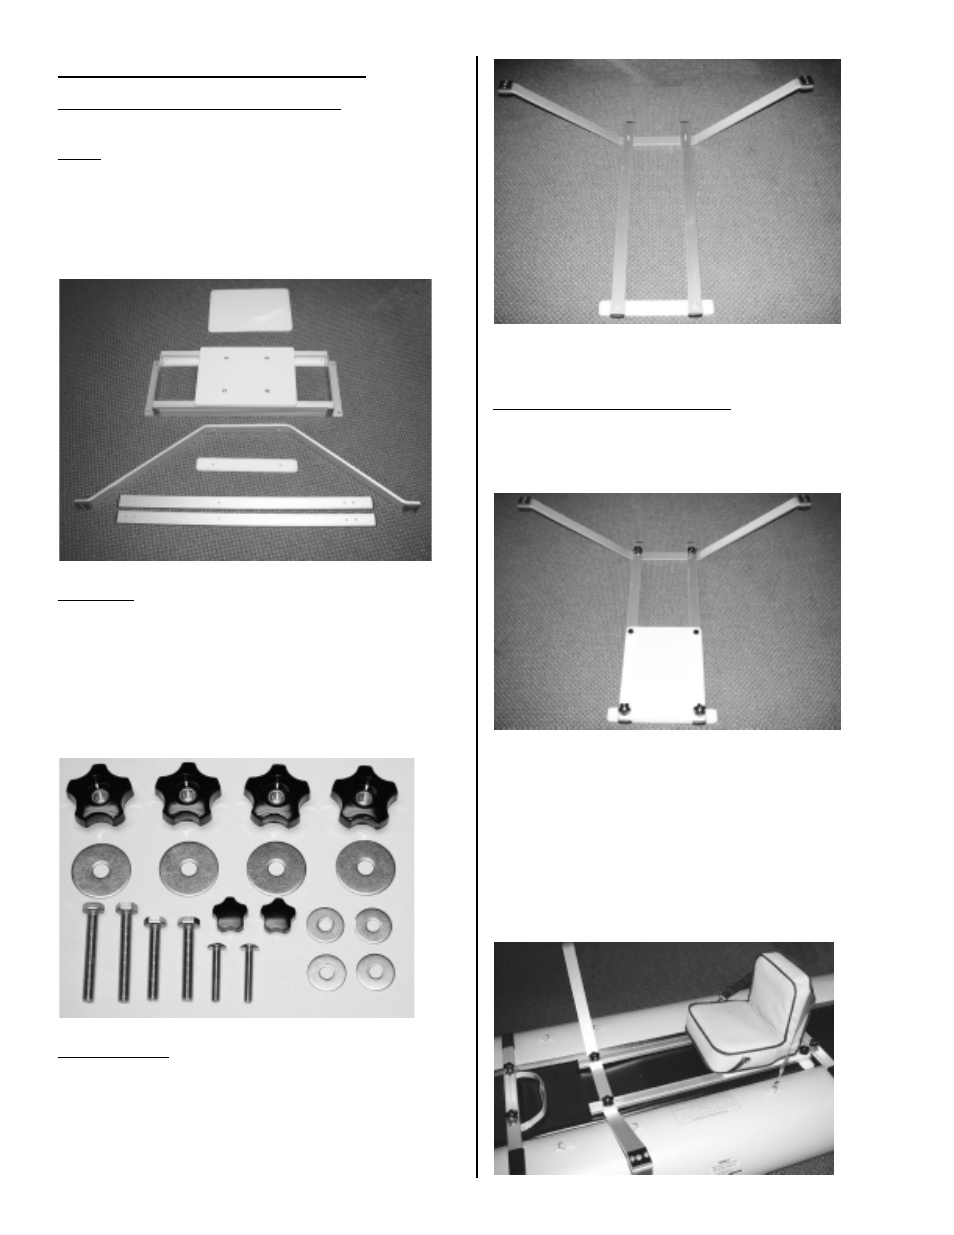
Parts:
(1) Predrilled Plastic board for Rowing Frame
(2) Sliding Seat with cushion (not shown)
(3) Rowing Arm
(4) Pre-drilled Plastic Strip
(5) 2 Predrilled Aluminum bars
Hardware:
(a) 4 large knurled nuts
(b) 4 large washers
(c) 4 small washers
(d) 2 hex head bolts 2-1/2”
(e) 2 hex head bolts 2”
(f) 2 Phillips head bolts 1-1/2”
(g) 2 small knurled nuts
Pre-Assembly:
Lay the two aluminum bars parallel to each other. Place the
rowing arm and the plastic strip under the parallel aluminum
bars and insert the hex head bolts (d) & (e) as shown. Shorter
1-1/2” bolts are used for the rowing arm. Use 2 small washers
(c) for inserting the large hex head bolts through the plastic strip.
(a)
(b)
(g)
(d)
(e)
(f)
(c)
1
2
3
4
5
The above pre-assembled frame can be used for Rowing Frame
or Sliding Seat configurations as below:
A) Rowing Frame Configuration
Place the predrilled plastic board on the assembled frame as
shown below. Now secure the whole Rowing Frame with 4 large
knurled nuts (a), 4 large washers (b), 2 Phillips head bolts (f),
2 small washers (c) and 2 small knurled nuts (g) as shown.
Now place assembled the rowing frame on your paddleski
between the middle and the aft yoke. The rowing arm should
lie towards the stern of the paddleski. The rowing frame
should touch the middle yoke to prevent movement of the
frame during rowing. Place a DKS Seat over the board for
comfort and secure it to the d-rings on the boat. If your
PaddleSki did not come with a DKS seat, you may use a Boat
Cushion (not included) or any other seat cushion for comfort.
Loop the included foot strap around the bolts of the aft yoke
to lock your feet while rowing. Fully assembled rowing frame
looks like this.