Airmar NMEA 0183 User Manual
Installation instructions, Splitter, Nmea 0183
Follow the safety precautions below to reduce
the risk of poor product performance, property
damage, personal injury, and/or death.
WARNING: Always wear safety goggles and a dust
mask when installing.
WARNING: The power supply must be OFF before
proceeding with the installation.
WARNING: A safe installation requires a 0.5 amp fast-
blow fuse or circuit breaker. Except WeatherStation
models with a heater require a 3 amp fast-blow fuse or
circuit breaker.
WARNING: The power source must be isolated from
the engine start battery(s). Voltage drops may cause
the instrument/receiver/sensor to lose information
and/or change operating mode.
IMPORTANT: Please read the instructions completely
before proceeding with the installation. These
instructions supersede any other instructions in your
instrument manual if they differ.
Tools & Materials
Safety goggles
Dust mask
Pencil
Electric drill
Drill bit: 3mm or 1/8"
Grommets (some installations)
Cutting pliers
Phillips screwdrivers
Wire strippers
Heat-shrink tubing
Heat gun
Slip-joint pliers
Multimeter
Cable Routing & Connecting Guidelines
CAUTION: To reduce electrical interference from other electrical
wiring and any on-board equipment with strong magnetic fields such
as radar equipment, radio transmitters, engines, generators, etc.,
separate the cables by at least 1m (3'). Ensure that all the cable
shields are appropriately grounded.
CAUTION: Be careful not to tear the cable jackets when passing
them through compartments, bulkheads, or walls. Use grommets
to prevent chaffing.
CAUTION: Use a multimeter to check the polarity and the
connections to the power supply before applying power to the
instrument/receiver/sensor.
Installation
Mounting Location & Hole Drilling
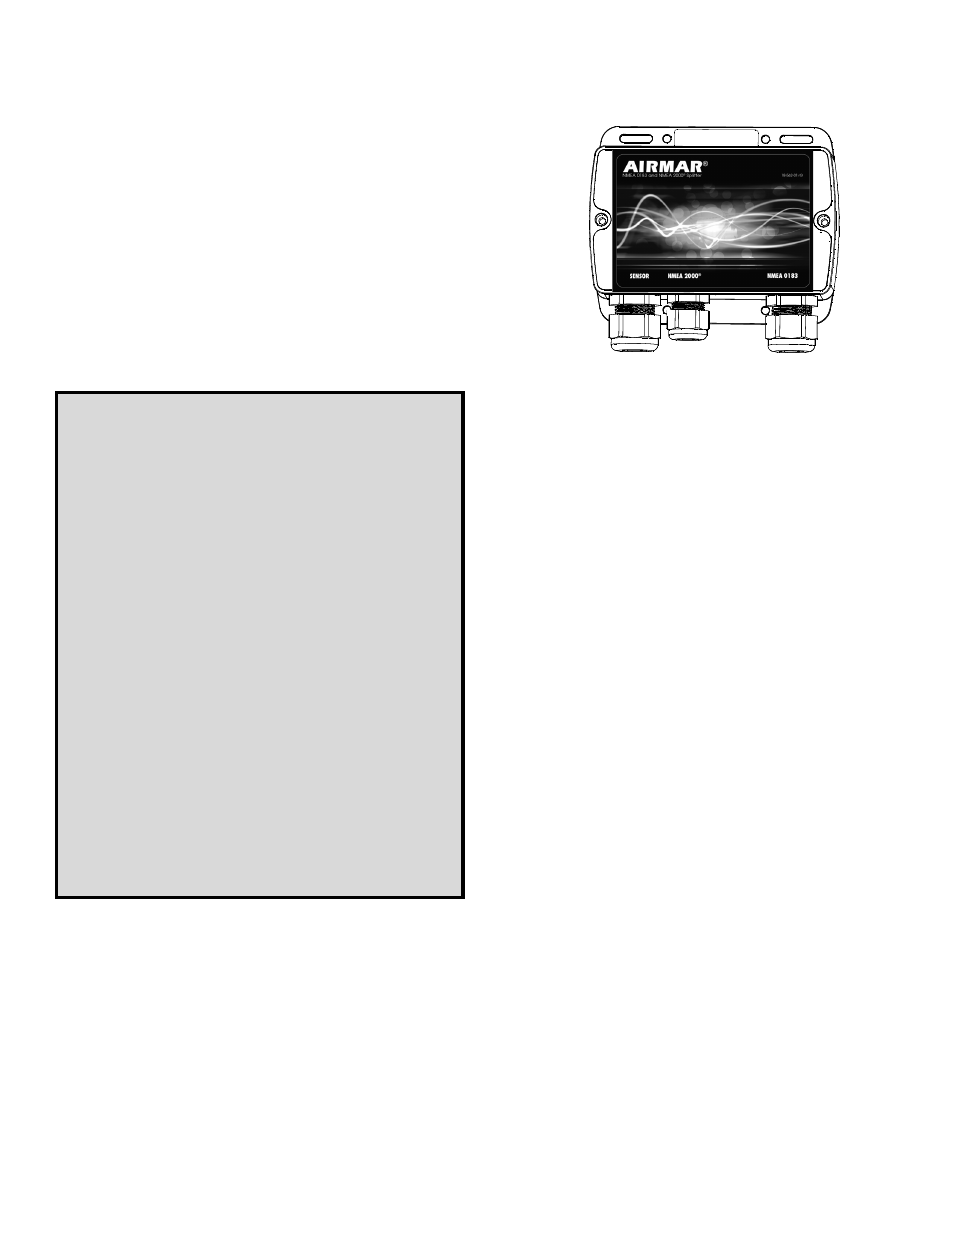
1. Select a convenient dry location for the water-resistant Splitter, a
minimum of 1m (3') from other cables and electronic equipment.
2. Hold the Splitter at the selected location and mark the position
of the four screw holes.
NOTE: If the Splitter will be mounted on a vertical surface, face
the compression nuts downward to avoid any possibility of
water seeping into the box.
3. At the marked locations, drill 3mm or 1/8" holes to a depth of
10mm (3/8"). Do not fasten the Splitter in place at this time.
INSTALLATION INSTRUCTIONS
NMEA 0183
and
NMEA 2000
®
Splitter
For WeatherStation
®
Instrument
GPS Receiver
Heading Sensor
17
-4
94
-0
2 r
ev
.03
02
/2
7/
13
Applications
The Splitter allows the data from the instrument/receiver/sensor
to be shown simultaneously on both an NMEA 0183 device and
an NMEA 2000 networked instrument.