Airmar External Diplexer User Manual
Installation instructions, External diplexer, Tools & materials
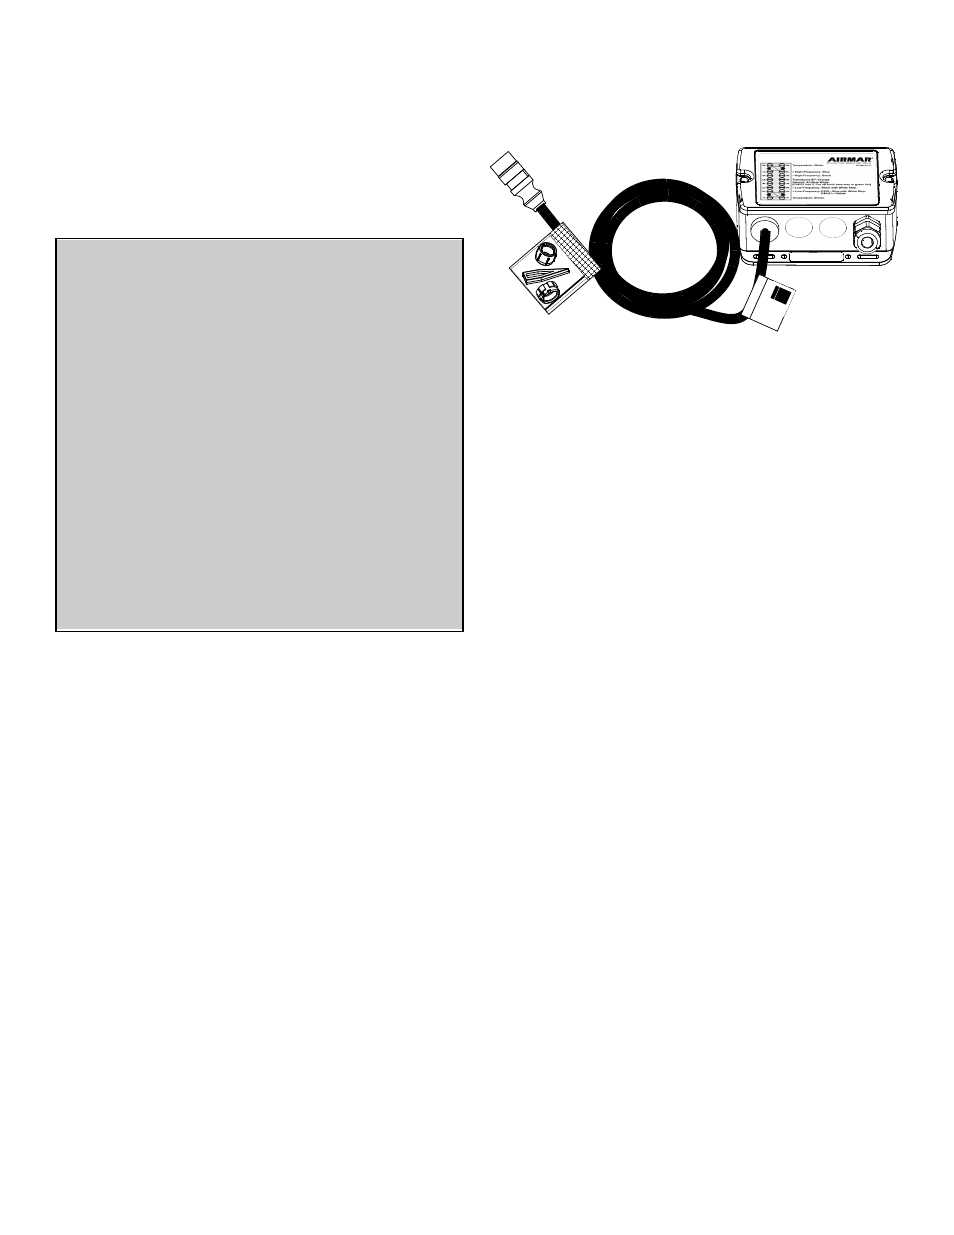
Tools & Materials
Safety goggles
Dust mask
Pencil
Electric drill
Drill bit 3mm or 1/8"
Grommets (some installations)
Deck gland (some installations)
Phillips screwdrivers
Heat-shrink tubing
Slip-joint pliers
Petroleum jelly (such as Vaseline® brand)
Cable ties
Where to Purchase Parts
Gemeco (USA)
Tel:
803.693.0777
Fax:
803.693.0477
email:
Airmar EMEA
Tel:
+33.(0)2.23.52.06.48
(Europe, Middle East, Africa) Fax:
+33.(0)2.23.52.06.49
email:
Applications
•
Converts a dual transmission-line transducer to a single
transmission-line.
•
For use with 1 kW echosounders only
Installation
Mounting Location & Hole Drilling
1. Select a convenient, dry, mounting location for the water-
resistant Diplexer, a minimum of 1m (3') from other cables and
electronic equipment.
2. Hold the Diplexer at the selected location and mark the position
of the four screw holes.
NOTE: If the Diplexer will be mounted on a vertical surface,
face the compression nut downward to avoid any possibility of
water seeping into the box.
3. At the marked locations, drill 3mm or 1/8" holes to a depth of
10mm (3/8"). Do not fasten the Diplexer in place at this time.
Cable Routing
1. Route the transducer cable from the transducer to the Diplexer.
Do not connect the transducer cable or fasten it in place at this
time.
2. Route the fishfinder cable from the fishfinder to the Diplexer’s
cable. Do not connect the cables or fasten them in place at this
time.
INSTALLATION INSTRUCTIONS
External Diplexer
Converts dual transmission-line transducer to single line
17
-5
38
-0
1 re
v.
02
12
/14
/10
A
IR
M
A
R
WARNING: Always wear safety goggles and a dust
mask when installing to avoid personal injury.
CAUTION: To reduce electrical interference from
other electrical wiring and any on-board equipment with
strong magnetic fields such as radar equipment, radio
transmitters, boat engines, generators, etc., separate
the cables by at least 1m (3').
CAUTION: Be careful not to tear the cable jackets
when passing them through bulkheads and other
parts of the boat. Use grommets to prevent chaffing.
Use deck glands to prevent water seepage into the
boat.
IMPORTANT: Please read the instructions completely
before proceeding with the installation. These
instructions supersede any other instructions in your
instrument manual if they differ.