Panasonic Lumix DMC-G85M User Manual
Page 187
187
9. Using Menu Functions
∫
Adjusting the picture quality
•
Picture quality cannot be adjusted in the Intelligent Auto Plus
Mode.
1
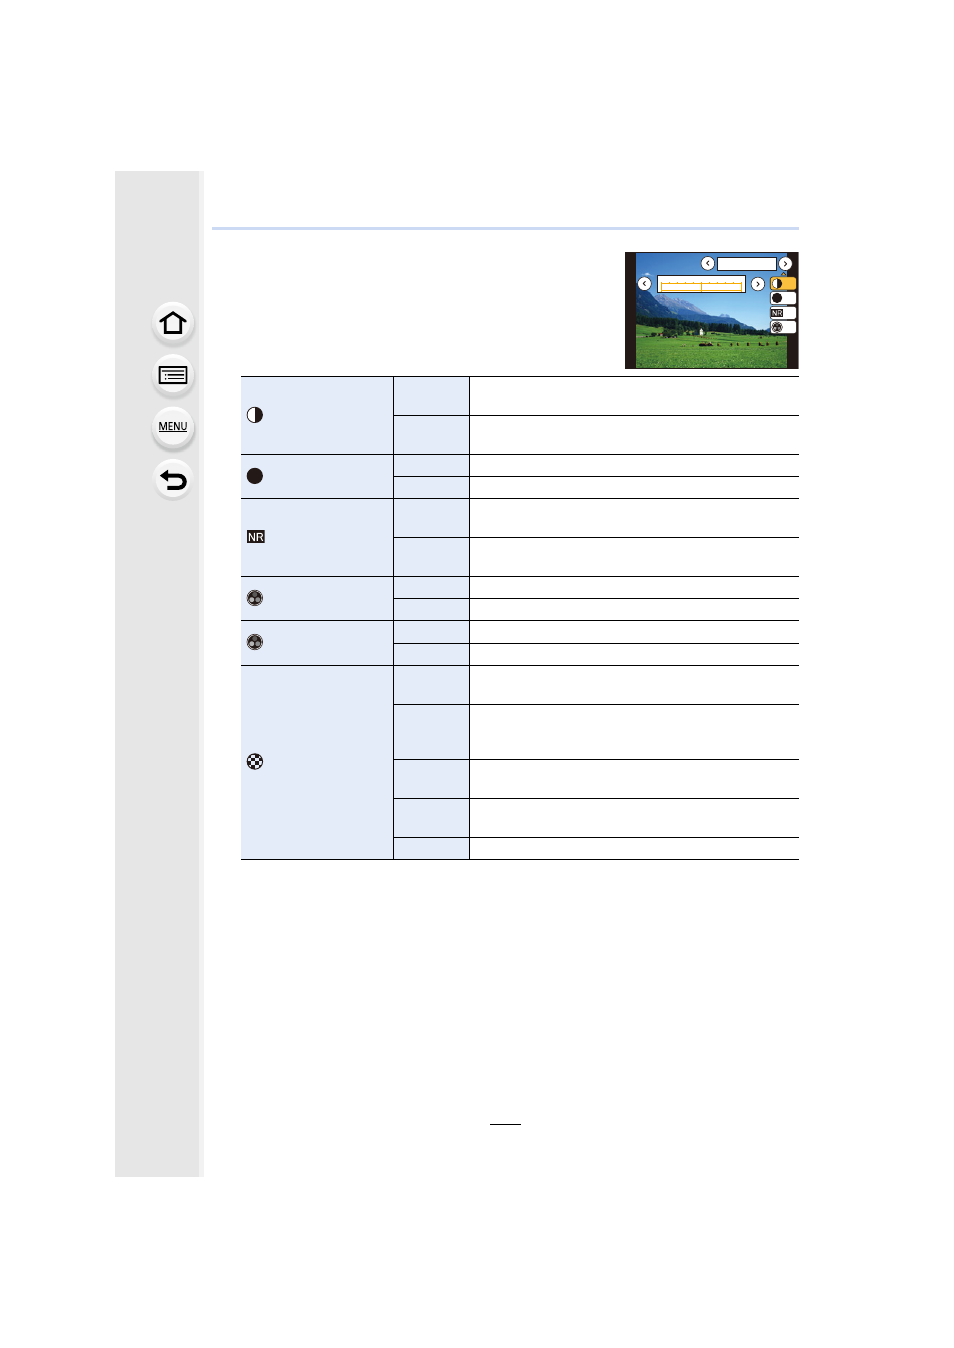
Press 2/1 to select the type of Photo Style.
2
Press 3/4 to select the items, and then press 2/1
to adjust.
¢1 [Color Tone] is displayed only when [Monochrome] or [L.Monochrome] is selected. In
other cases, [Saturation] will be displayed.
¢2 Displayed only when [Monochrome] or [L.Monochrome] is selected.
•
If you adjust the picture quality, [_] is displayed beside the Photo Style icon on the screen.
3
Press [MENU/SET].
∫
Registering settings to [Custom]
Adjust the picture quality following step
2
of “Adjusting the picture quality”, and
then press
[DISP.].
[Contrast]
[r]
Increases the difference between the brightness and
the darkness in the picture.
[s]
Decreases the difference between the brightness
and the darkness in the picture.
[Sharpness]
[r]
The picture is sharply defined.
[s]
The picture is softly focused.
[Noise Reduction]
[r]
The noise reduction effect is enhanced.
Picture resolution may deteriorate slightly.
[s]
The noise reduction effect is reduced. You can obtain
pictures with higher resolution.
[Saturation]
¢1
[r]
The colors in the picture become vivid.
[s]
The colors in the picture become natural.
[Color Tone]
¢1
[r]
Adds a bluish tone.
[s]
Adds a yellowish tone.
[Filter Effect]
¢2
[Yellow]
Enhances the contrast of an subject. (Effect: Weak)
The blue sky can be recorded clearly.
[Orange]
Enhances the contrast of an subject. (Effect:
Medium)
The blue sky can be recorded in darker blue.
[Red]
Enhances the contrast of an subject. (Effect: Strong)
The blue sky can be recorded in much darker blue.
[Green]
The skin and lips of people appear in natural tones.
Green leaves appear brighter and more enhanced.
[Off]
—
DISP.
カスタム登録
±0
±0
S
±0
±0
-5
0
+5
6WDQGDUG
S