HP LaserJet Ultra M106w User Manual
Important, Steps 1 - 3, Set up the control panel
Français ............ 4
English .............. 1
Português ....... 10
Español ............. 7
............... 13
Windows
1. For Windows 7 or lower, do not connect the USB cable before installing
the software. The installation process prompts to connect the cable at
the appropriate time. If the cable is already connected, restart the printer
when installation prompts to connect the cable.
2. Continue to
“6. Locate or download the software installation files.”
NOTE: During Windows software installation, select the option to connect
through a network.
Mac
1. Connect the USB cable between the computer and the printer before
installing the software.
2. Continue to
“6. Locate or download the software installation files.”
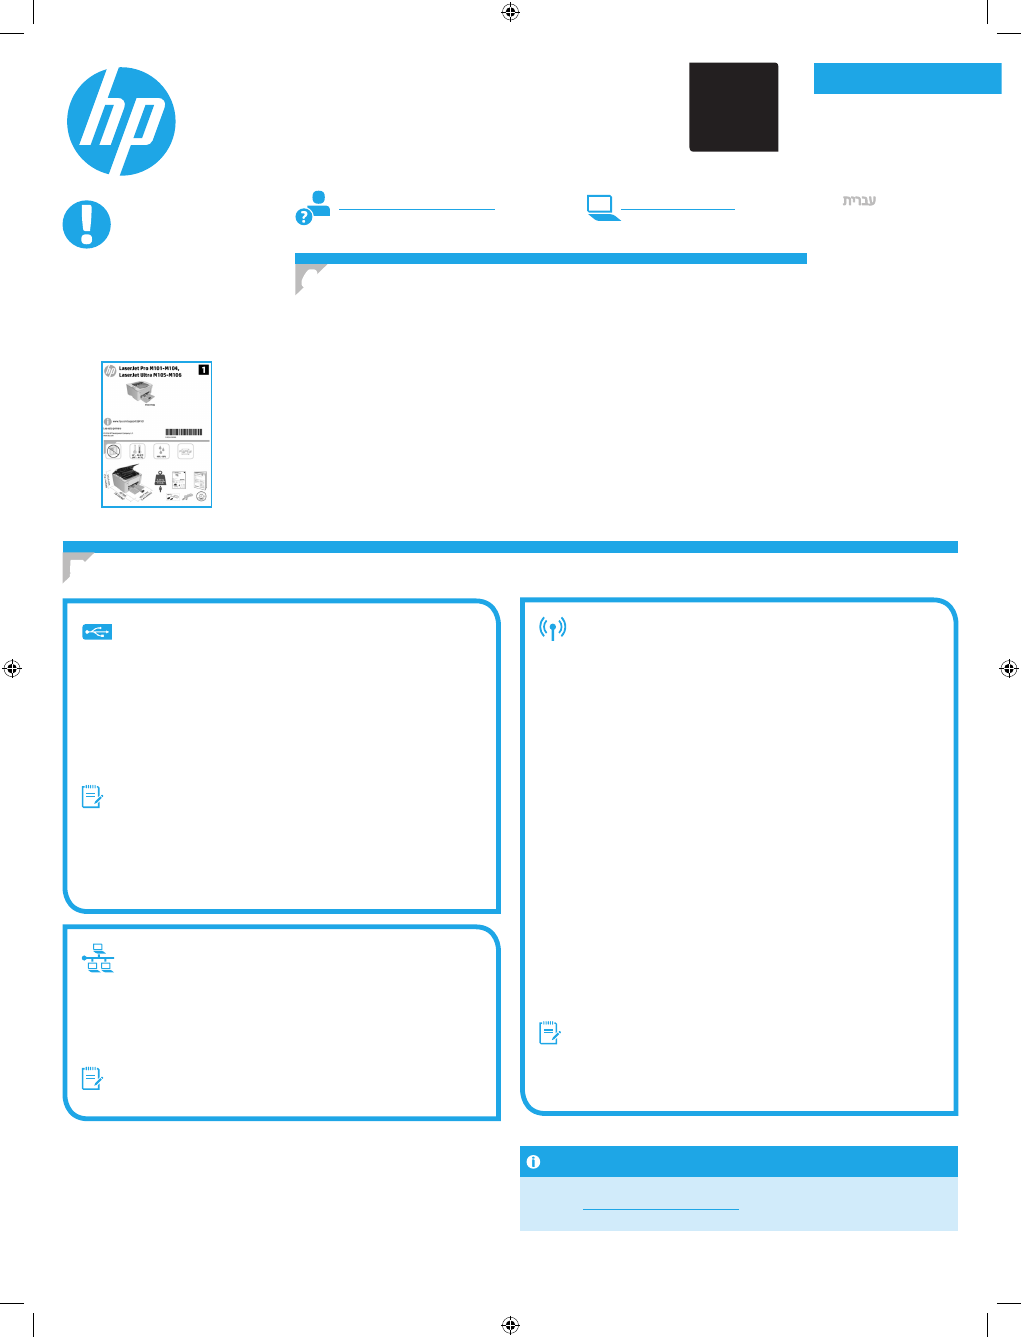
Perform a wireless installation
(wireless models only)
Before starting the installation, verify that the wireless access point is working
correctly. Make sure that the printer, router, and computer are all turned on
and that the computer is connected to the same wireless network that the
printer will be connected to.
If there is not a solid blue light on the top of the printer, go to Process A.
If there is a solid blue light on the top of the printer, go to Process B.
Process A
1. Place the CD in the CD-ROM drive, and then click Install. When the
Printer connections dialog appears, choose Configure to print over
the Wireless Network.
2. Follow the on-screen instructions.
Process B
1. Place the CD in the CD-ROM drive, and then click Install. When the
Printer connections dialog appears, choose Connect to a configured
Wireless Network printer.
2. Follow the on-screen instructions.
3. Select the printer detected by the software. If the printer cannot be
detected by the installer, manually input the printer’s IP address to
continue the installation.
NOTE: Print a configuration page to find the printer’s IP address. At the
printer control panel, press and hold the Resume/Cancel button for
5 seconds, and then release the Resume/Cancel button to print the
configuration page. The IP address is listed on the configuration page
in the Network Information section.
Manually configure the IP address
See the printer user guide for information on how to manually configure the
IP address
www.hp.com/support/ljM101
.
2
Wired (Ethernet) network connection
(optional)
Use a standard network cable.
1. Connect the network cable to the printer and to the network. Wait a few
minutes for the printer to acquire a network address.
2. Continue to
“6. Locate or download the software installation files.”
NOTE: During software installation, select the option to Connect through
a network.
IMPORTANT:
First, follow
Steps 1 - 3
on the printer hardware
setup poster, then continue
with
Step 4
.
www.hp.com/support/ljM101
www.register.hp.com
LaserJet Pro M101-M104,
LaserJet Ultra M105-M106
Getting Started Guide
USB connection directly between the
printer and the computer
Use an A-to-B type USB cable.
4. Set up the control panel
At the printer control panel, check the LED status before beginning software installation.
5. Select a connection method
Canary_GSG_Expanded_G3Q34-90983.indd 1
5/31/2016 7:58:11 PM
G3Q34-91006
*G3Q34-91006*
*G3Q34-91006*