Effects – Yamaha CVP-705B User Manual
Page 12
Editing the Volume and Tonal Balance (Mixer)
CVP-709/CVP-705 Reference Manual
12
1
Select the desired EQ type to be edited.
•
FLAT:
Flat EQ settings. The gain of each frequency is set to 0dB.
•
LOW CUT:
EQ setting for decreasing the level of the low frequencies, making the sound clearer.
•
LOW BOOST:
EQ setting for boosting the level of the low frequencies, making the sound more powerful.
•
HIGH CUT:
EQ setting for decreasing the level of the high frequencies, making the sound more mellow.
•
HIGH BOOST:
EQ setting for boosting the level of the high frequencies, making the sound brighter.
•
User1/2:
Your own custom EQ settings saved in step 4.
2
Adjust the Q (bandwidth) and the Center Frequency of each band.
The available Frequency range is different for each band. The higher the value of Q, the narrower the bandwidth.
3
Boost or cut each of the five bands as desired.
4
Touch
(Save) then save the settings as a User Master EQ type.
Up to two EQ types can be created and saved.
NOTICE
The settings will be lost if you turn the power to the instrument off without executing the Save operation.
NOTE
If you want to save the Master EQ settings to the USB flash drive, save as a User Effect file. To do this, from the display
called up via [Menu] [Utility] [Factory Reset/Backup] page 2/2, touch [Backup] of “User Effect” to execute the
Save operation (
).
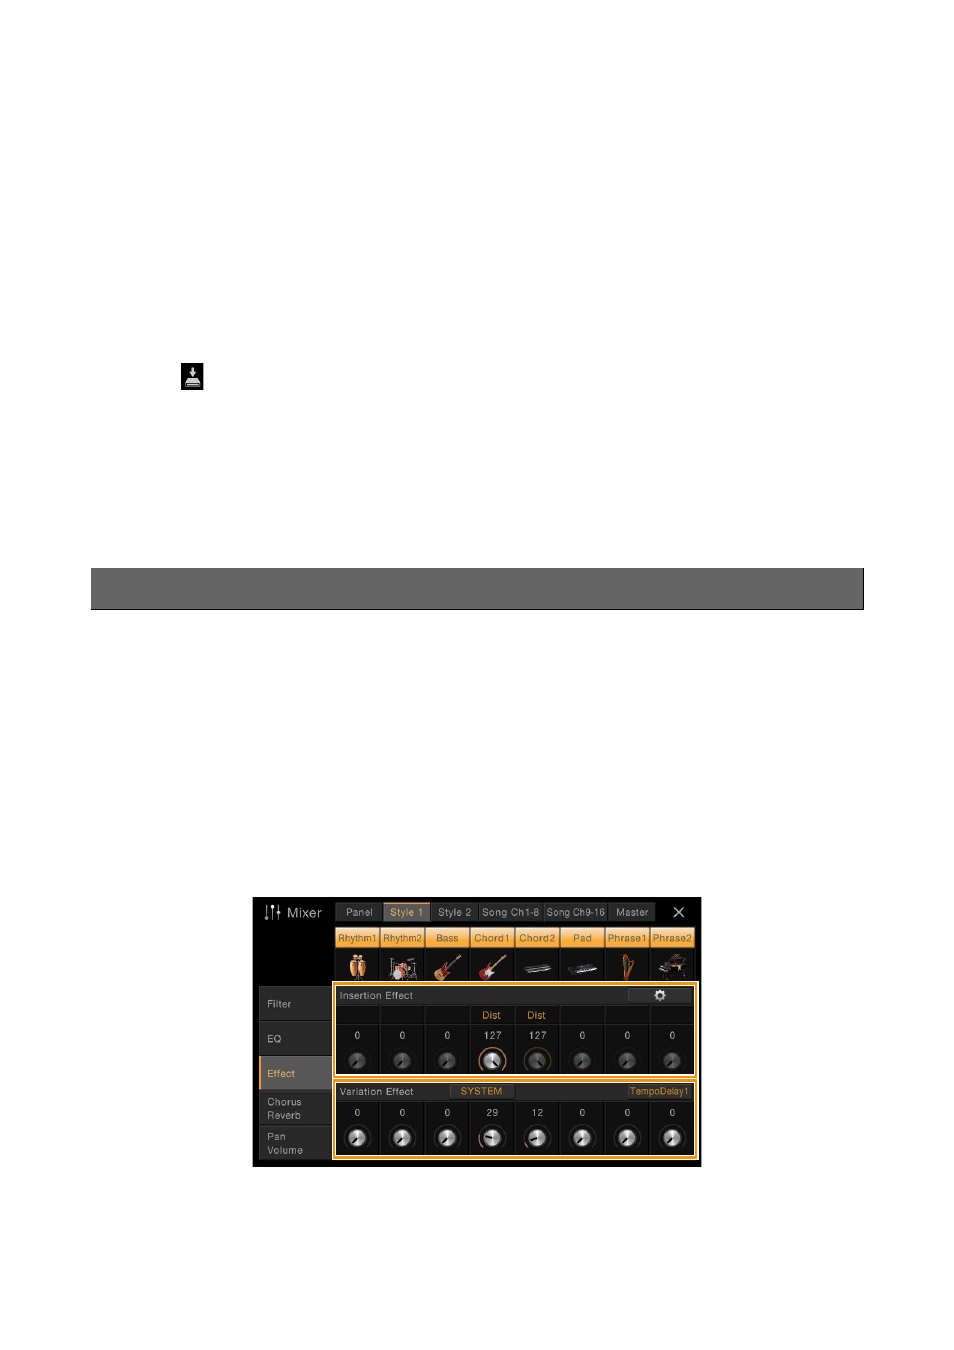
This instrument features the following Effect Blocks.
•
System Effect (Chorus, Reverb):
These Effects are applied to the entire sound of this instrument. For each part, you
can adjust the depth of the System Effect. Refer to “Chorus/Reverb” (
).
•
Insertion Effect 1 – 8 (CVP-709) / Insertion Effect 1 – 3 (CVP-705):
These Effects are applied only to a specific
part. For each of these Effects, select an Effect type specifically for the desired part (for example, Distortion, which
would be applied only to the Guitar part).
•
Variation Effect:
This Block can be used both as System Effects and Insertion Effects, and you can switch between
them.
These explanations cover the settings related to the Insertion Effects and Variation Effects on the Effect display. This
display is not available when the “Master” tab is selected at the top of the Mixer display.
Effects