Data dial, Yes] [-/no] buttons – Yamaha PSR-S670 User Manual
Page 21
PSR-S670 Owner’s Manual
21
B
a
s
ic Op
er
at
io
n
s
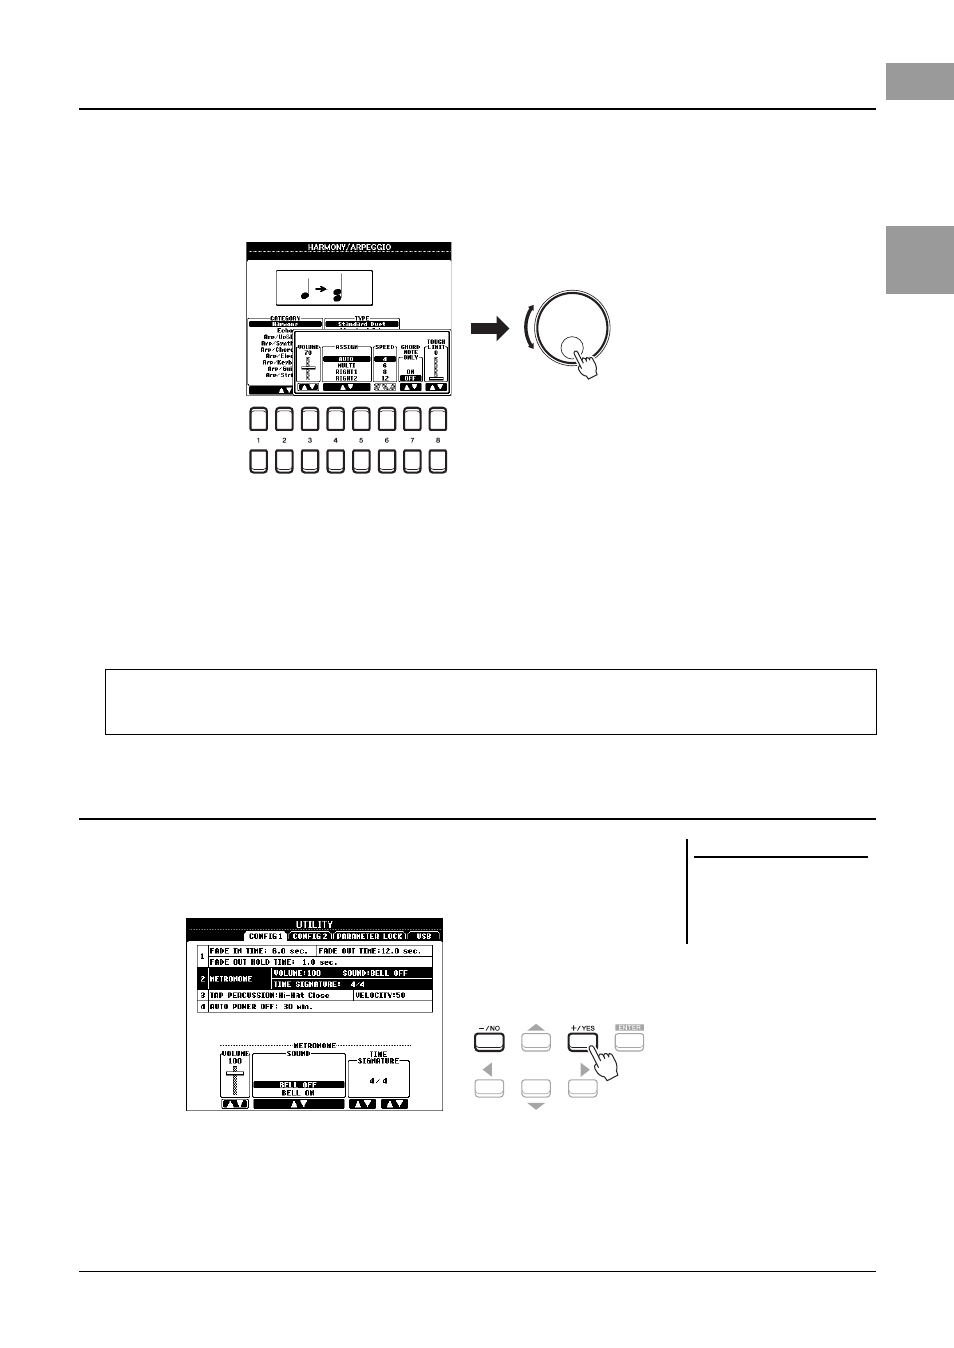
Depending on the selected display, the Data dial can be used in the following two ways.
• Adjusting parameter values
You can conveniently use the Data dial in tandem with the [1 ] – [8 ] buttons to adjust parameters
indicated in the display.
This convenient technique also works well with pop-up parameters such as Tempo and Transpose. Simply press the
appropriate button (ex., TEMPO [+]), then rotate the Data dial to set the value.
• Selecting files (Voice, Style, Song, and so on)
The operation by using the Data dial is almost same as that of the Cursor buttons. After calling up the File Selection
displays, rotate the Data dial to move the cursor, then press the [ENTER] button to actually select the file.
These buttons are used to adjust the value or select “YES” or “NO” in the message
shown in the display, etc.
To reset the desired value to its default, press these buttons simultaneously.
Data dial
Rotate the Data dial to adjust
the selected parameter.
Select the desired parameter with the appropriate
[1 ] – [8 ] button.
In most procedures when selecting the file or item described throughout this Owner’s manual, the Cursor buttons
[][][E][F] are recommended for simple selection, though other methods may also be used.
[+/YES] [-/NO] buttons
NOTE
You can also use these to select
Voices, Styles, etc. without pressing
the [ENTER] button. This is convenient
when you want to temporarily check
the sound of some Voices or Styles.
For the value of the selected item,
use these buttons to adjust it.