Yamaha PSR-S670 User Manual
Page 81
PSR-S670 Owner’s Manual
81
Mu
sic
F
ind
er
– Cal
ling
Up
I
d
ea
l
P
a
nel
Set
ups
f
or Y
our
P
er
for
manc
e –
6
5
Press one of the [5 ]/[6 ] (FILES) buttons to call up the
File Selection display.
6
Select the Music Finder file in the USB flash drive by pressing
the Cursor buttons [][][E][F] to call up a message
prompting you to select REPLACE or APPEND.
7
Use the [6 ] (APPEND) buttons if you want to add Records of
the selected Music Finder file, or press the [7 ] (REPLACE)
button if you want to replace all Records with the new ones.
8
Use the [7 ] (OK) buttons in response to the confirmation
message.
9
Use the [7 ] (YES) buttons to complete of the operation.
By checking the number of Records in the right lower corner of the display, you
can confirm the Records have been appended.
By registering Song, audio or Style files in various locations (PRESET, USER and
USB) into Music Finder, you can easily call up your favorite files.
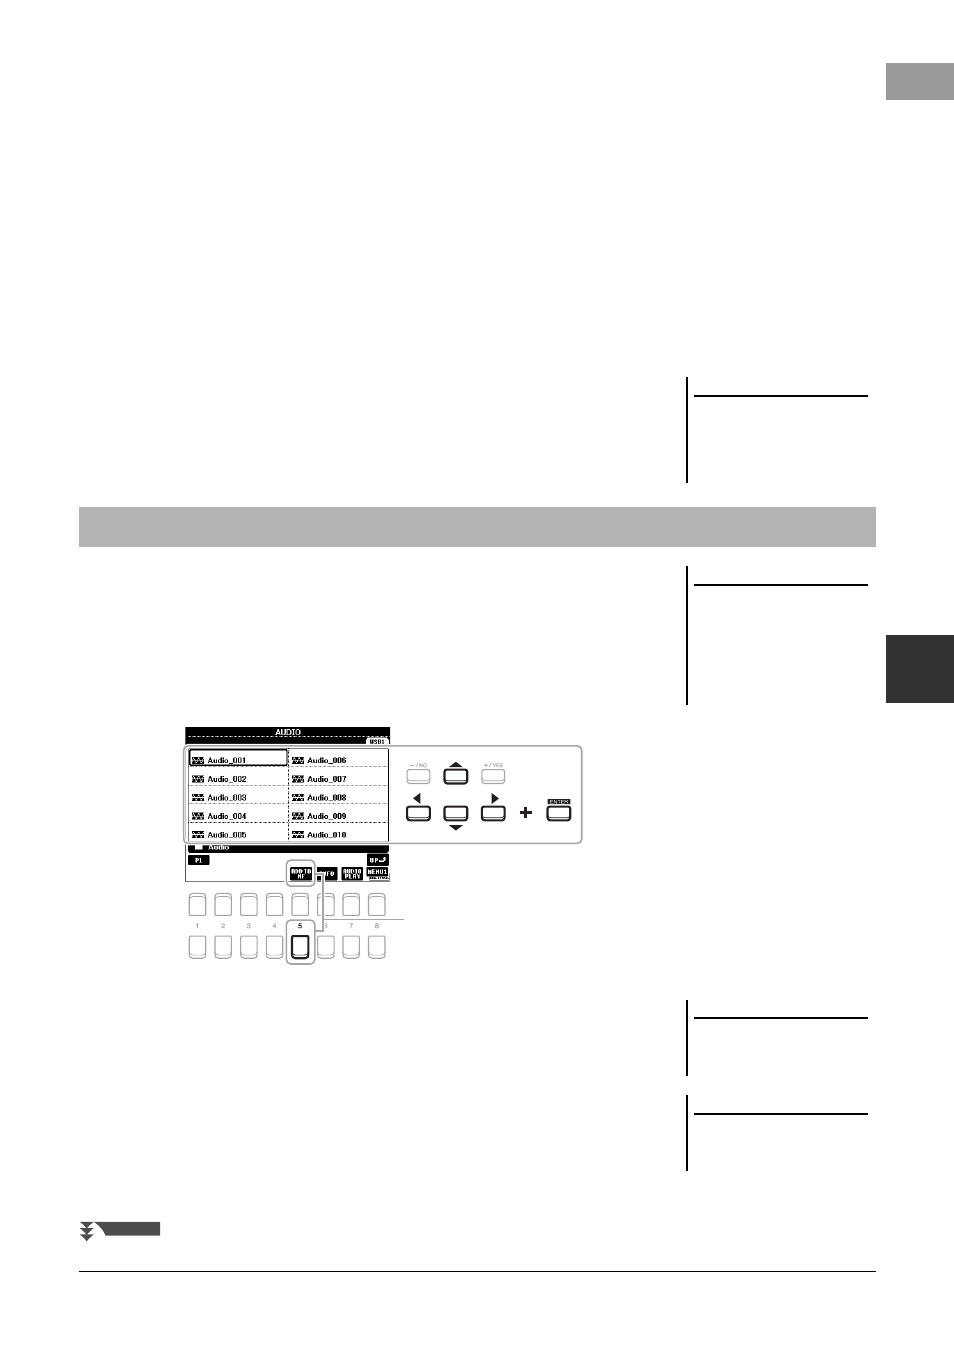
1
In the Song, Audio or Style Selection display, select the desired
file.
For instructions on Songs, refer to page 59; for audio, page 69; and for Styles,
page 45.
2
Press the [5 ] (ADD TO MF) button to call up the MUSIC
FINDER RECORD EDIT display.
NOTE
Even after appending or replacing the
Music Finder Records, you can reset
them to their original factory settings
by selecting the “MusicFinderPreset”
file in PRESET tab of step 6.
Registering a Song, Audio or Style File to a Record
NOTE
• If you want to register files in the
USB flash drive, connect the USB
flash drive containing the data to the
[USB TO DEVICE] terminal.
• Before using a USB flash drive, be
sure to read “Connecting USB
Devices” on page 91.
2
NOTE
Make sure that MENU 1 is shown at
the bottom right corner of the display
(page 24).
NOTE
For details on the MUSIC FINDER
RECORD EDIT display, refer to the Ref-
erence Manual on the website.
NEXT PAGE