Image colors, Adjusting white balance, Custom white balance – Canon EOS M10 User Manual
Page 67
67
Before Use
Basic Guide
Advanced Guide
Camera Basics
Auto Mode /
Hybrid Auto Mode
Other Shooting Modes
Tv, Av, and M Mode
Playback Mode
Wi-Fi Functions
Setting Menu
Accessories
Appendix
Index
P Mode
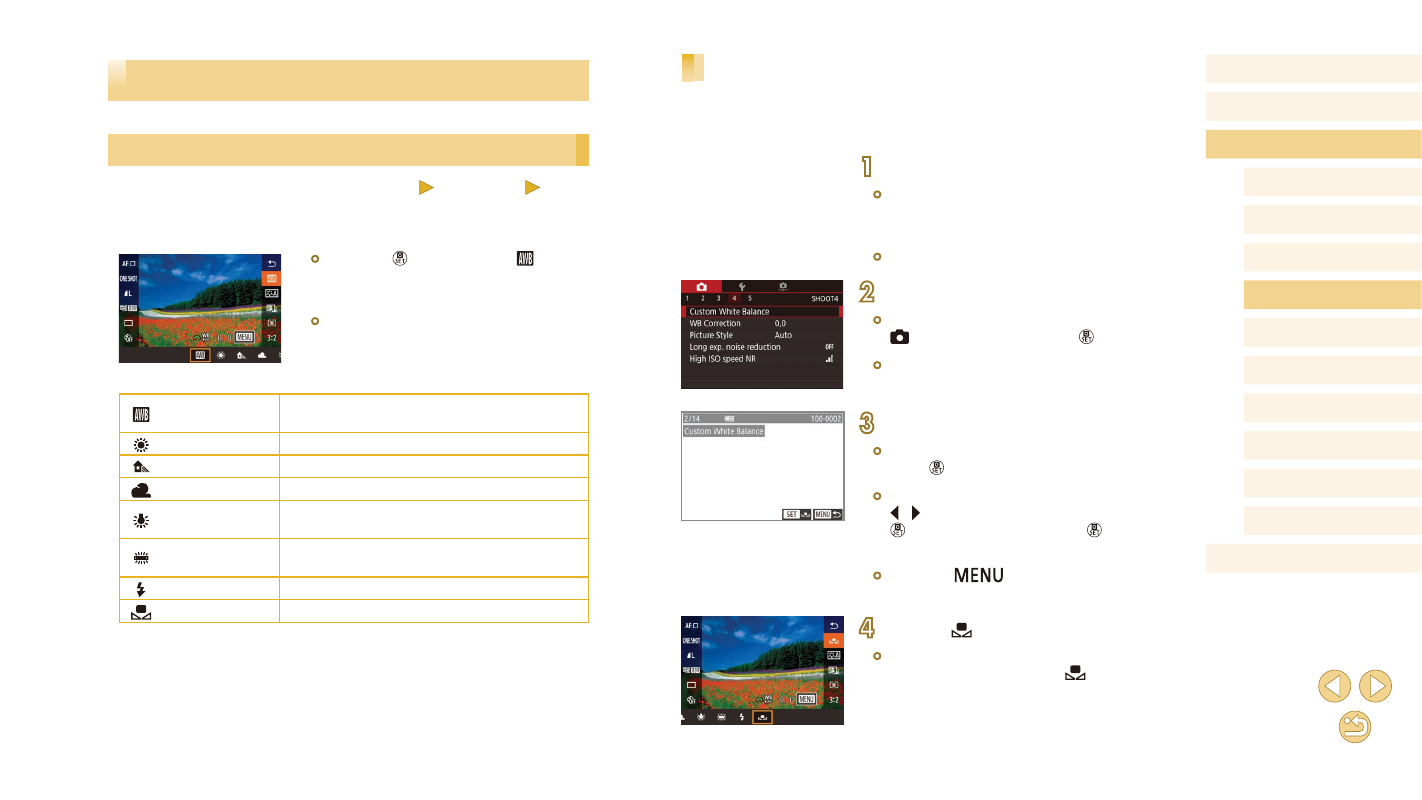
Custom White Balance
For image colors that look natural under the light in your shot, adjust white
balance to suit the light source where you are shooting. Set the white
balance under the same light source that will illuminate your shot.
1
Shoot a white object.
●
Aim the camera at a sheet of paper or
other plain white subject, so that white
fills the screen.
●
Focus manually and shoot (= 75).
2
Choose [Custom White Balance].
●
Choose [Custom White Balance] on the
[ 4] tab, and then press the [ ] button.
●
The custom white balance selection
screen will appear.
3
Load the white data.
●
Select your image from step 1, and then
press [ ].
●
On the confirmation screen, press the
[ ][ ] buttons to choose [OK], press the
[ ] button, and then press the [ ] button
again.
●
Press the [
] button to close the
menu.
4
Choose [ ].
●
Follow the steps in “Adjusting White
Balance” (= 67) to choose [
].
Image Colors
Adjusting White Balance
Still Images
Movies
By adjusting white balance (WB), you can make image colors look more
natural for the scene you are shooting.
●
Press the [ ] button, choose [ ] in the
menu, and choose the desired option
●
The option you configured is now
displayed.
Auto
Automatically sets the optimal white balance
for the shooting conditions.
Day Light
For shooting outdoors in fair weather.
Shade
For shooting in the shade.
Cloudy
For shooting in cloudy weather or at dusk.
Tungsten light
For shooting under ordinary incandescent
lighting.
White
fluorescent light
For shooting under white fluorescent lighting.
Flash
For shooting with the flash.
Custom
For manually setting a custom white balance.