Easily identifying the focus area (mf peaking), Flash, Changing the flash mode – Canon EOS M10 User Manual
Page 76
76
Before Use
Basic Guide
Advanced Guide
Camera Basics
Auto Mode /
Hybrid Auto Mode
Other Shooting Modes
Tv, Av, and M Mode
Playback Mode
Wi-Fi Functions
Setting Menu
Accessories
Appendix
Index
P Mode
Flash
Changing the Flash Mode
Still Images
Movies
You can change the flash mode to match the shooting scene. For details
on the flash range, see “Approximate Built-in Flash Range” (= 190).
1
Raise the flash.
●
Move the [ ] switch.
2
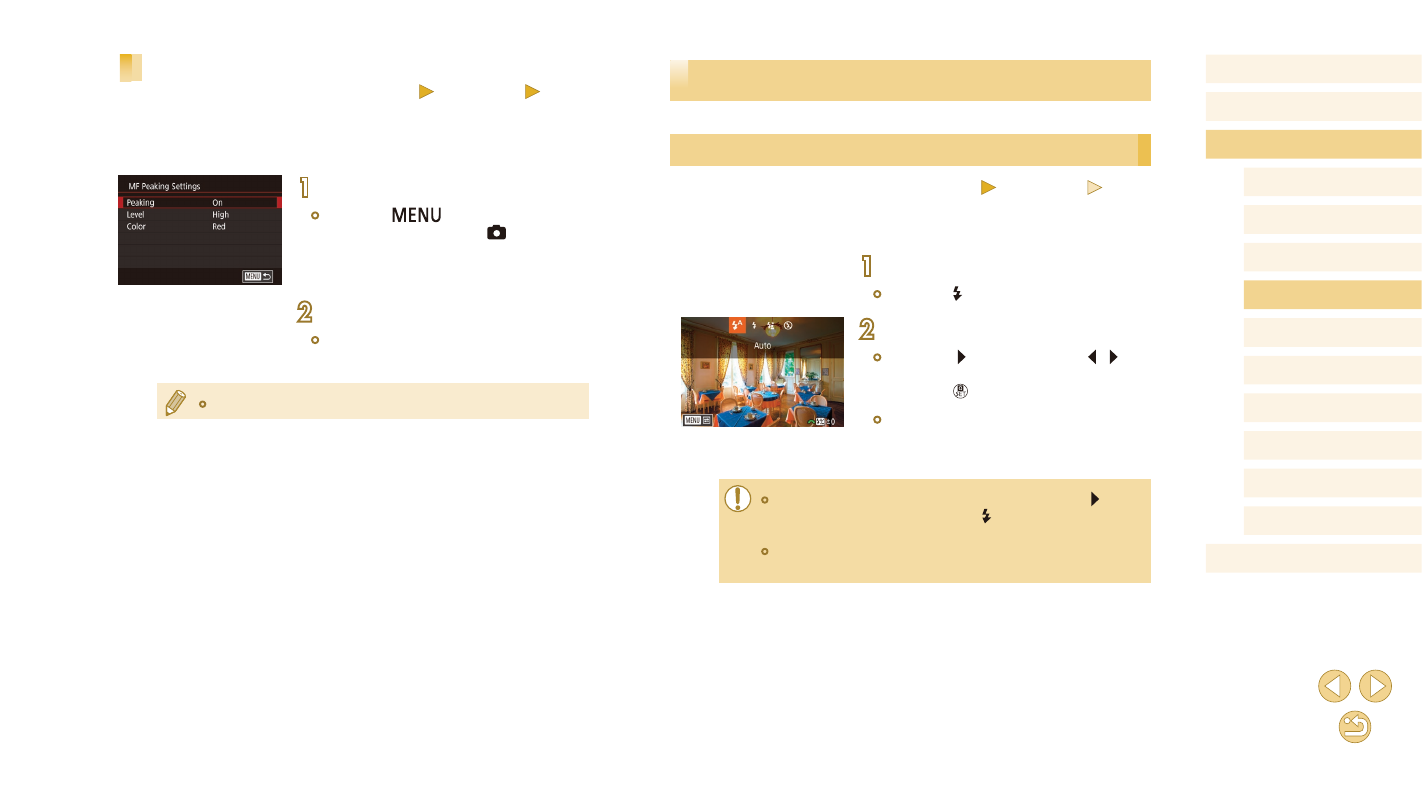
Configure the setting.
●
Press the [ ] button, press the [ ][ ]
buttons to choose a flash mode, and then
press the [ ] button.
●
The option you configured is now
displayed.
●
The setting screen cannot be accessed by pressing the [ ] button
when the flash is lowered. Move the [ ] switch to raise the flash,
then configure the setting.
●
If the flash fires, vignetting may occur. Vignetting or dark image
areas may also occur, if the flash fires, depending on the lens.
Easily Identifying the Focus Area (MF Peaking)
Still Images
Movies
Edges of subjects in focus are displayed in color to make manual focusing
easier. You can adjust the colors and the sensitivity (level) of edge
detection as needed.
1
Access the setting screen.
●
Press the [
] button, choose [MF
Peaking Settings] on the [ 2] tab, and
then set [Peaking] to [On] (= 32).
2
Configure the setting.
●
Choose a menu item to configure, and
then choose the desired option (= 32).
●
Colors displayed for MF peaking are not recorded in your shots.