Canon PowerShot SX60 HS User Manual
Page 134
134
Before Use
Basic Guide
Advanced Guide
1
Camera Basics
2
Auto Mode /
Hybrid Auto Mode
3
Other Shooting Modes
5
Tv, Av, M, C1, and C2 Mode
6
Playback Mode
7
Wi-Fi Functions
8
Setting Menu
9
Accessories
10
Appendix
Index
4
P Mode
8
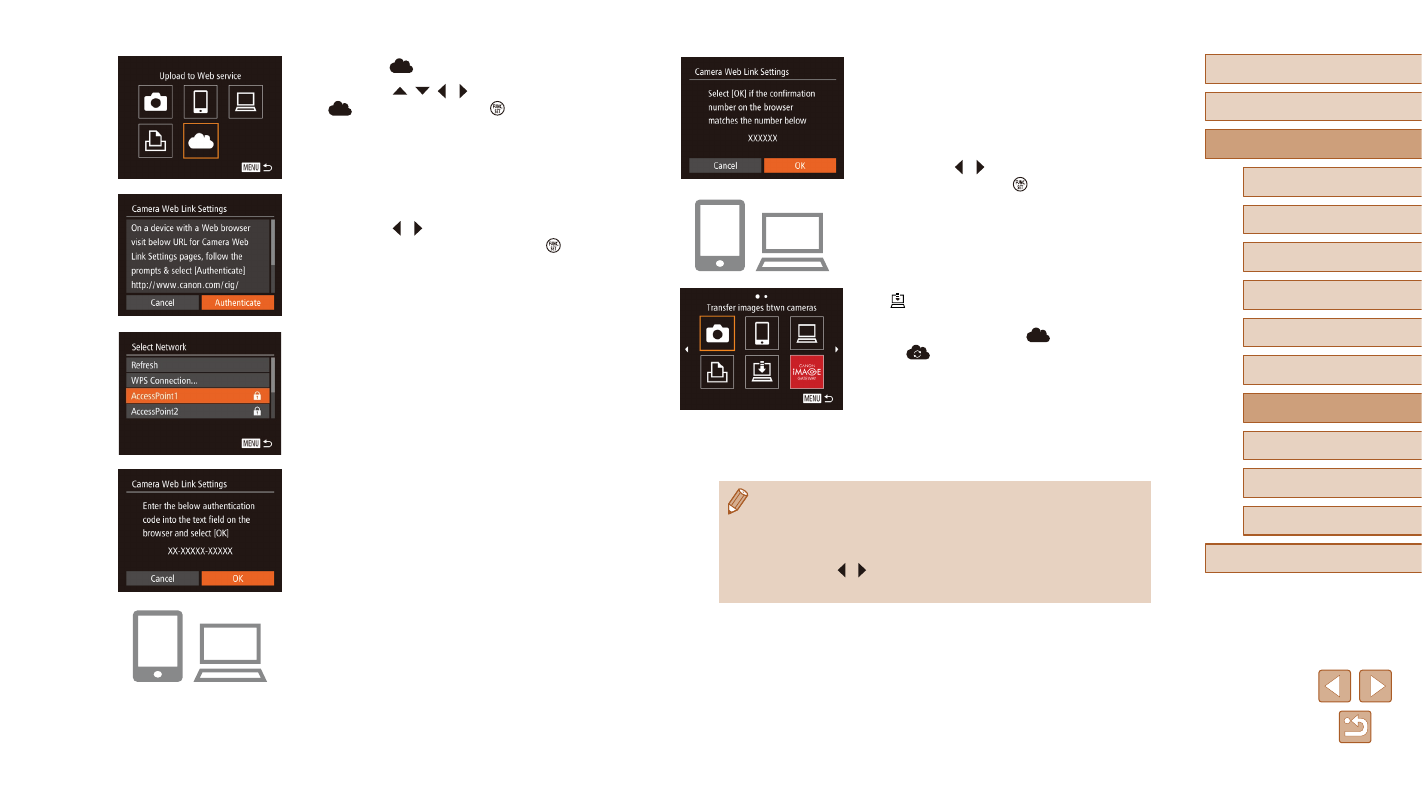
Check the confirmation numbers
and complete the setup process.
●
Make sure the confirmation number on
the camera matches the number on the
smartphone or computer.
●
Press the [ ][ ] buttons to choose [OK],
and then press the [ ] button.
●
Complete the setup process on the
smartphone or computer.
●
GATEWAY are now added as
destinations, and the [
] icon changes
to [
].
●
A message is displayed on the
smartphone or computer to indicate that
this process is finished. To add other
Web services, follow the procedure
in “Registering Other Web Services”
●
Connections require that a memory card with saved images be in
the camera.
●
Once you have connected to devices via the Wi-Fi menu, recent
destinations will be listed first when you access the menu.
Press the [ ][ ] buttons to access the device selection screen
and choose a device.
4
Choose [
].
●
Press the [ ][ ][ ][ ] buttons to choose
[
], and then press the [ ] button.
5
Choose [Authenticate].
●
Press the [ ][ ] buttons to choose
[Authenticate], and then press the [ ]
button.
6
Establish a connection with an
access point.
●
Connect to the access point as described
in steps 5 – 7 in “Using WPS-Compatible
Access Points” (= 130) or in steps 2 – 4
in “Connecting to Listed Access Points”
●
Once the camera is connected to CANON
iMAGE GATEWAY via the access point,
an authentication code is displayed.
7
Enter the authentication code.
●
On the smartphone or computer, enter
the authentication code displayed on the
camera and go to the next step.
●
A six-digit confirmation number is
displayed.