Panasonic Lumix GH5 User Manual
Page 36
Recording
36
DVQX1052 (ENG)
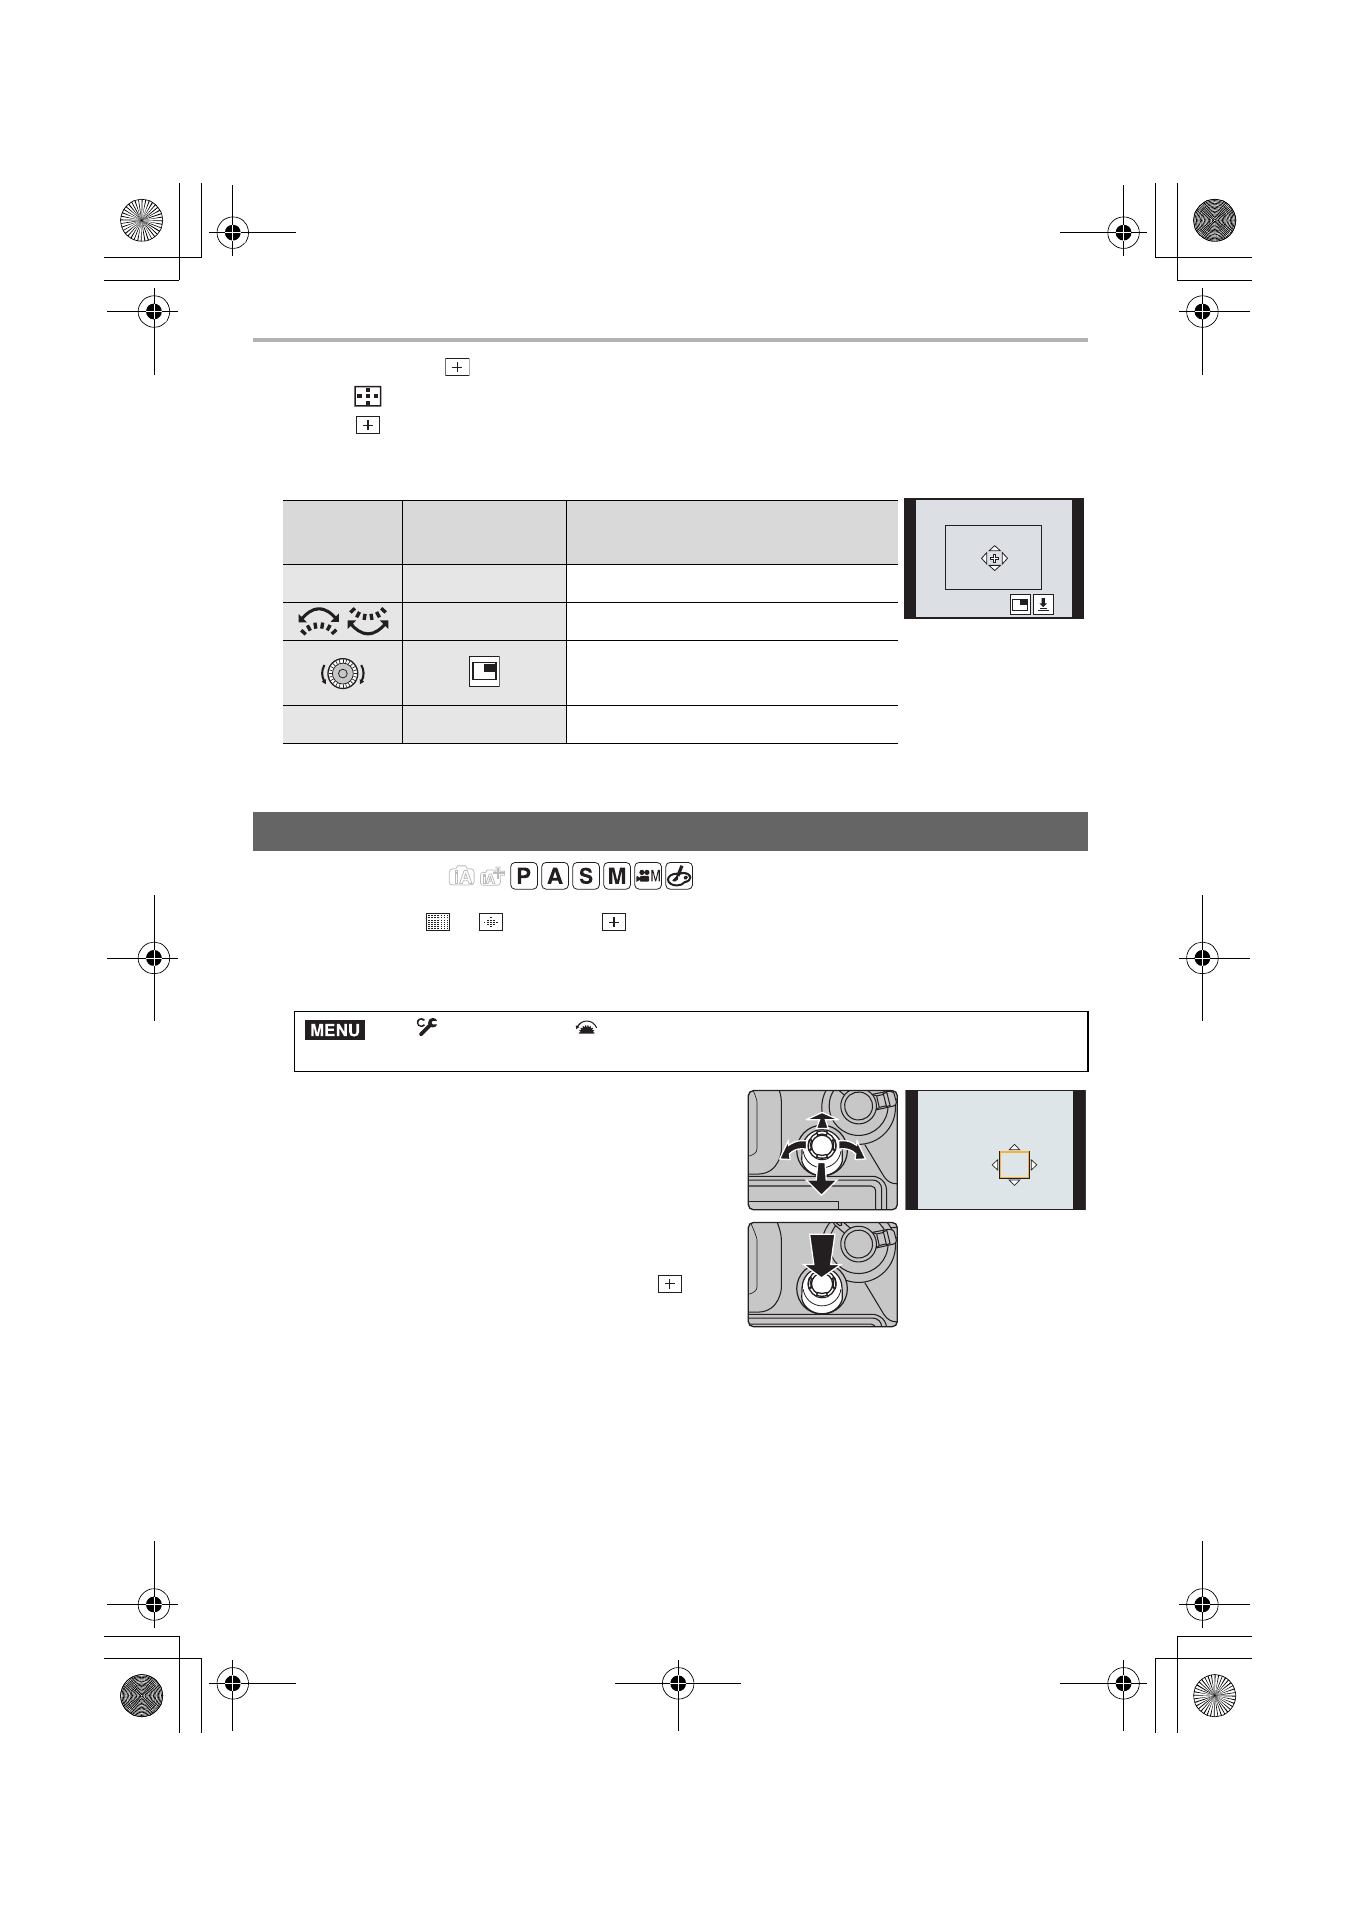
∫ When selecting [
]
1 Press [
].
2 Select [
] and press 4.
3 Press
3/4/2/1 to set the focus position and then press [MENU/SET].
4 Move [+] to the position to be in focus.
5 Press [MENU/SET] to set.
Applicable modes:
When using [š], [
], [
], [Ø] or [
] of Auto Focus Mode, you can specify the
position of the AF area displayed on the recording screen with the joystick.
1
Select the menu. (P27)
2
Move the joystick3/4/2/1 to move the AF
area.
• You can change the size of the AF area by
rotating the front/rear dial.
• Press the joystick to switch between the default
AF area position and the position you have set.
The enlarged display will appear when [
]
([Pinpoint]) is set.
3
Press the shutter button halfway to set.
• Press the joystick while the recording screen is displayed to switch between the default
AF area position and the position you have set.
Button
operation
Touch operation
Description of operation
3/4/2/1
Touching
Moves [+].
/
Pinching out/in Enlarges/reduces the screen.
Switches the enlarged display
(windowed/full screen).
[DISP.]
[Reset]
Returns you to the screen in step 3.
Specifying the AF area position with the joystick
>
[Custom]
>
[Operation]
> [Joystick Setting] > [D.FOCUS
Movement]
MENU
DC-GH5LBodyP-DVQX1052_eng.book 36 ページ 2017年2月2日 木曜日 午後3時21分