P343 – Panasonic Lumix GX8 User Manual
Page 343
343
12. Connecting to other equipment
Saving still pictures and motion pictures on a
Recorder
If you insert card holding content recorded with this unit into a
Panasonic recorder, you can dub the content to a Blu-ray Disc or
DVD etc.
Methods to export still pictures and motion pictures to other
devices will vary depending on the file format. (JPEG, RAW,
MPO, AVCHD, or MP4).
•
You cannot dub 4K burst files (MP4 format) with [Aspect Ratio] set
to an option other than [16:9] to hard disk drives, including those of Panasonic recorders. (As of
July 2015)
•
See the operating instructions for the recorder about the details about copying and playing back.
∫
Dubbing with non-compatible equipment
You can dub the content played back using this unit to non-compatible equipment such as
recorders and video players by connecting this unit to the non-compatible equipment using
an AV cable (optional).
Non-compatible equipment will be able to play back the content. This is convenient if you
wish to pass around dubbed content. In this case, the content will be played back in
standard rather than high-definition picture quality.
1
Connect this unit with the recording equipment with an AV cable (optional).
2
Start the playback of this unit.
3
Start the recording on the recording equipment.
•
When ending the recording (copying), stop the playback on this unit after stopping the
recording on recording equipment.
•
When you play back motion pictures on 4:3 aspect ratio TV, you must set [TV Aspect]
on
this unit to [4:3] before starting a copy.
The image will be vertically long if you play back motion pictures copied with [16:9] setting on a
[4:3] aspect TV.
•
Always use a genuine Panasonic AV cable (DMW-AVC1: optional).
•
See the operating instructions for the recording equipment for details about copying and
playing back.
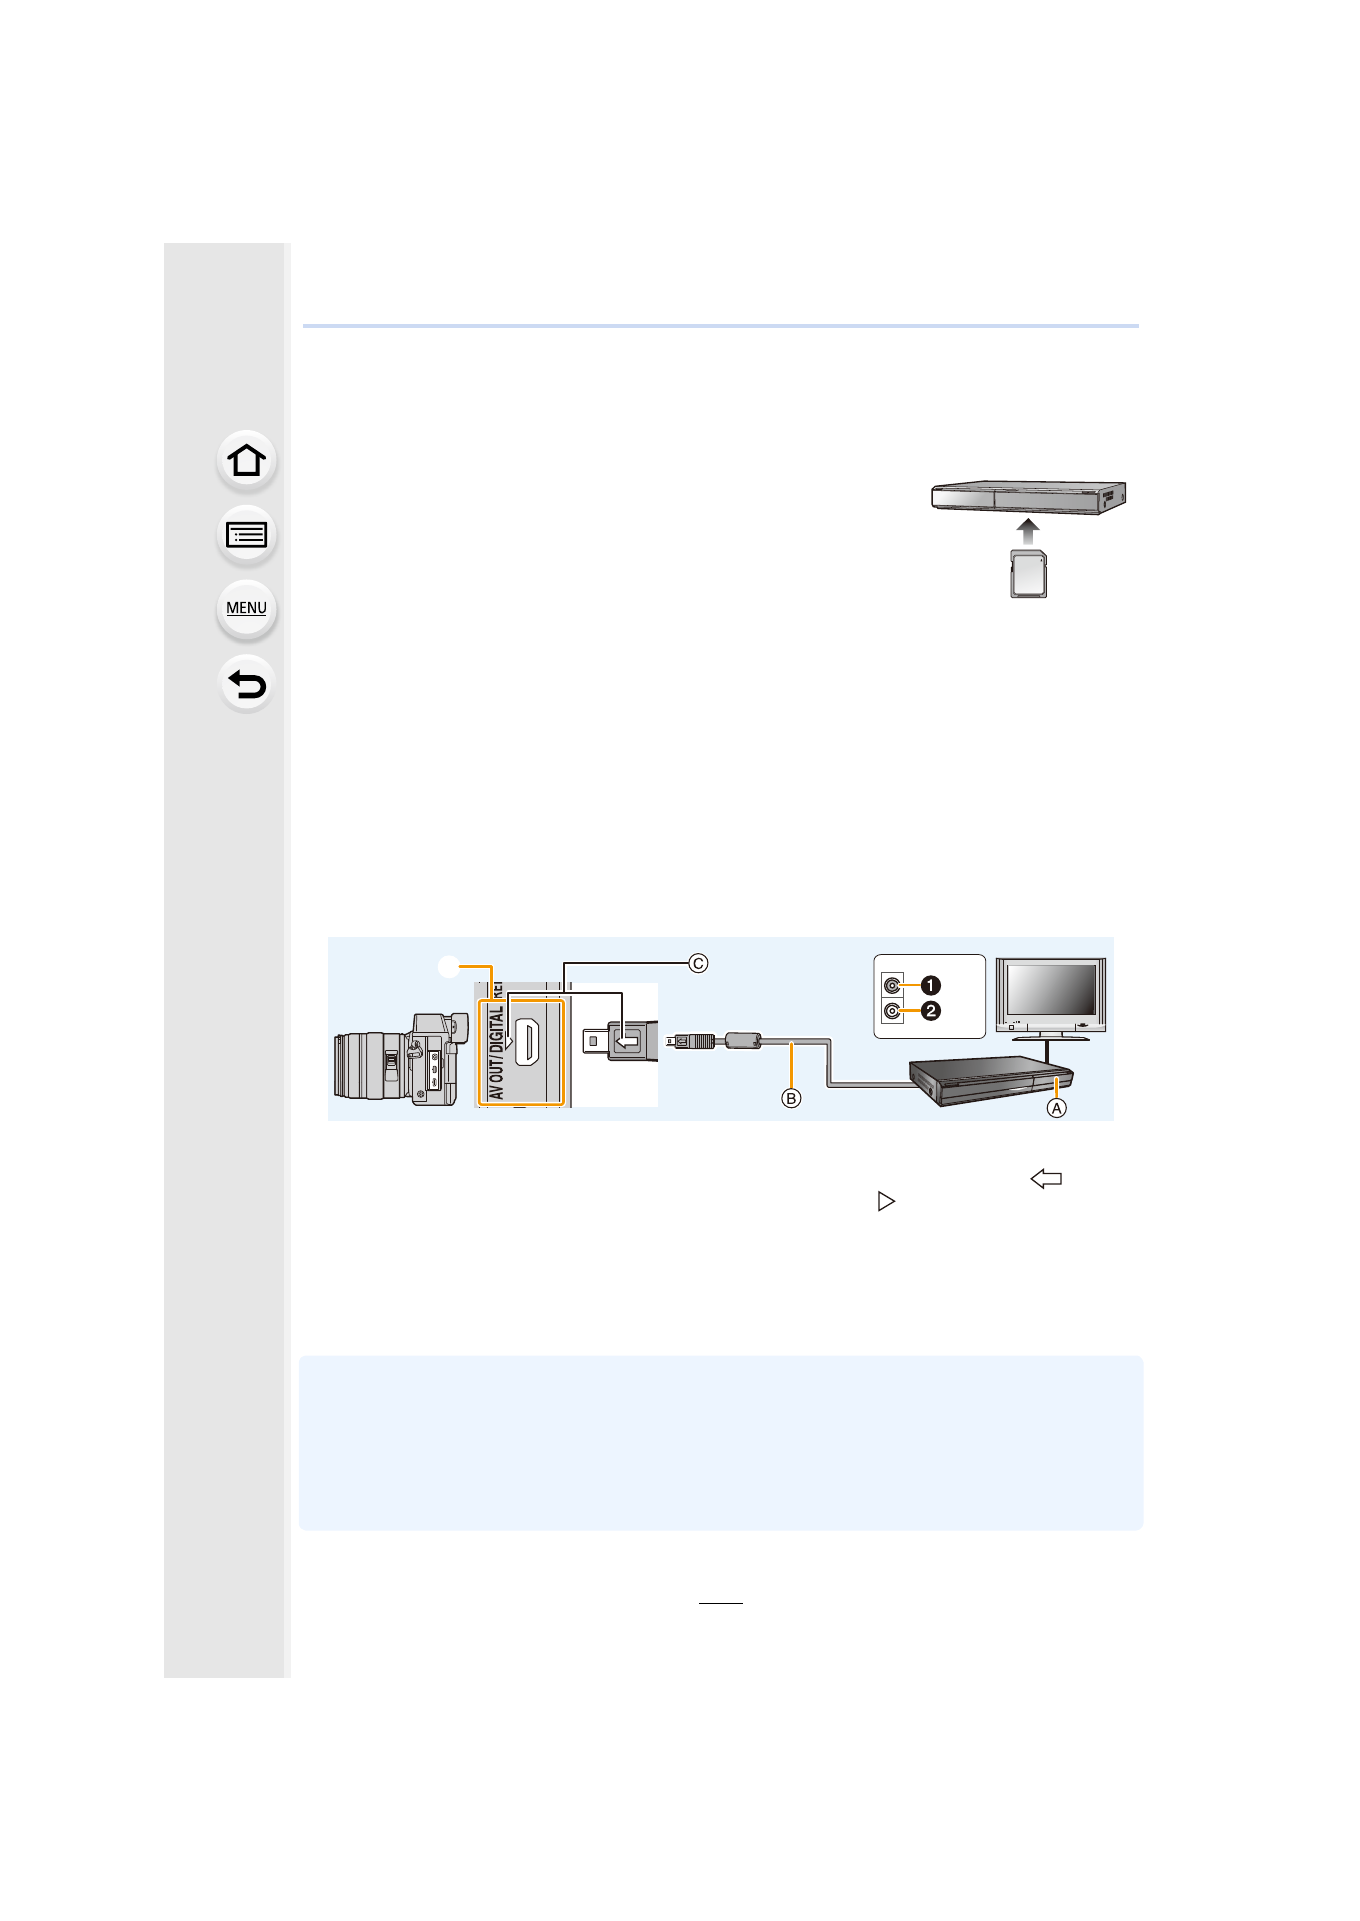
1Yellow: to the video input socket
2White: to the audio input socket
A Recording equipment
B AV cable (optional)
C Insert the AV cable so that its [
] mark
will face the [
] mark side of the camera.
D Check the terminal.