Specify the erase width, Copier ► other functions – Sharp MX-6070N User Manual
Page 251
2-87
3
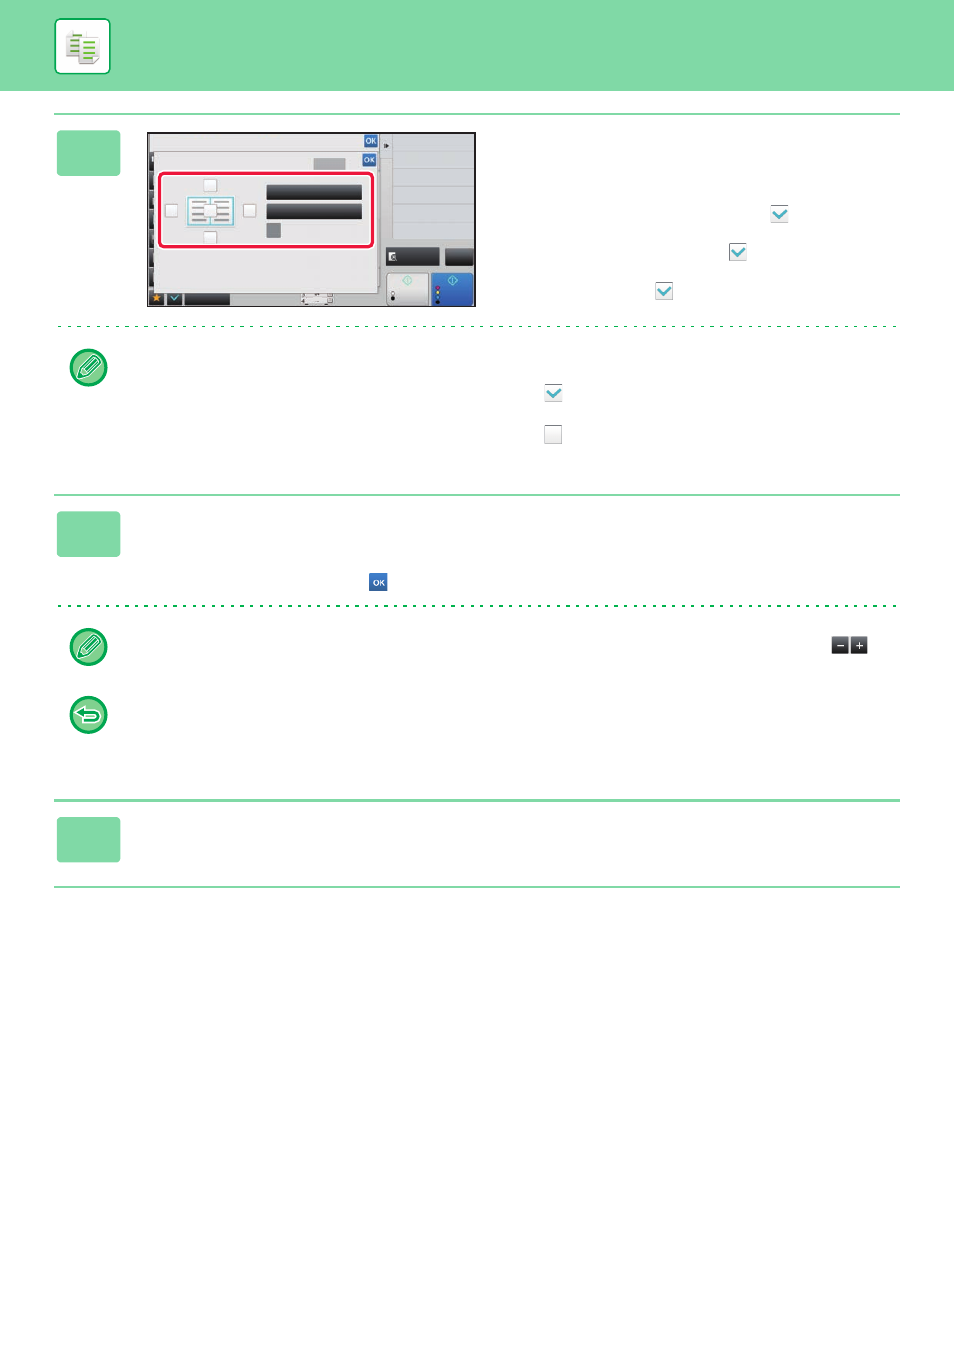
Tap the checkbox of the edge that you
wish to erase, and specify the erase
position.
Check that he tapped checkbox is set to
.
If the [Outer Frame] key is tapped, the [Up], [Down], [Left],
and [Right] checkboxes are set to
.
If the [Specify Frame+Centre] key is tapped, all the
checkboxes are set to
.
Specify the erase edge on the reverse side when erasing edges of one to three sides of Up, Down, Left, and Right on
the front side to scan a 2-sided original.
• If the [Reverse erase position of back face] checkbox is set to
, the edge in the position opposite to the erased
edge on the front side will be erased.
• If the [Reverse erase position of back face] checkbox is set to
, the edge in the same position as on the front side
will be erased.
4
Specify the erase width.
Tap the numeric value display indicating the margin shift area on the front side or reverse side, and enter the area using
the numeric keys.
After the settings are completed, tap
and [Back] keys in sequence.
To quickly set the area, first specify a value close to the desired value by the numeric keys, then adjust it with
.
• To cancel the erase setting:
Tap the [Clear] key.
• To cancel all settings:
Tap the [CA] key.
5
Tap the [Colour Start] or [B/W Start] key to start copying.
Others
Preview
Start
Colour
Start
Back
A3
Erase
Up
Down
Right
Left
Reverse erase position of
back face
Outer Frame
Specify Frame+Centre
Clear
2-Sided Copy
Change Size/Direction.
Original
Copy Like A Pamphlet
Booklet
Colour Mode
Background Adjustment
CA
B/W