Sharp PN-60TW3 User Manual
Page 13
13
E
n
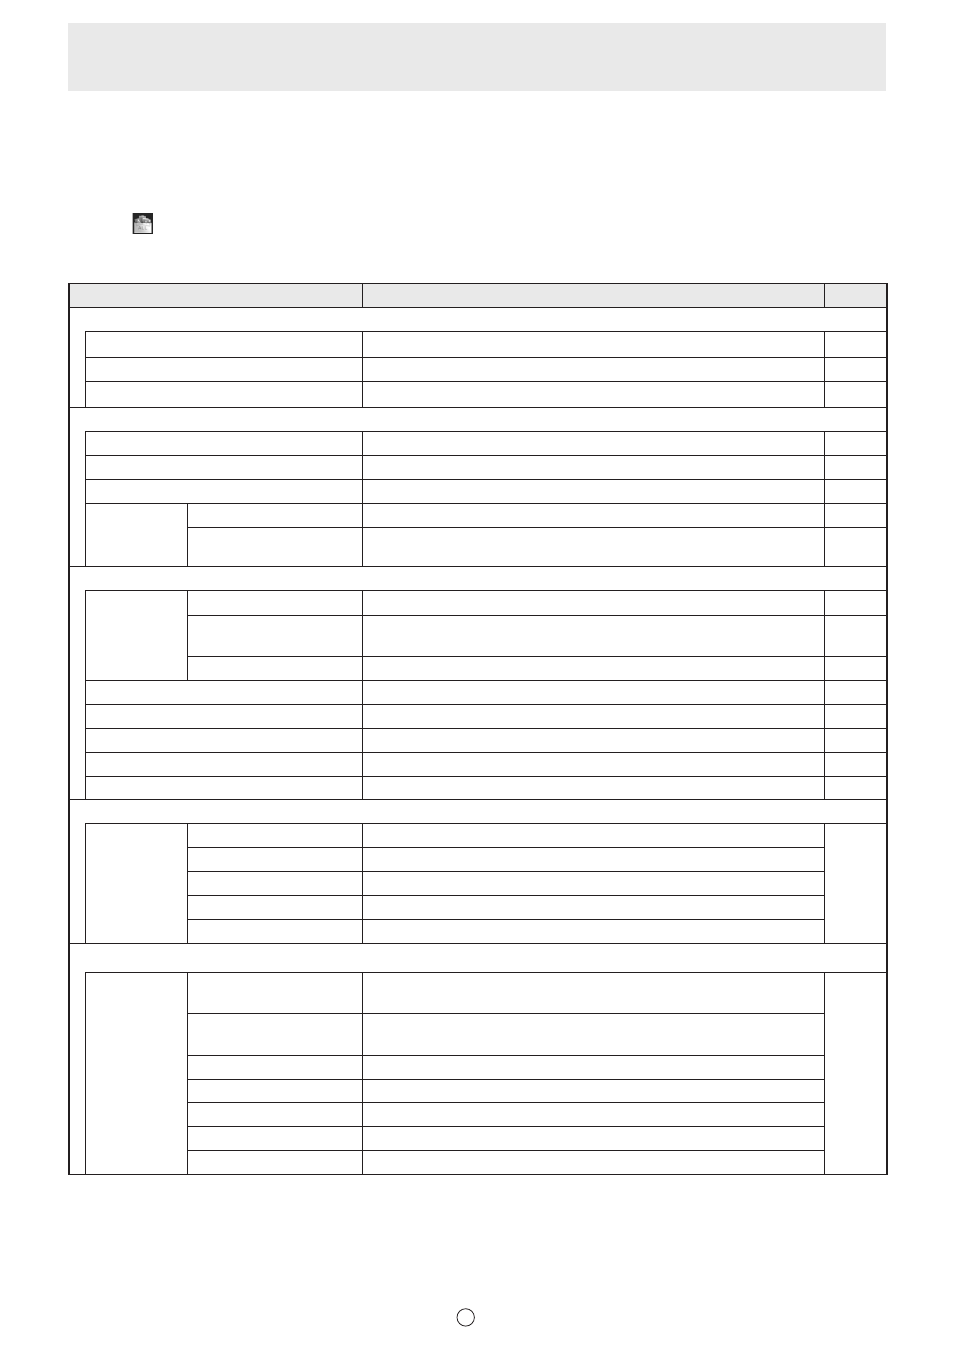
Selecting functions and customizing icons (All Functions)
From the “All Functions” list, you can select functions to be used and the icons that are displayed in the square menu, classic
menu or floating menu.
Selecting a function
1. Touch
“All Functions” in the menu.
2. A list of all functions appears. Select the function you want to use.
Icon
Function
Page
Pen/Eraser
Pen 1 to Pen 3
See page 11, 12.
24
Eraser
See page 11, 12.
26
Clear Sheet
Clear all objects from the currently edited sheet.
26
Insert Object
Paste
See page 11, 12.
35
Drawing Object
See page 11, 12.
27
Text
See page 11, 12.
29
Insert Image
Insert an image file
Paste an image on a sheet.
30
Screen Capture
*1
Capture the currently displayed background image and paste it on a
sheet.
30
Select, etc.
Select
Touch Selection
Select an object by touching it.
32
Rectangle Selection
Select a group of objects by dragging to create a rectangle around the
objects.
33
Lasso Selection
Select a group of objects by drawing a line around the objects.
33
View
See page 11, 12.
21, 38
Undo
See page 11, 12.
37
Redo
See page 11, 12.
37
Zoom In
Enlarge part of the screen.
37
Zoom In Selection
Enlarge the view of only the specified area.
37
Open
Open
New
Create a new board.
19
Open as a new file
Open the data as a new file.
Add to the current sheet
Open the data as a newly added sheet.
Open New from Cloud
*2
Download the file and open as a new file.
Open from Cloud
*2
Download the file and open as a newly added sheet.
Save
Save
Save as a new file
Save the data as a new file.
(Whiteboard: SWSX file, Overlay board: SWSO file)
17
Save to the same file
Save the data to the same file.
(Whiteboard: SWSX file, Overlay board: SWSO file)
Save PDF
Save the data as a PDF file.
Save image
Save the data as an image file (PNG, BMP, or JPEG).
Save and Upload
*2
Save the data as SWSX or SWSO format and upload the file.
Save PDF and Upload
*2
Save the data as a PDF file and upload the file.
Send by TDLink
*3
Send the data as PDF format to the Touch Display Link client.