Touch pen actions, Adding touch pens (pairing), Ntouch pen settings – Sharp PN-60TW3 User Manual
Page 21: Touch panel / touch pen preparations
21
E
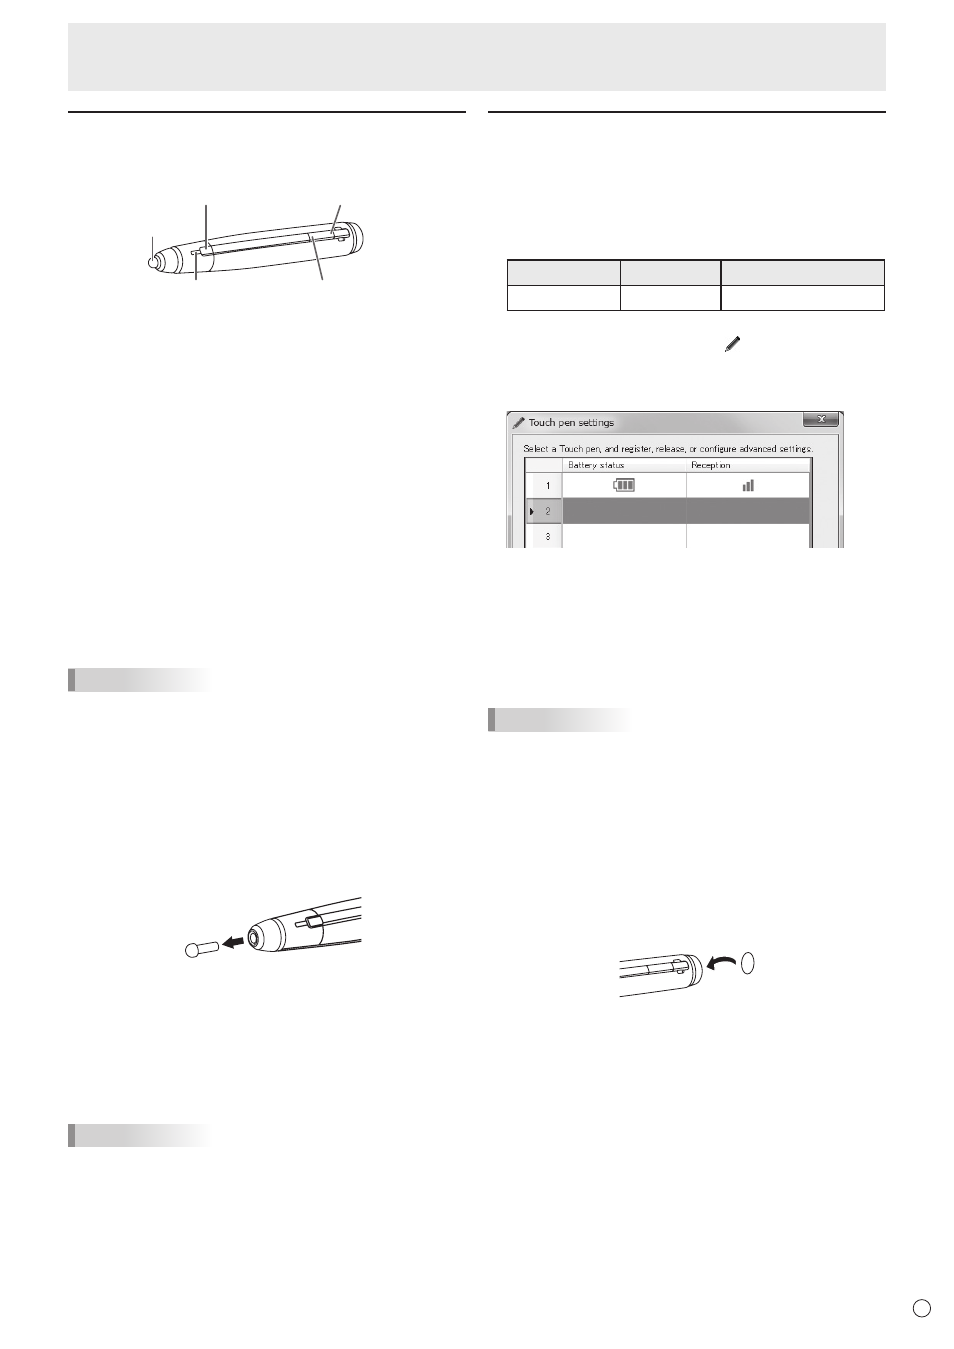
Touch pen actions
Only use touch pens that are used with this monitor (supplied
touch pens or optional PN-ZL02).
Pen tip
Battery indicator
Function button 1
Function button 3
Function button 2
The factory default settings for the function buttons are as
follows.
• Function button 1 : Right mouse click
• Function button 2 : PageDown
• Function button 3 : PageUP
You can change the functions that are assigned to the function
buttons. For details, see the Touch Pen Utility Operation
Manual.
Using as a digitizer pen
A touch pen can be used as a Windows digitizer pen.
To use a touch pen as a digitizer pen, change the “Input
mode” to “Pen Digitizer” in the Touch Pen Utility. For details,
see the Touch Pen Utility Operation Manual.
The function buttons are used differently when the pen is a
digitizer pen. To use a function, touch the screen while holding
down the button of that function.
TIPS
• When the function button is pressed, the battery indicator
illuminates.
If the battery indicator does not illuminate, check if the
battery is depleted.
• Use function buttons near the front of the screen. If too far
away, operation will not be possible.
• Press function buttons slowly and firmly. If pressed too
quickly, the action may not be recognized.
• The line may break if the touch pen battery is low or there
is other wireless equipment in operation nearby.
• If the pen tip becomes worn or damaged, replace it.
n
Touch pen settings
Touch pen settings are configured using the Touch Pen Utility.
For details on the settings and how to use the utility, see the
Touch Pen Utility Operation Manual.
TIPS
• When using the Wireless controller, you do not need to
set the touch pen. The setting of Touch Pen Utility is also
unnecessary.
Adding touch pens (pairing)
• Up to 4 touch pens can be used simultaneously. (Up to
10 touch pens can be registered.) When touch pens are
added, they can be used to write simultaneously, and a
different color can be set for each pen.
• To use an optional touch pen with the monitor, the touch
pen must be registered in the touch pen adapter. (pairing)
Item
Model
Remarks
Touch pen
PN-ZL02
Additional touch pen
Perform touch pen pairing for one pen at a time.
1. Click the touch pen utility icon ( ) on the taskbar.
2. Click [Touch pen settings].
3. Select a line in the touch pen settings screen that does
not have a pen registered, and touch [Registration].
4. Simultaneously hold down function button 1 and
function button 3 of the touch pen being paired for at
least 5 seconds.
5. When the battery indicator blinks twice or more,
release function button 1 and function button 3.
A message appears after completion of pairing.
6. Touch [OK].
TIPS
• When multiple touch pens are used, touch positions and
touch pen information (color, thickness, etc.) may become
interchanged, and lines may break.
- When touched simultaneously
- When touch pens are moved near each other
- When batteries are low
- When other wireless equipment is operating nearby
• Do not press the pen tip on other than the screen.
This may cause malfunctioning.
• One touch pen cannot be registered in multiple touch pen
adapters.
• You can affix the supplied ID labels to the PN-ZL02 to
distinguish the touch pens.
Touch Panel / Touch Pen Preparations