Adjustments for pc screen display, Menu items, Nautomatic adjustment – Sharp PN-U423 User Manual
Page 28: Nscreen display for adjustment
28
E
Menu Items
Adjustments for PC screen display
n
Automatic adjustment
When you use the D-SUB to display a PC screen for the
first time, or when you change the setting of the PC, use the
automatic screen adjustment.
1. Switch the input to D-SUB and display the adjustment
pattern. (See the description below.)
2. Press
MENU
and use
or
to display the SCREEN
menu.
3. Press
ENTER
and select “AUTO”.
4. Press
ENTER
.
The automatic adjustment is complete in several seconds.
TIPS
• If the screen cannot be adjusted properly with one
automatic adjustment, repeat the automatic adjustment two
or three times. Try manual adjustment if necessary.
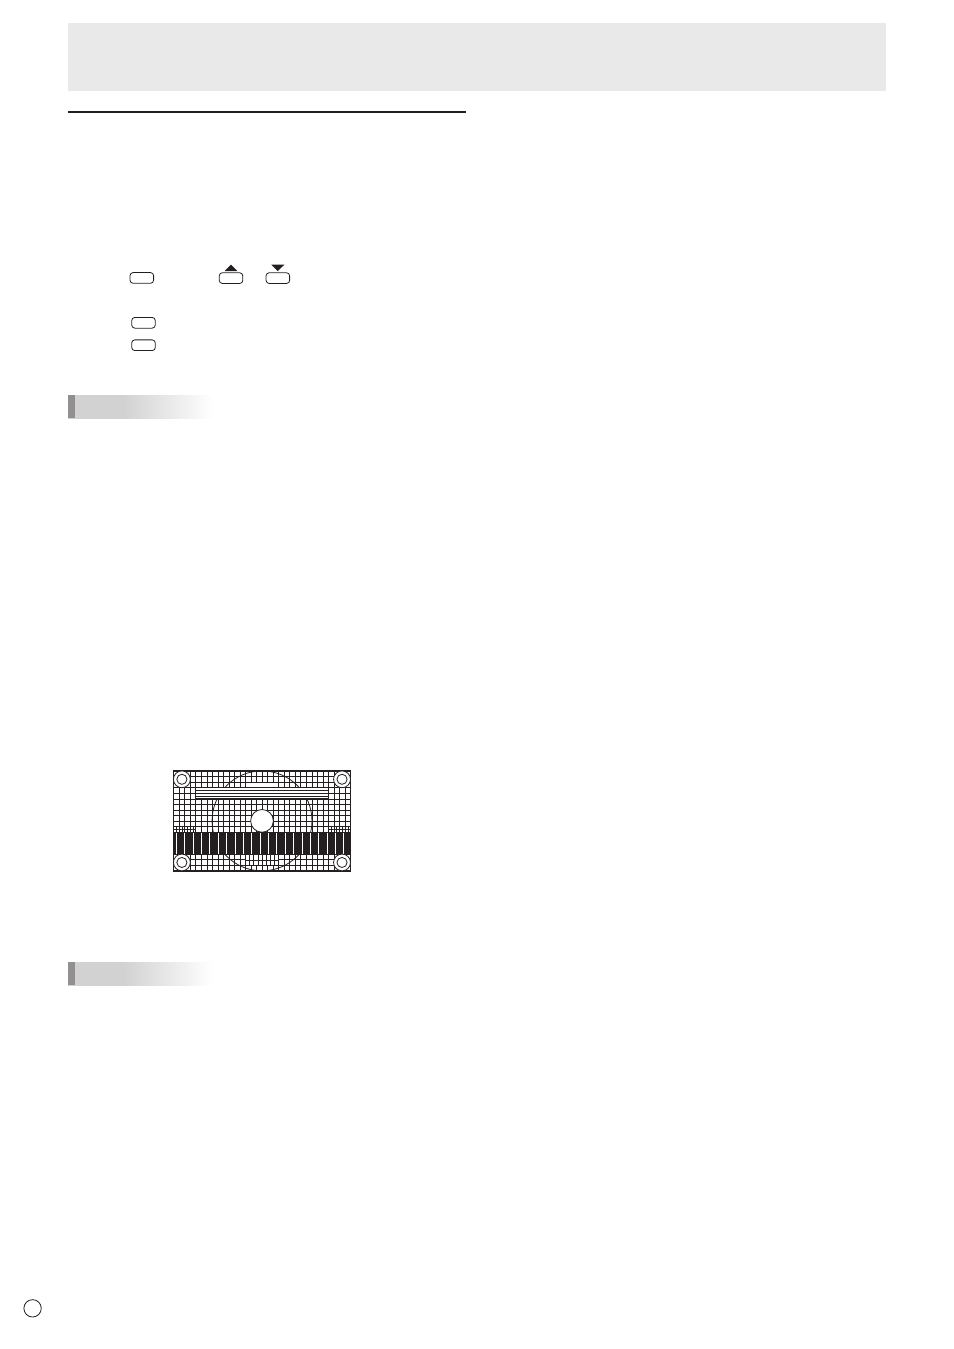
n
Screen display for adjustment
Before making adjustments in the SCREEN menu or
PICTURE menu, display an image to brighten the entire
screen. If you are using a Windows PC, use the adjustment
pattern on the supplied CD-ROM.
Opening the adjustment pattern
The following example is performed in Windows 7.
1. Load the supplied CD-ROM into the computer’s CD-
ROM drive.
2. Open [CD Drive] in [Computer].
In Windows XP, open [CD Drive] in [My Computer].
3. Double-click [Adj_uty.exe].
The adjustment pattern will appear.
Adjust the screen automatically or manually.
4. When adjustment is finished, press the [Esc] on the
computer’s keyboard to quit the adjustment program.
5. Eject the CD-ROM from the CD-ROM drive.
TIPS
• If the display mode on the computer you are using is
65,000 colors, the color levels in the color pattern may
appear differently or grayscale may appear to be colored.
(This is due to the specifications of the input signal and is
not a malfunction.)