Select trigger setup, Pad setup, Trg1 select trigger setup trg2 pad setup – Yamaha DTX-Multi12 Multi-Pad Electronic Percussion Instrument User Manual
Page 100: Trg1 select trigger setup, Pad type page, Trg1≥≥≥≥≥≥≥≥≥≥˛¸ p01:stick≥wide, Trg2≥≥≥≥≥≥≥≥≥≥˛¸ ≥≥≥≥≥≥pad, Trg2-1≥-mid-≥≥˛¸ type=stickdyna
100
Owner’s Manual
TRIGGER Setting Area (TRG)
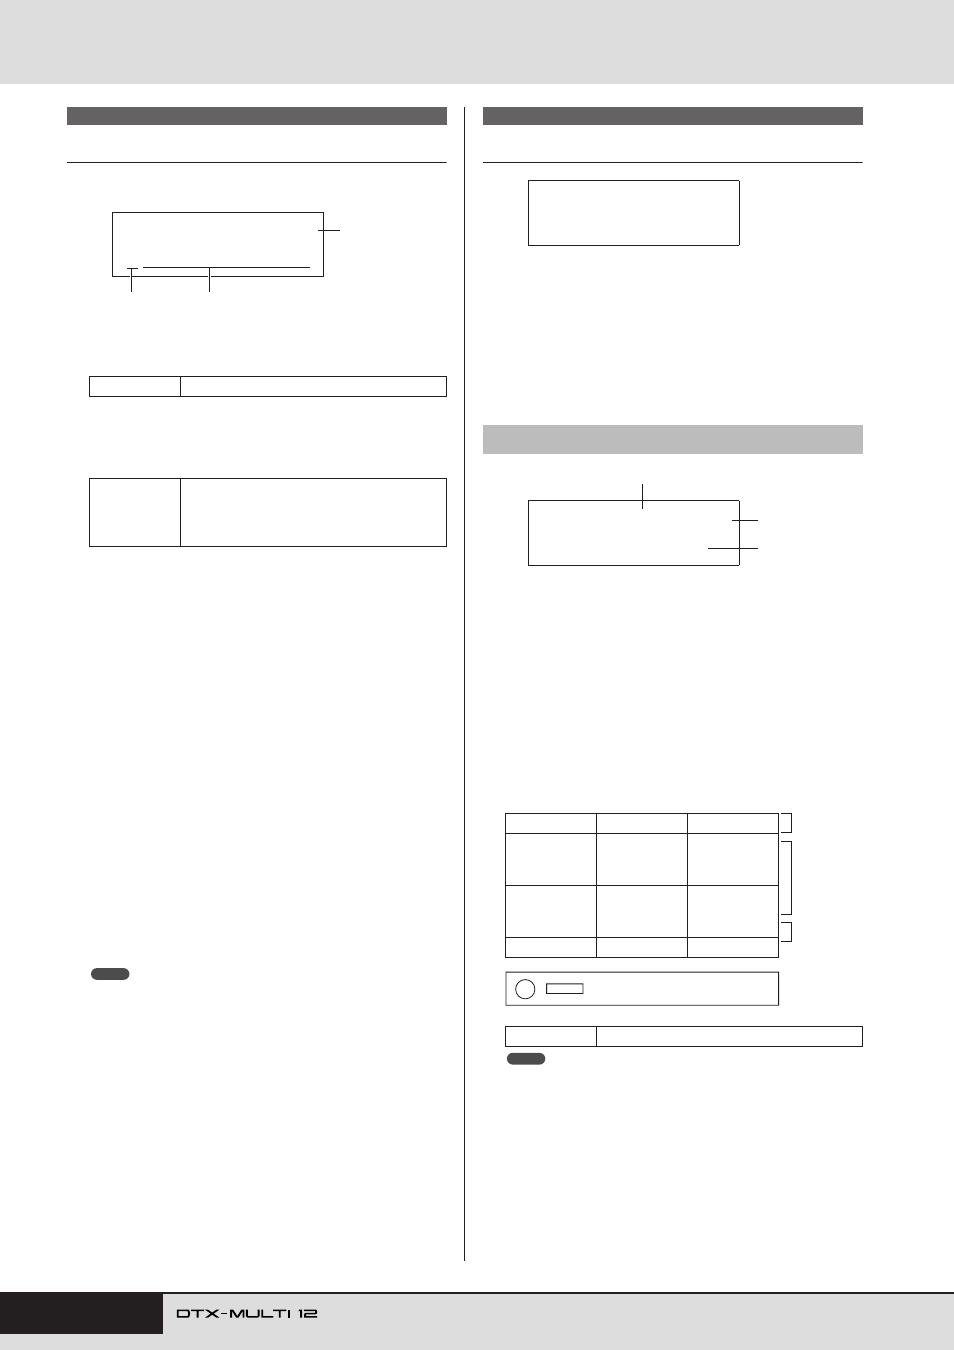
Select Trigger Setup
Use these parameters to select the trigger setup that you want to
apply or edit.
A
Trigger setup category
Use this parameter to specify either the Preset (P) or User (U)
trigger-setup category.
B
Trigger setup number: Trigger setup name
Use these parameters to select the trigger setup that you want
to apply or edit.
P01: Stick Wide ......... Stick-playing trigger setup with a wide
dynamic range, allowing the softness
or hardness of playing to be easily
expressed.
P02: Stick Normal...... Stick-playing trigger setup with a stan-
dard, well-balanced response.
P03: Stick Narrow...... Stick-playing trigger setup with a nar-
row dynamic range for highly-consis-
tent hit detection. With this setup, the
softness or hardness of playing has less
effect, allowing differences in volume
to be smoothed out.
P04: Hand .................. Hand-playing trigger setup.
P05:Finger.................. Hand-playing trigger setup that also
supports finger-tip playing.
U01 to U10 ................ User triggers.
Freely-configurable trigger setups for
your own unique triggering needs.
C
Input level indicator
Visual representation of the input level for the pad(s) being
struck.
• The Trigger Setup Link page (KIT7-6) can be used to set a complete
trigger setup for the current kit. (See page 52)
Pad Setup
In the PAD section, you can set parameters affecting the sensitiv-
ity, output, and other characteristics of each of your DTX-MULTI
12’s built-in pads and of external pads connected via the PAD
jacks. With the PAD page (TRG2) displayed, press the [ENTER]
button to access the Pad Type (TRG2-1) and Crosstalk Prevention
(TRG2-2) parameter-setting pages. You can use the [
B
]/[
C
]
buttons to switch between these pages.
1
Pad
Use this parameter to select the pad(s) to be set.
UPUpper row of built-in rim pads (i.e., 1 to 3)
MIDMiddle rows of built-in pads (i.e., 4 to 9)
LOWLower row of built-in rim pads (i.e., 10 to 12)
01Built-in pad 1
: :
12Built-in pad 12
13External pad connected to PAD
M
jack
: :
17External pad connected to PAD
Q
jack
Layout of built-in pads
• Selection by striking is limited to pad groups (i.e., UP, MID, or LOW)
and the external pads (i.e., 13 to 17).
TRG1
Settings
P or U
Settings
With “P” (Preset trigger setup) selected:
01 to 05
With “U” (User trigger setup) selected:
01 to 10
TRG1≥≥≥≥≥≥≥≥≥≥˛¸
P01:Stick≥Wide
1
2
3
NOTE
TRG2 PAD
TRG2-1
Pad Type page
01
02
03
UP
04
05
06
MID
07
08
09
10
11
12
LOW
Settings
UP, MID, LOW, or 01 to 17
TRG2≥≥≥≥≥≥≥≥≥≥˛¸
≥≥≥≥≥≥PAD
2
1
3
TRG2-1≥-MID-≥≥˛¸
Type=StickDyna
Front panel
NOTE