Using acoustic drums to produce trigger signals, Trigger setups – Yamaha DTX-Multi12 Multi-Pad Electronic Percussion Instrument User Manual
Page 30
30
Owner’s Manual
Internal Design
●
Adjusting volume and other parameters using an
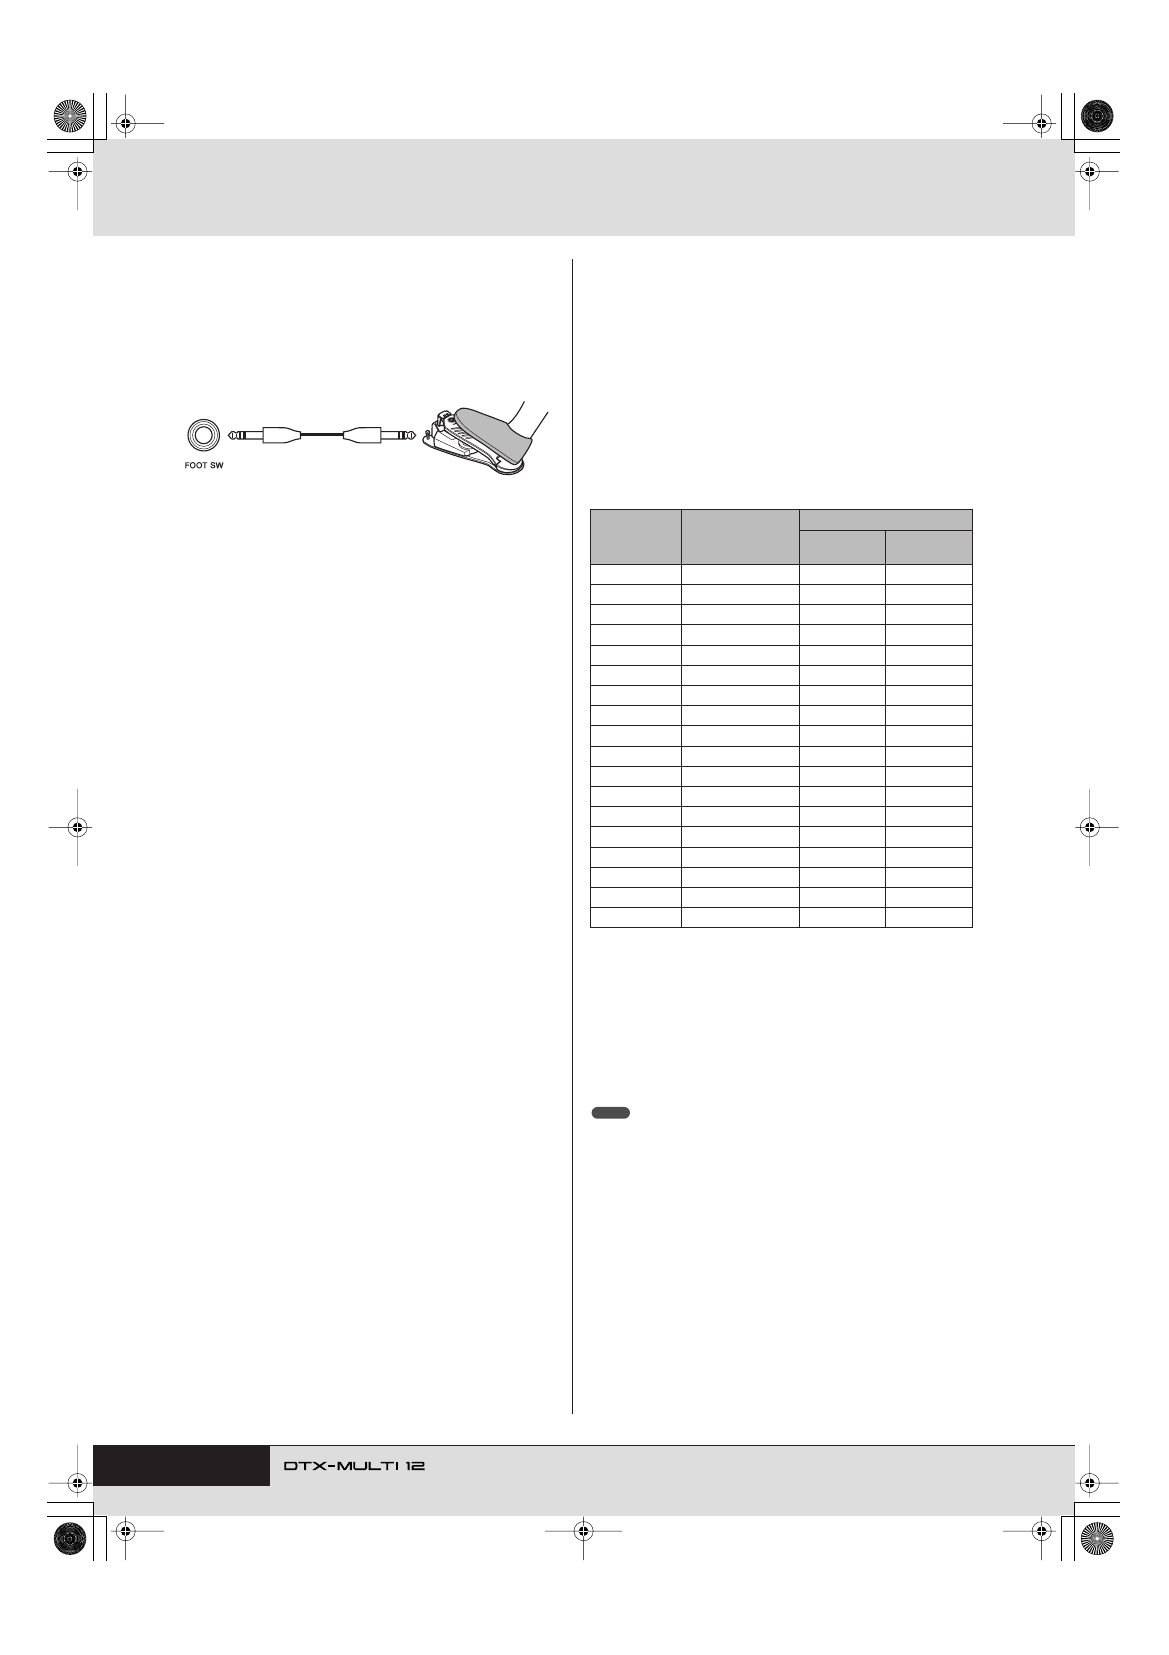
HH65
[Function]
In the same way as with an FC7 Foot Controller, you can
adjust volume and a wide range of MIDI Control Change
values by adjusting the degree by which an HH65 Hi-hat
Controller is operated.
[Setup]
• With the DTX-MULTI 12 turned off, connect the HH65 Hi-
hat Controller via the FOOT SW jack.
• Turn on the DTX-MULTI 12.
• On the Foot Switch Input page (UTIL4-2), set FootSwIn-
Sel to “HH65”. (See page 89.)
• On the Pad Function page (UTIL4-1), select
and
then set Func to the MIDI Control Change message
(“CC01” to “CC95”) that you want to control. (See page
88.)
■
Using Acoustic Drums to Produce Trigger
Signals
Optional drum triggers, such as the DT10 or DT20, can be
used to convert performances on acoustic drums into trig-
ger signals and to input these signals into the instrument.
You can even apply drum triggers to training pads in order
to produce trigger signals.
■
Trigger Setups
Settings for all of the parameters associated with pad sensi-
tivity are collectively referred to as a “trigger setup”. In
addition to the actual sensitivity of the pad when it is
struck, a trigger setup can also include parameter settings
intended to prevent a pair of trigger signals being produced
in response to a single strike (i.e., double triggering) and
unwanted trigger signals being produced by pads other
than the one that was struck (i.e., crosstalk). The DTX-
MULTI 12 supports many different playing styles using
sticks and hands, and by selecting the most appropriate
trigger setup for the style being used, you can ensure that
trigger signals will be correctly processed. Trigger setups
can also be adjusted in order to ensure that trigger signals
from external pads and controllers are processed in an ideal
manner.
Your DTX-MULTI 12 comes pre-loaded with five Preset
trigger setups suitable for many different needs, and you
can also create up to ten unique User trigger setups to suit
your own individual requirements.
■
Using Optional Pads & Drum Triggers with
the PAD Jacks
Whenever you are using separately-sold pads and/or drum
triggers, the types of trigger signal handled will depend on
which of the PAD jacks is used for connection. The follow-
ing table shows how optional pads and drum triggers will
operate when connected via the various PAD jacks on the
rear panel.
PAD
M
:
Suitable for use with two-zone and three-zone pads. Not
suitable for pad controllers.
PAD
N
/
O
, PAD
P
/
Q
:
Not suitable for two-zone pads, three-
zone pads, or pad controllers.
A: Operates as a three-zone pad.
If using a compatible product from the TP series, voices assigned to
each of the two rim sections and the head section can be played. If
using a compatible product from the PCY series, voices assigned to
each of the bow, edge, and cup sections can be played.
B: Operates as a two-zone pad.
If using a compatible product from the RHH series, voices assigned
to each of the bow and edge sections can be played. If using a com-
patible product from the PCY series, voices assigned to each of the
bow and edge sections can be played.
C: Operates as a monoaural pad.
• For the most up-to-date information on support for optional pads and drum
triggers, visit the following web page.
http://dtxdrums.yamaha.com
HH65
√¤‘’
Model
Product name
Input (PAD jacks)
PAD
M
PAD
N
/
O
PAD
P
/
Q
TP65
Drum Pad
C
C
TP65S
Drum Pad
A
C
TP100
Drum Pad
A
C
TP120SD
Snare Pad
B
C
RHH130
Hi-hat Pad
B
C
RHH135
Hi-hat Pad
B
C
PCY65
Cymbal Pad
C
C
PCY65S
Cymbal Pad
B
C
PCY130
Cymbal Pad
C
C
PCY130S
Cymbal Pad
B
C
PCY130SC
Cymbal Pad
A
C
PCY135
Cymbal Pad
A
C
PCY150S
Cymbal Pad
A
C
PCY155
Cymbal Pad
A
C
KP65
Kick Pad
C
C
KP125
Kick Pad
C
C
DT10
Drum Trigger
C
C
DT20
Drum Trigger
C
C
NOTE