Changing the order of a group on a disc, Erasing tracks and the entire disc (erase) – Sony MZ-M100 User Manual
Page 52
52
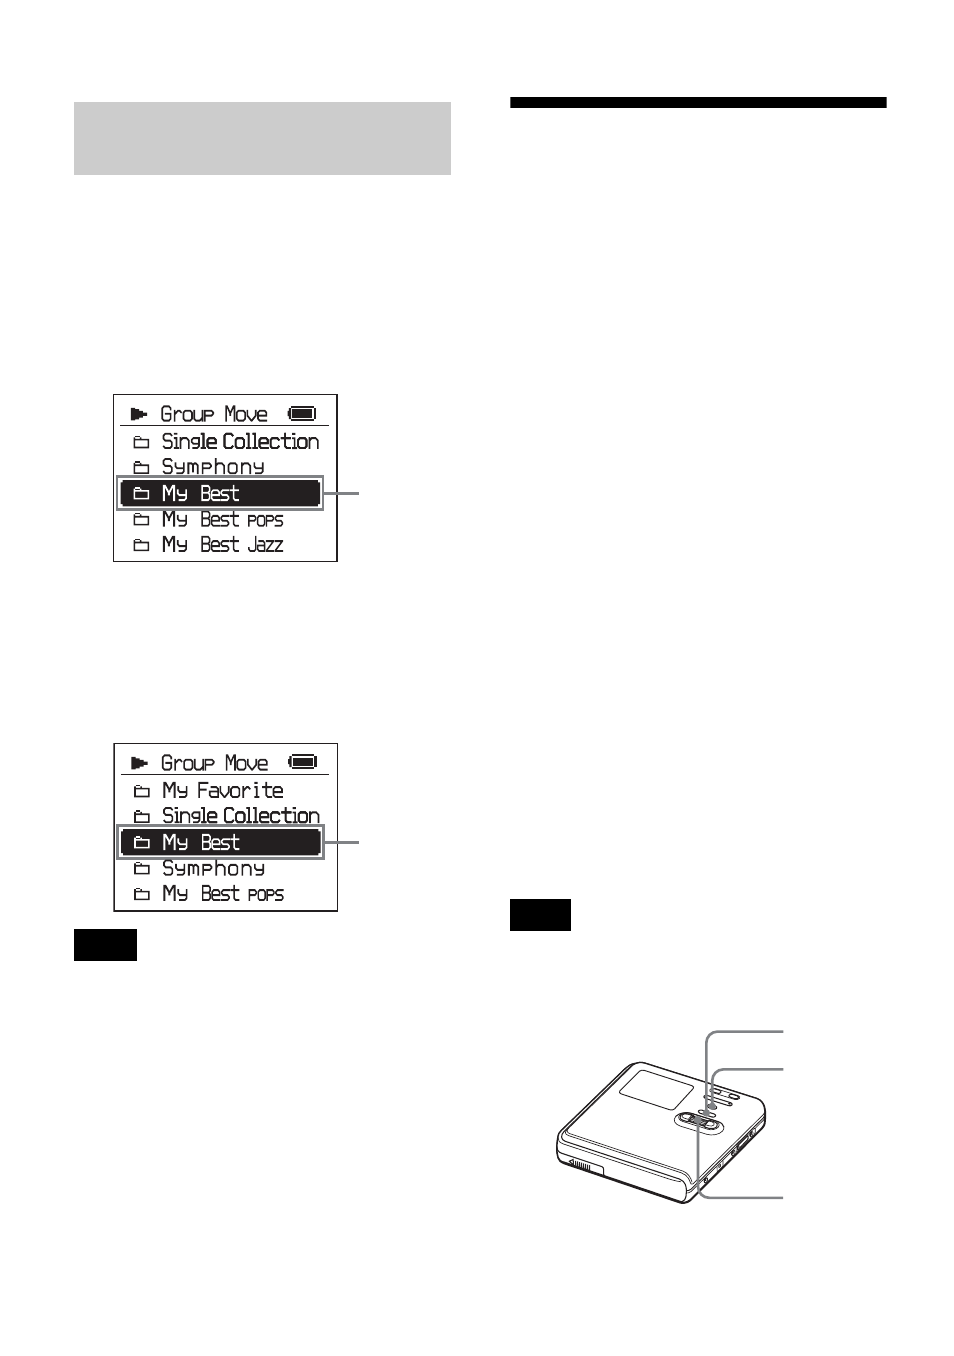
1
While playing a track within a group
whose order you want to change,
enter the menu and select “Edit” -
“Move” - “Group Move”.
The name of the group to which the
currently selected track belongs
appears on the 3rd line in the display.
2
Turn the jog dial to select the
destination position, and then press
the jog dial to enter the selection.
If all tracks are moved out of the group, the
group automatically disappears from the disc.
Erasing tracks and the
entire disc (Erase)
Note that once a recorded item has
been erased, it cannot be recovered.
Make sure to confirm the contents of
the selected item before erasing it.
When erasing tracks that have
been transferred from the
Windows computer
When you try to erase tracks that have
been transferred from the Windows
computer, “TRK FROM PC ERASE
OK?” appears in the display. If you erased
tracks that have been transferred from the
computer, the transfer authorization of the
tracks will be as follows.
•
If the tracks were transferred in Hi-MD
mode, the transfer authorization of the
tracks are restored automatically when
you insert the disc into the recorder and
then connect the recorder to the
computer.
•
If the tracks were transferred in MD
mode, the transfer authorization of the
tracks is lost. If you do not want to lose
the transfer authorization, restore the
authorization by transferring the tracks
to the computer again before erasing
them.
You cannot erase non-audio data (for example,
text data or image data) on a disc used in Hi-
MD mode.
Changing the order of a
group on a disc
Note
Name of
the group
you want to
move
Example: When moving the group “My Best”
to the position after the group “Single
Collection”
Destination
position in
the disc
Note
Jog dial
MENU
x