Operation – Ryobi P400 User Manual
Page 6
6 — English
OPERATION
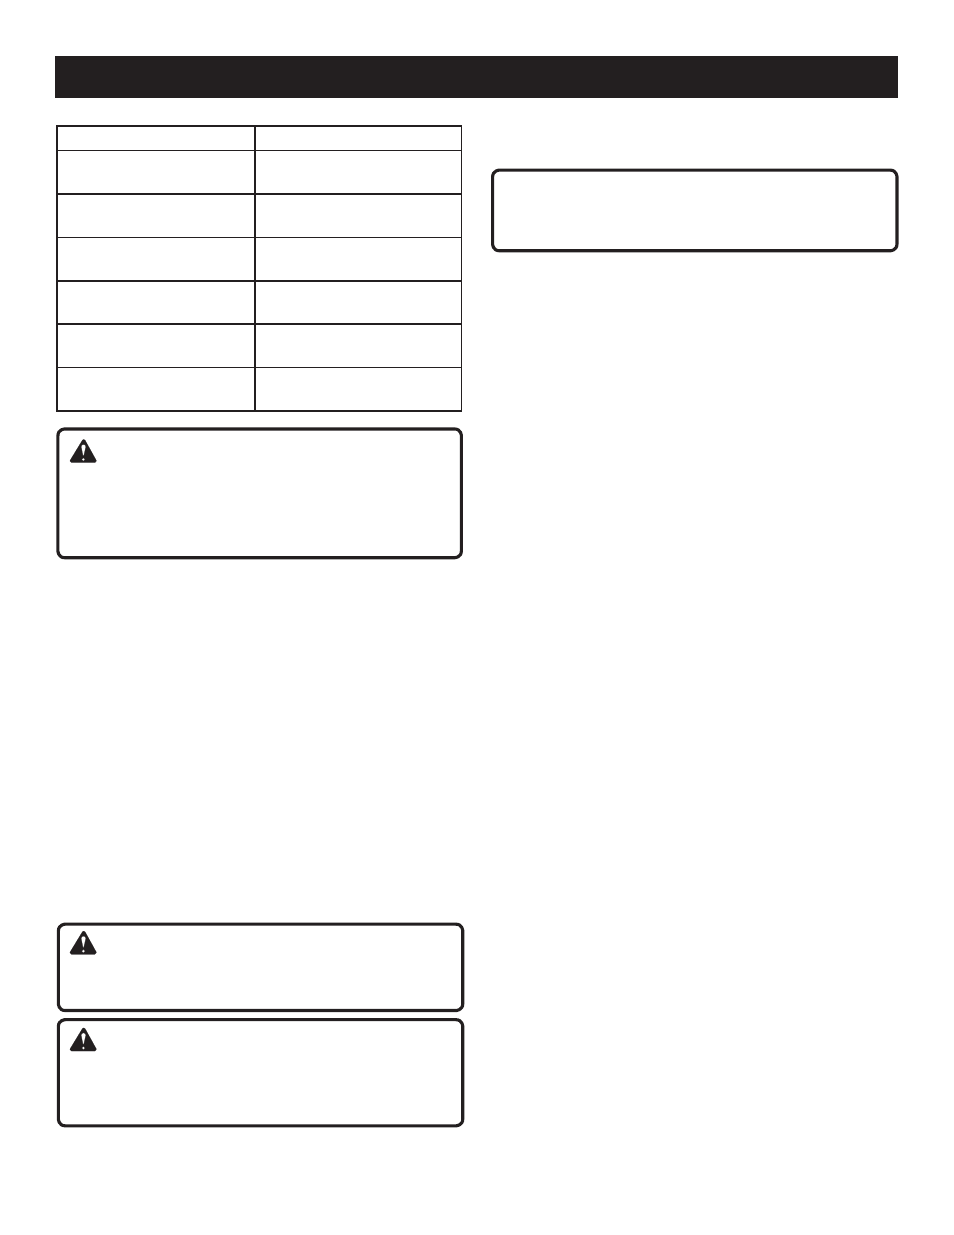
Sheet/Pad
Recommended Use
Heavy scrubbing pad
(Part no. 019001001026)
Paint and rust removal
Light scrubbing pad
(Part no. 019001001027)
Light scrubbing and cleaning
Polishing pad
(Part no. 019001001028)
Polishing
60-grit sanding sheet
(Part no. 019001001023)
Coarse sanding
120-grit sanding sheet
(Part no. 019001001024)
Light sanding
240-grit sanding sheet
(Part no. 019001001025)
Finish sanding
WARNING:
Always remove the battery pack when attaching,
changing, or rotating sanding sheets. Failure to do
so could cause accidental starting, leading to serious
personal injury.
ATTACHING SANDING SHEETS, SCRUBBING
PADS AND POLISHING PADS
See Figure 3, page 8.
Align the pointed tip and rounded edges of the sanding
sheet or pad with the pointed tip and rounded edges of
the hook-and-loop pad. Carefully press the fuzzy side of
the sanding sheet against the pad as tightly as possible.
NOTE: Sanding sheets can be reused for the life of the
sanding abrasive. It is recommended that you keep the
sanding sheet backing pad clean to provide for best
adhesion. Clean occasionally by brushing lightly with a
small brush.
OPERATING THE SANDER
See Figure 4 and 5, pages 8 - 9.
Secure the workpiece to prevent it from moving under
the sander.
WARNING:
Unsecured workpieces could be thrown towards the
operator, causing injury.
WARNING:
Keep your head away from the sander and the sanding
area. Your hair could be drawn into the sander causing
serious injury.
Place the sander on the workpiece so that all of the
sanding sheet surface is in contact with the workpiece.
NOTICE:
To avoid damaging the motor from overheating, be careful
not to let your hand cover the air vents.
Turn on the sander and move it slowly over the workpiece.
Make successive passes in parallel lines, circles, or
crosswise movements.
Turn off the sander and wait until it comes to a complete
stop before removing it from the workpiece.
Do not force. The weight of the unit supplies adequate
pressure, so let the sanding sheet and sander do the work.
Applying additional pressure only slows the motor, rapidly
wears sanding sheet and greatly reduces sander speed.
Excessive pressure will overload the motor causing possible
damage from motor overheating and can result in inferior
work. Any finish or resin on wood may soften from the
frictional heat. Do not allow sanding on one spot too long,
as the sander’s rapid action may remove too much material,
making the surface uneven.
Extended periods of sanding may tend to overheat the motor.
If this occurs, turn sander off and wait until sanding sheet
comes to a complete stop, then remove it from workpiece.
Remove your hand from vent area, remove sanding sheet,
then with your hand removed from vent area, turn sander on
and run it free without a load to cool motor.
For detail sanding such as corners and crevices, use the tip
of the sanding pad with small back and forth motions.
CHANGING SANDING SHEETS AND PADS
See Figure 6, page 9.
The sander is packed with sanding sheets and scrubbing
pads designed for a variety of uses. To change sheets and
pads, simply pull the used sheet off the base and attach the
desired sheet by pressing the sheet or pad onto the base
of the sander.
ROTATING THE SANDING SHEETS
See Figure 7, page 9.
The majority of wear in a precision sanding application occurs
at the tip of the sanding sheet. The unique Tri-Flex design of
the sanding sheets allows you to detach and rotate the top
two thirds of each and extend the life of the sheet.
To rotate the top of the sheet, simply remove the top two
thirds along the perforation. Rotate the sheet so that a clean
corner is located at the tip of the base. Press the sheet firmly
onto the pad.
NOTE: Scrubbing and polishing pads are not perforated and
cannot be rotated.