Thumb keyboard, Kb178rt, Using the keyboard – Azio Mini Thumb Keyboard w/ Trackball (KB178RT) User Manual
Page 4
Thumb Keyboard
KB178RT
USING THE KEYBOARD
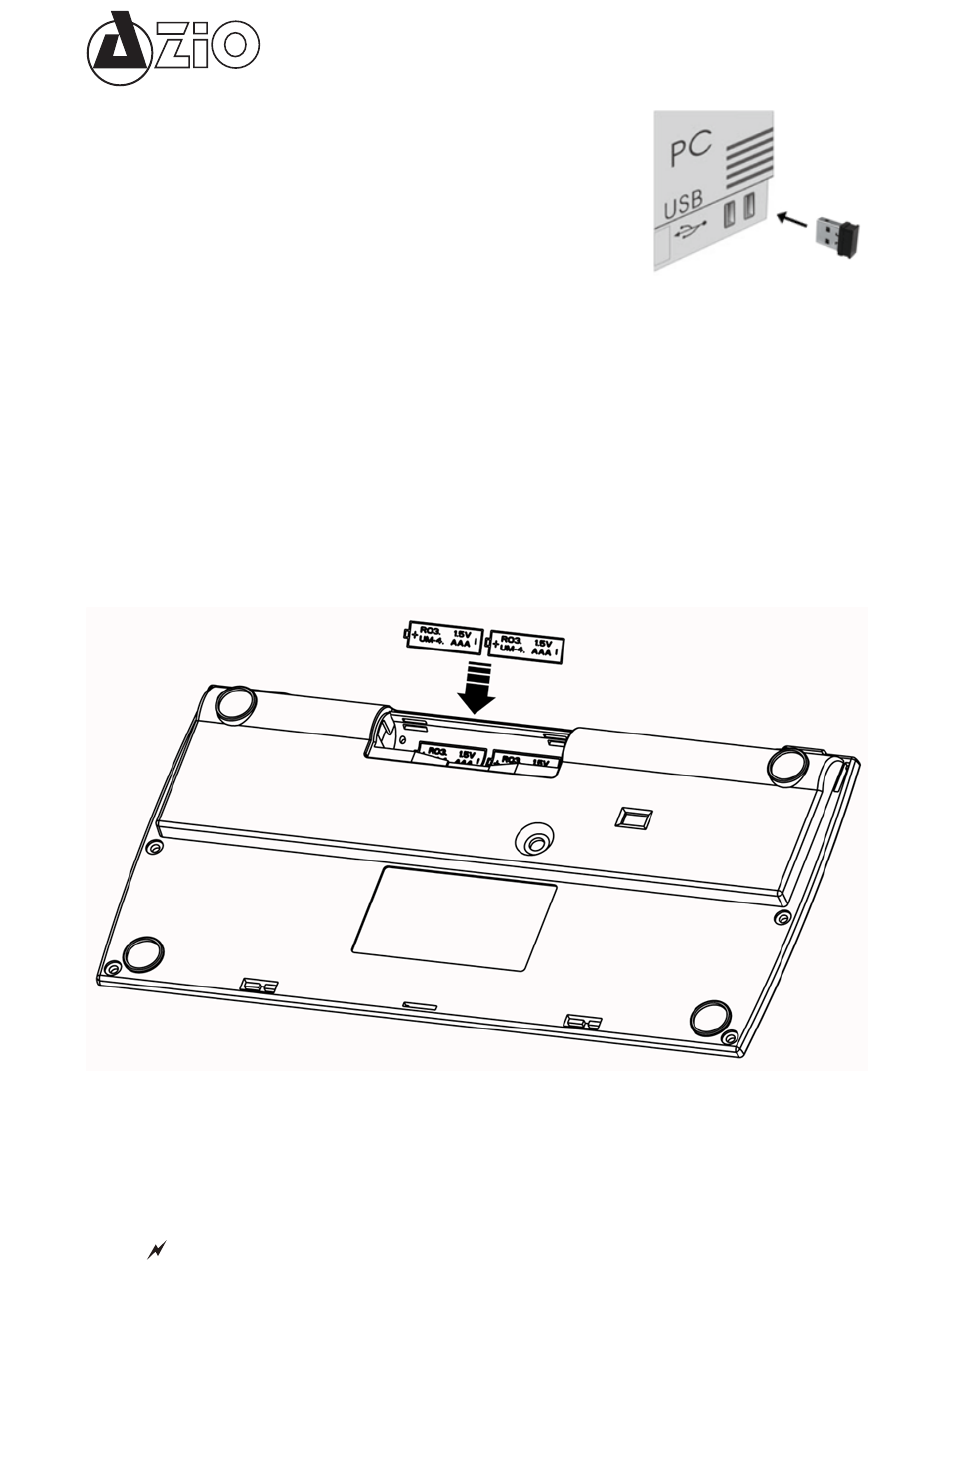
Install the USB Receiver:
• Connect the USB receiver dongle to an available USB port on your
PC.
• This product is 100% Plug N Play. Additional drivers for the
supported Operating Systems are not required.
Synchronizing USB Receiver with Keyboard:
This product comes pre-synchronized. Unless there is a reason to synchronize again, such as if
the USB receiver was replaced or not responding, this section may be skipped.
• For this device to synchronize properly, please put the USB receiver within one feet distance from
the keyboard.
• On the bottom side of the keyboard, please press the “Pairing” button one time. Once pressed,
the LED will start flashing. Please wait for the LED to complete pairing, this can take up to 10
seconds. Once completed, the LED will stop flashing.
Install the Batteries:
This keyboard is designed to work with Alkaline non-rechargeable batteries or NiMH rechargeable
types. Obviously, it will not charge if non-rechargeable batteries are used. As a safety feature, the
device will only charge when rechargeable batteries are detected. Please do NOT mix Alkaline
(non-rechargeable) with NiMH (rechargeable) batteries.
• Remove the battery cover from the bottom side of the keyboard. Install the included AAA batteries
in the battery compartment. Please make sure they are installed with the correct polarity.
• Flip the ON/OFF switch to ON position.
• Test the functionality of the keyboard by pressing some keys. The USB receiver is pre-
synchronized with the keyboard. If for some reason it is not working, try synchronizing the receiver
with the keyboard again.