2 affixing the house number – Brennenstuhl Illuminated House Number Solar Power SH 4000 User Manual
Page 20
Solar Powered SH 4000
Brennenstuhl
User's Handbook
Version: S-P_11_2006
20
7.2
Affixing the house number
Step
Operation
Description
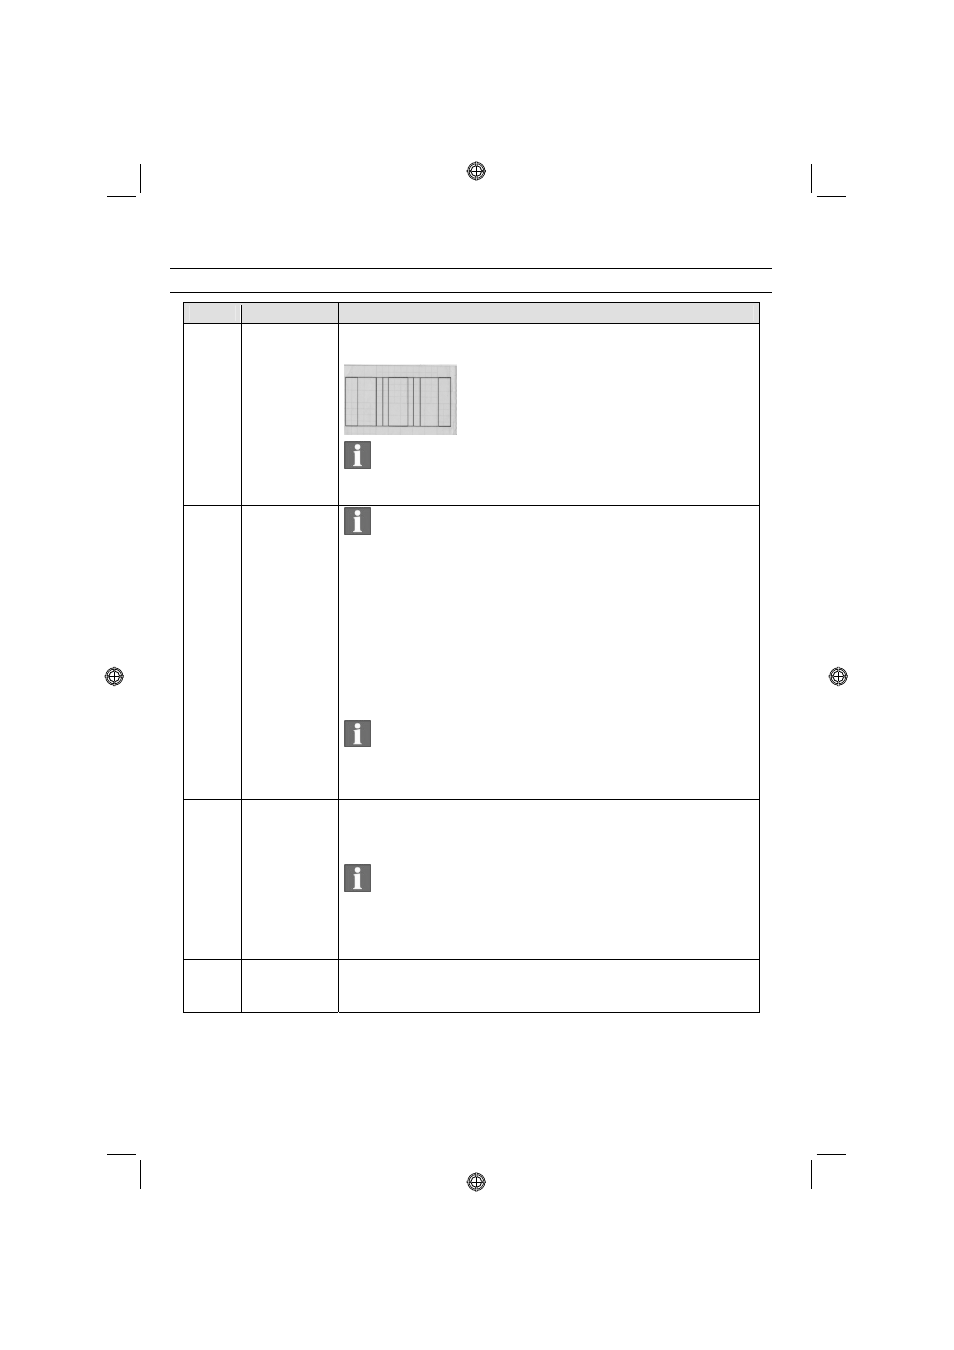
1 Remove
transfer foil
Remove the transfer foil from the protective paper. Place it on the
foil protective paper with the adhesive side facing upwards.
TIP: By means of the grid on the protective paper, the
numbers/letters can be aligned precisely.
2 Affix
house
number to
transfer foil
NOTE: House numbers/letters must be positioned in the
reverse (mirror image) order on the foil. Start on the right and work
to the left.
Affix house numbers/letters (incl. the protective paper for the
letters) to the back of the transfer foil.
- For 3-digit numbers, use the red markings.
- For 2-digit numbers, use the blue markings.
Pull off the protective paper from the letters. The house
numbers/letters will remain in position. These are also coated with
adhesive on the exposed side.
TIP: Explanation with typical example:
The house number 345 begins with 3 on the right side, followed by 4
and finally 5 on the left.
3 Affix
transfer
foil to window
Affix the transfer foil to the window with uniform horizontal and
vertical spacings. Position the transfer foil with the house
numbers/letters on the glass panel with uniform horizontal and
vertical spacings at the edges.
NOTE: Take care to ensure that the transfer foil lies flat and is
evenly attached.
Press down the house numbers/letters on the window with a finger.
4 Remove
transfer foil
Pull off the transfer foil carefully and slowly. The house numbers and
letters will now be permanently affixed to the window.
0415880 Solar_Hausnr_SH 4000-Dru20 20
0415880 Solar_Hausnr_SH 4000-Dru20 20
22.02.2007 15:41:32
22.02.2007 15:41:32