Holland Electronics RK-UNIV User Manual
Page 5
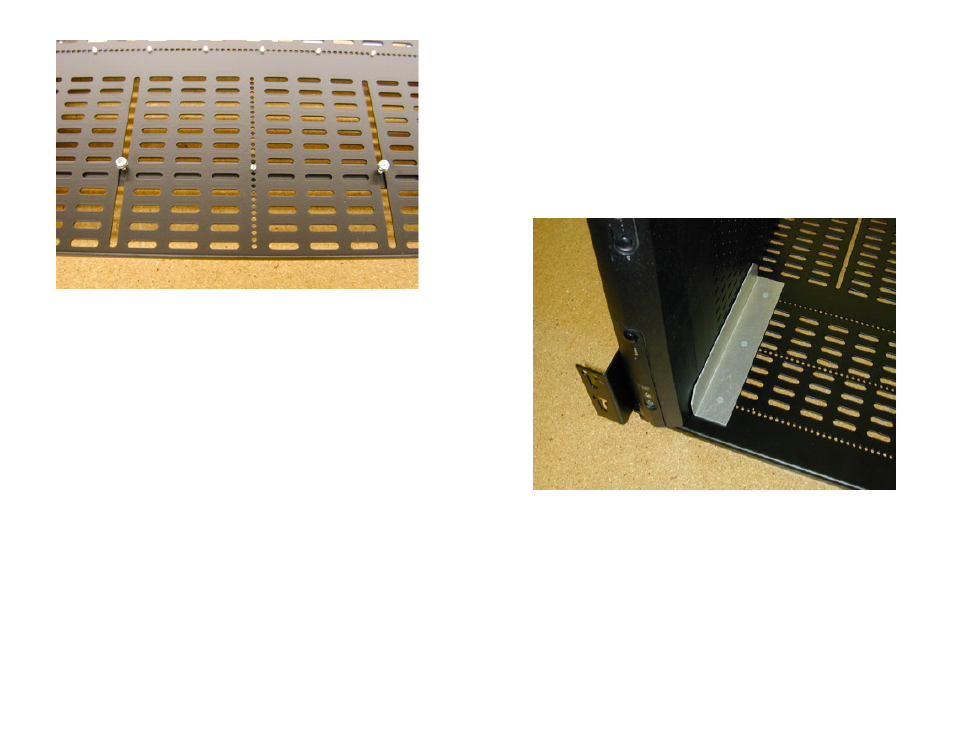
ASSEMBLY
Divider Spacing
1. Place one RK-UNIV receiver shelf down on a flat surface with
the mounting tabs facing you.
2. Using one receiver as a guide, place the receiver on its side with
the front of the unit facing you and place it against the mounting
tab walls.
3. Place a Dividing bracket close to the receiver while still being
able to align it and press one snap pin into a aligning hole, align
the divider and press in the other two pins. Keep in mind to leave
enough room for the feet of the receiver.
4. Now place the receiver against the divider that was just installed.
5. Continue step #3 for all the required dividers on that shelf.
6. See Rear retaining bracket installation.
5. Once the pins are pressed in, turn the unit over and thread on the
Nylon Locking Nuts as shown above until they are tight.
6. Repeat this process for the second shelf.
Mounting
1. Determine the amount of space that is required to mount the rack
with units in the Head-end rack.
2. (One way this can be done is by putting 2 units in the bottom half of
RK-UNIV while it is still sitting on a flat surface. Place one unit at
each end of the RK-UNIV then place the top half of the shelf on top
of the units and measure the distance from top to bottom.)
3. Mount the top and bottom in the proper manner in the
Head-End rack within the required space using the
Mounting
screws provided.
4. Slide the units to be racked in the RK-UNIV.
5. Once the units are in the RK-UNIV. There are vertical holes on the
mounting tabs for the users to micro adjust the spacing for a tight fit.
6. Mount the Front retaining bar with the Mounting screws provided.
Be careful to properly place so it does not press on any buttons on
the front of the unit being racked.