Hardware preparation and installation – Artesyn RTM ATCA-F140 Installation and Use (September 2014) User Manual
Page 26
Hardware Preparation and Installation
RTM-ATCA-F140 Installation and Use (6806800M97G)
26
1. Visually inspect the RTM and zone 3 connectors on the front blade for damage or bent pins
before attempting to insert a board. If any connector damage or pin damage is observed,
stop before inserting the RTM and send the damaged item through proper repair channels.
2. If the corresponding front blade is already installed, perform the following steps.
On the front blade, verify the face plate screws that secure the blade to the shelf are
tight.
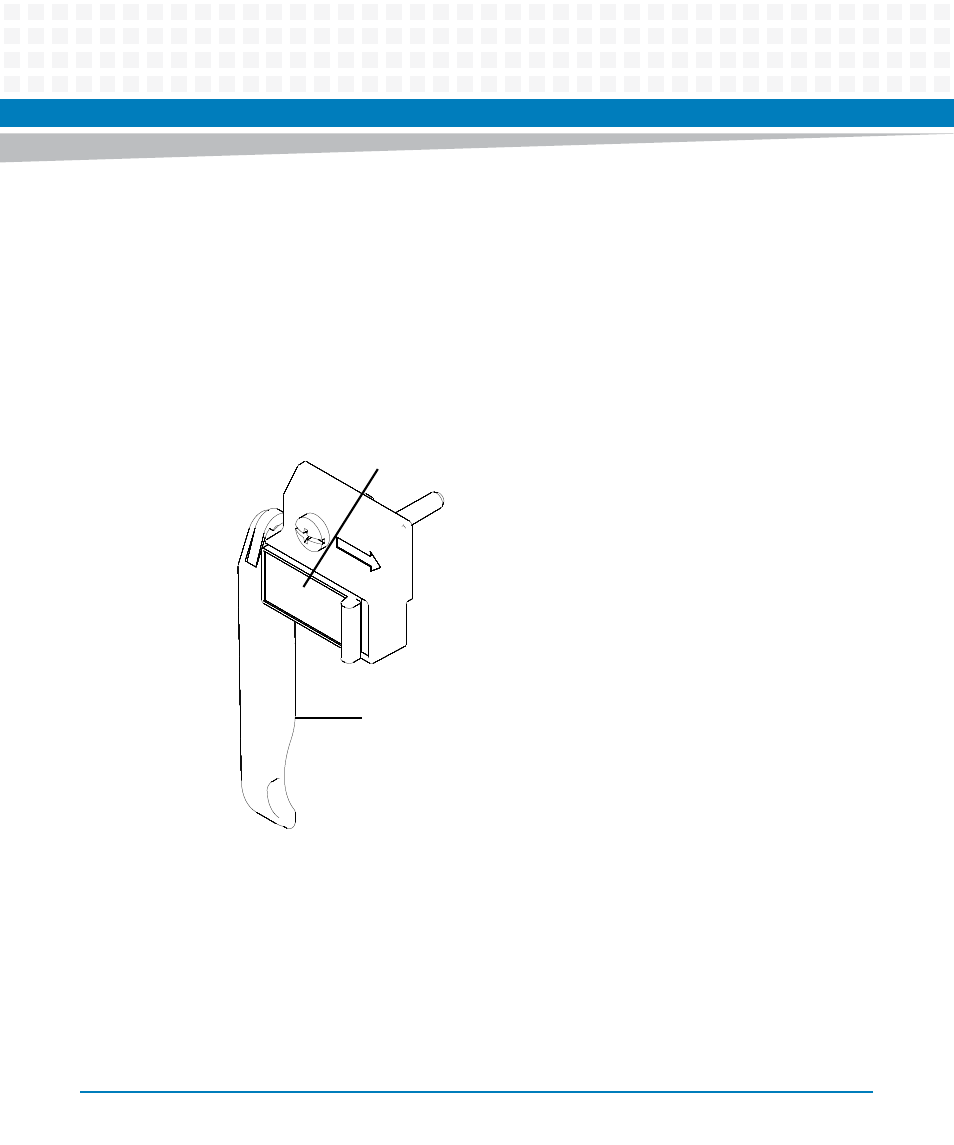
Deactivate the front blade. Slide the latch into the release position and pull out the
handle outward to unlatch the handle from the face plate. Do not rotate the handle
fully outward.
When the blue LED on the front blade is permanently illuminated, proceed to the next
step.
3. Insert the RTM into the shelf by placing the top and bottom edges of the RTM in the card
guides of the shelf. Ensure that the guiding module of the front blade and RTM are aligned
properly.
4. Apply equal and steady pressure to the RTM to carefully slide the RTM into the shelf until
you feel resistance. Continue to gently push the RTM until the connectors engage.
Latch
Handle