Calibrating the supply – Avery Dennison Monarch 9416 XL Quick Reference User Manual
Page 14
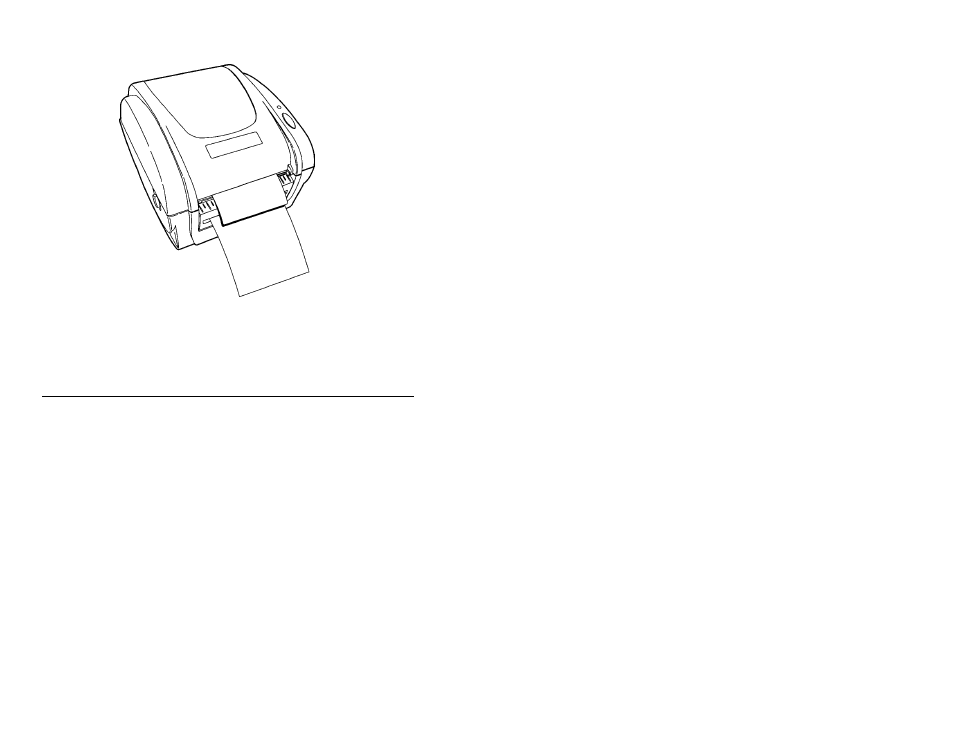
15. Press the FEED button. A label separates from the backing
paper. Remove the peeled label and another label prints.
Note:
Hold the leading edge of peeled labels when printing on
supply longer than six inches.
16. Calibrate the supply, if necessary. See “Calibrating the Supply,”
for more information.
Calibrating the Supply
1. Turn off the printer.
2. Press and hold the FEED button while turning on the printer.
3. To calibrate the supply, release the FEED button after the
indicator light starts flashing ORANGE. The printer calibrates
the black mark or die cut sensor, measures the label length, and
prints the test labels.
To calibrate the ribbon (thermal transfer printers only),
release the FEED button after the indicator light starts
flashing RED. The printer calibrates the ribbon sensor.
4. To resume normal printing, turn off the printer, wait two
seconds, then turn it back on again.
14