Avery Dennison 9820 Coax Interface User Manual
Page 6
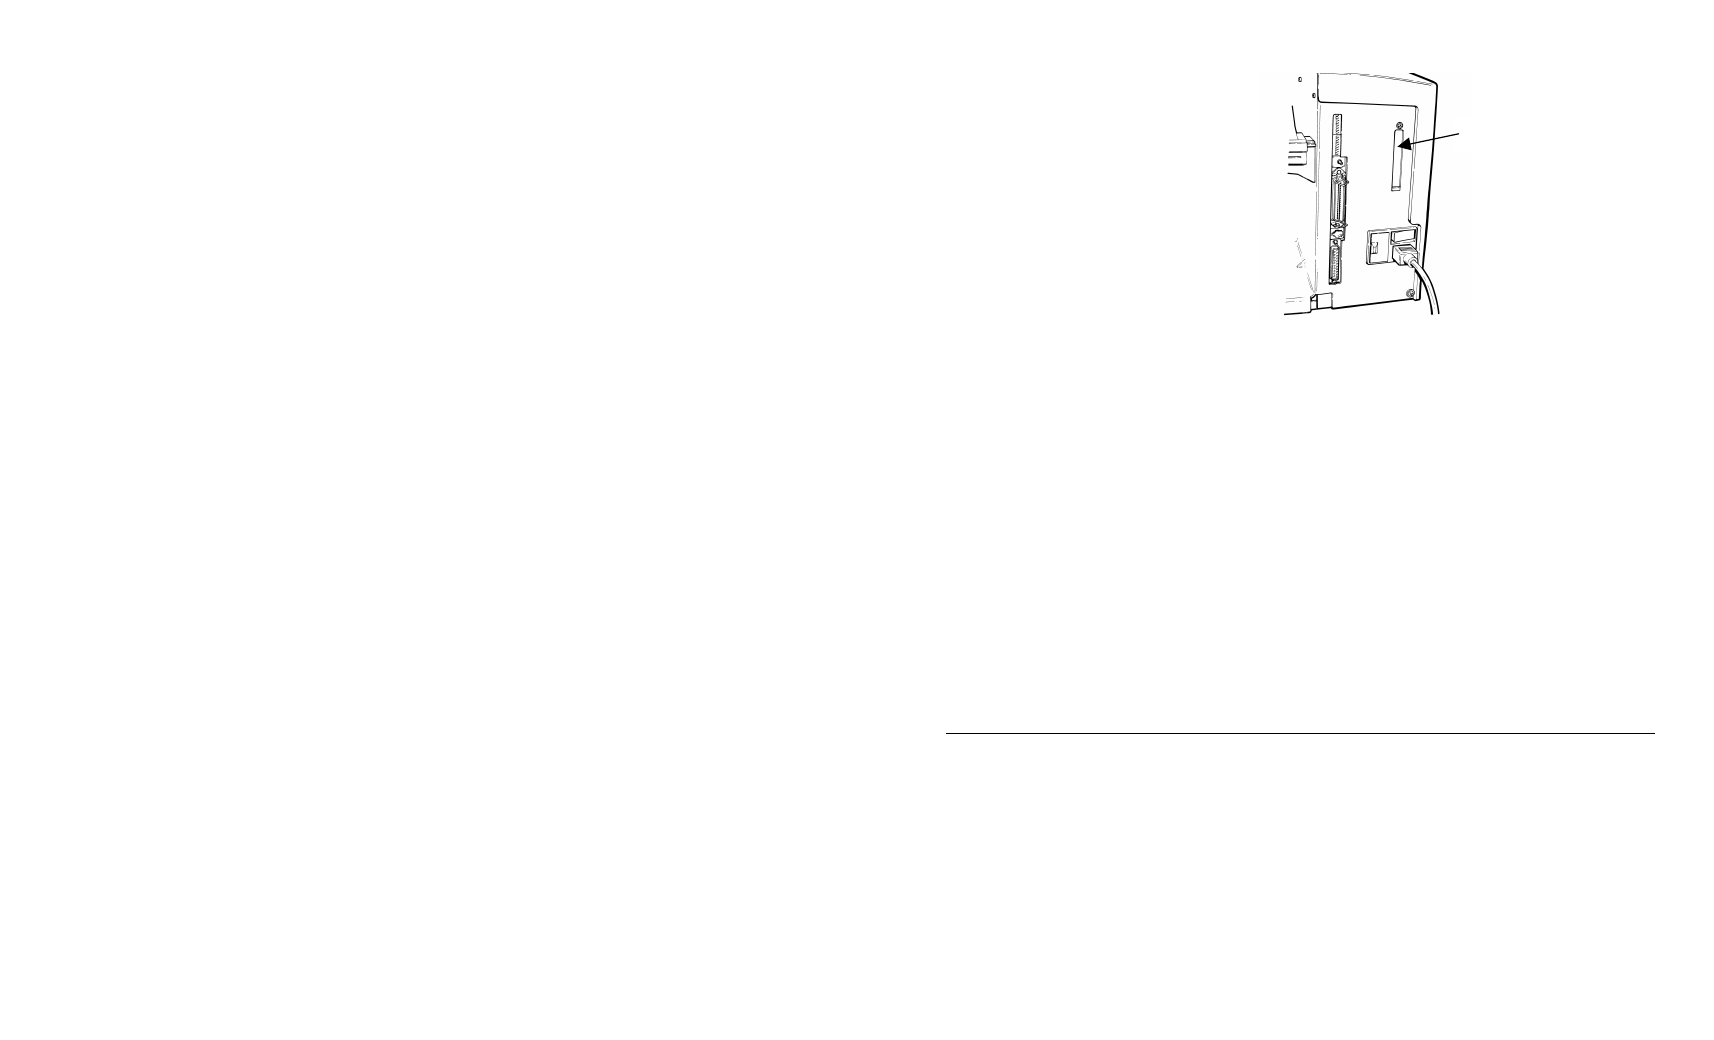
1-2 Installing the Interface
2. Remove interface plate.
3. Replace interface plate
with twinax/coax interface
and secure with screw
provided.
4. Connect ribbon cable to
40-pin I/O on the printer
mother board.
5. Set rotary switch to
position 8, turn on printer,
and leave on for 10 seconds. This resets the interface to factory
defaults.
You can also use the reset command (&%S98$) to reset the twinax or
coax device to factory defaults via the serial or parallel port on the
printer.
Printing a status page is not available.
6. Turn off printer and leave off until you have completed steps 8 - 10.
7. Set rotary switch to correct twinax address, or to 0 if attaching to a
coax system.
8. Attach twinax or coax cable to 15-pin connector.
9. Attach twinax or coax cable from the host to the interface.
10. Turn printer on. The Sync/Cu LED is on when host and printer
establish communications; this may take several seconds.
F o r A S / 4 0 0 U s e r s
Any time the printer has been turned off and back on, the AS/400
operator may have to reply to a message waiting concerning forms
alignment.
Interface Plate