Baby Lock Lauren (BL450A) Let's Get Started Guide User Manual
Page 12
For other exciting projects like this one, visit our Web site at www.babylock.com
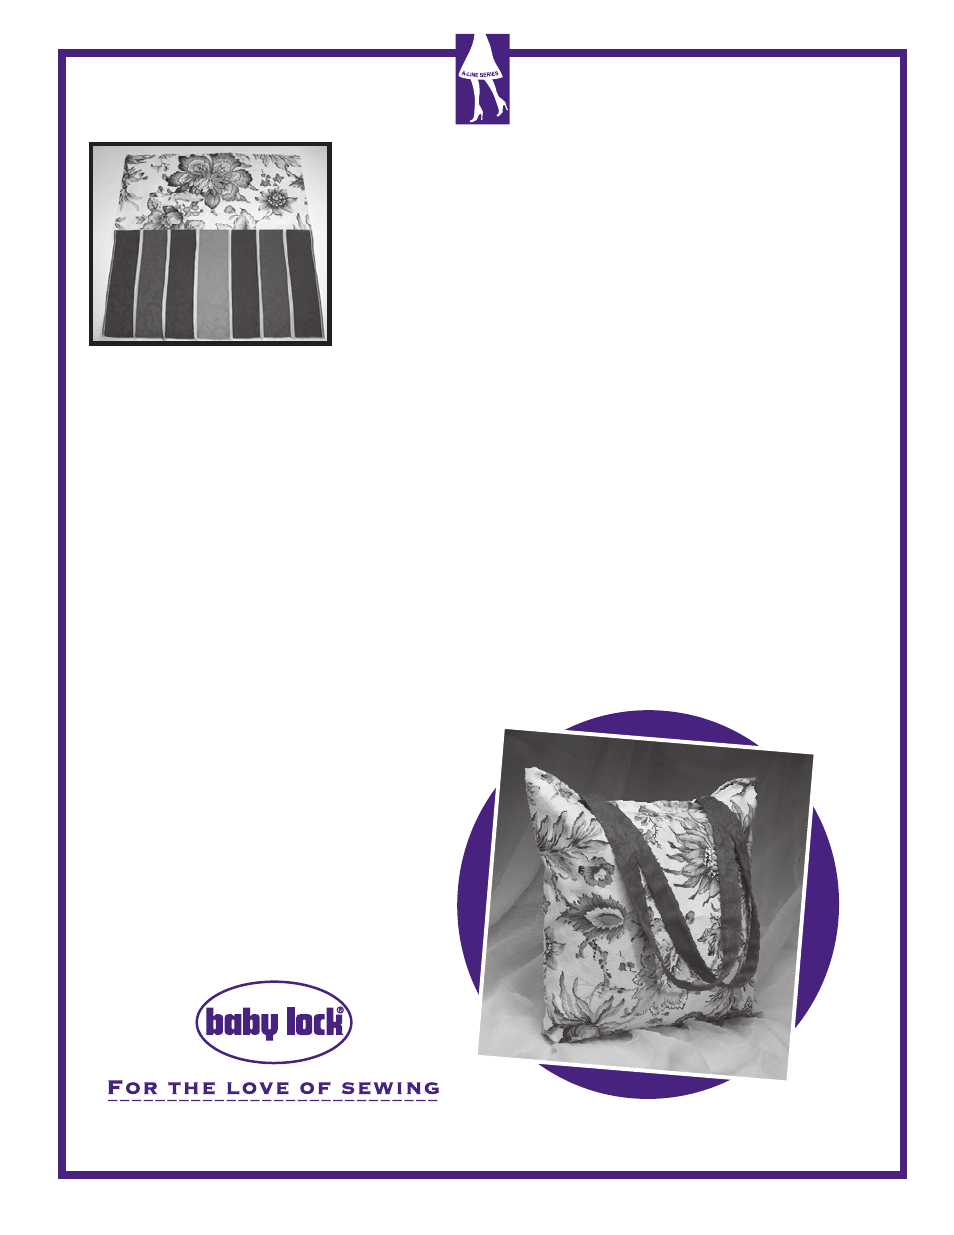
7. With right sides together, serge one 8-1/2” x 16-1/2” outside top piece to
one of the outside base sections. Press the seam. Repeat for the second
half. (Fig. 3)
8. Place the two outside pieces together and serge along both sides and
across the bottom leaving the top edge open.
9. Place the two 17” x 16-1/2” inside fabric pieces right sides together.
10. Serge across the bottom and down one side. When serging the other
side seam, leave an opening about 4” long for turning.
11. Pull the bottom corners into a point and measure approximately 1" inch in
from the point.
12. Serge the point off and repeat for the other corner on the opposite side.
This will give the bag a flat bottom.
13. Repeat this step for the outside bag bottom corners.
14. With right sides together, serge each strap piece lengthwise.
15. Turn the straps right side out and press.
16. Place the outer bag section and the inside bag section with right sides together.
17. Insert the entire strap between the layers on each side. Position each of the strap ends 4” from the side seam
and hold in place with a pin.
18. Serge around the top edge catching only the raw edges of the straps. Do not serge over the pins.
19. Turn the bag right side out through the 4” opening in the side.
20. Press to shape the bag.
21. Cut a piece of cardboard and insert it into the base of the tote.
22. Use a hand needle and thread to tack it into position
to keep it from sliding when you reverse the bag.
23. Use the hand needle and stitch the opening closed.
Fig. 3