8 .......... set up and alignment, Set up and alignment – BUG-O Systems Standalone Pendulum Weavers User Manual
Page 8
8
SET UP AND ALIGNMENT
If using a track drive, attach the rail parallel to the weld joint with magnet bars or vacuum cups.
Position the drive carriage on the rail, mount the control box on the drive, and attach the rack
holder to the drive unit or carriage.
Position and clamp the pendulum gearbox on the rack.
Insert the welding gun into the fits-all clamp on the pendulum weaver. Adjust the racks and clamps
to align the welding gun tip with the weld joint, and clamp firmly in place.
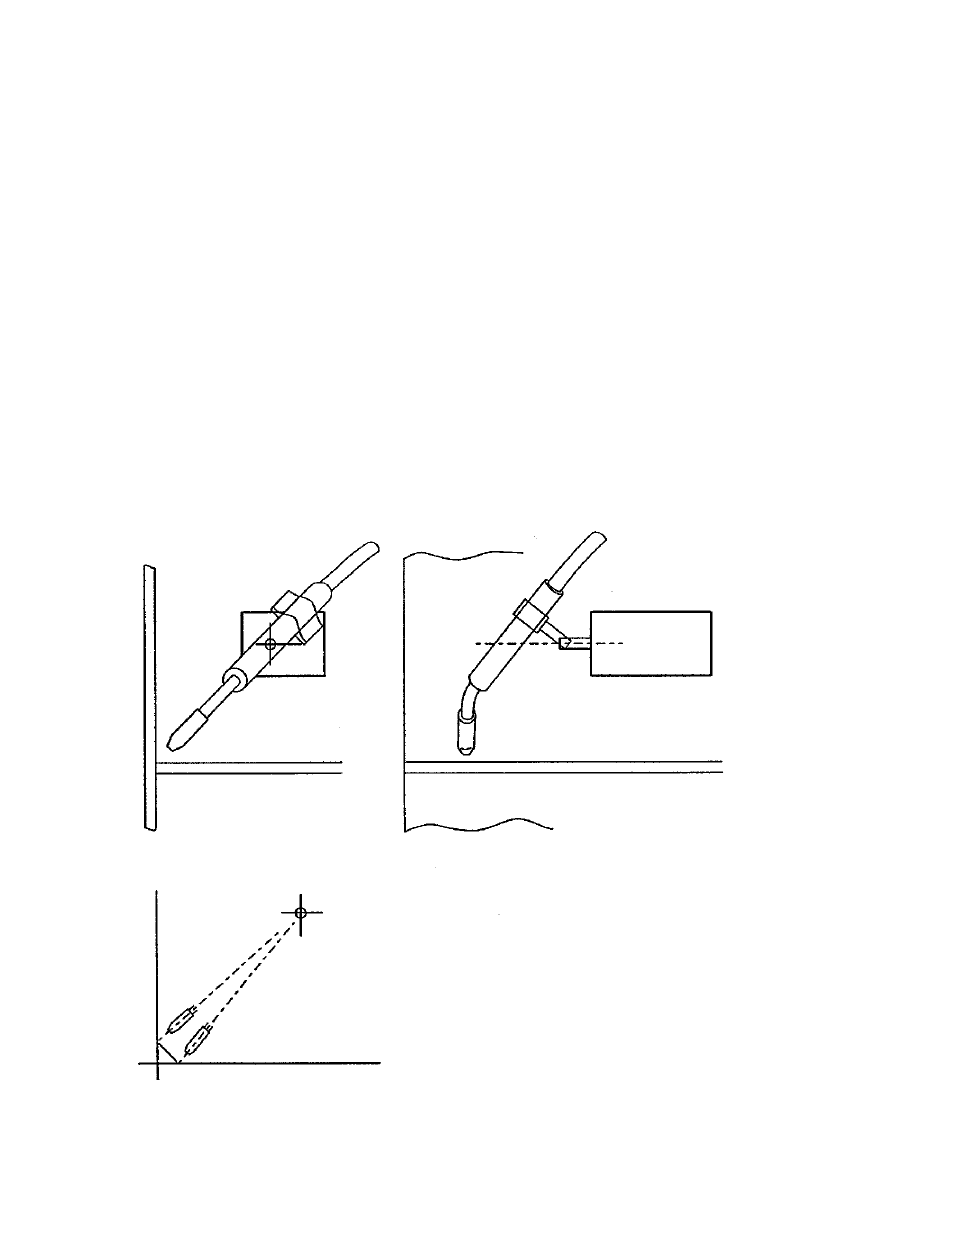
IMPORTANT!
When the welding gun is clamped in place with the nozzle pointing into the weld groove, the
centerline of the wire must pass through the axis of the gearbox output shaft, as shown in Figure
A, which is a view looking along the shaft. Figure B shows the side view of the same.
For a fillet weld, the nozzle will be at a 45
0
angle as shown in Figure C, and will swing equally in
both directions.
Figure A
Figure B
Figure C
* all measured at a 6" (152 mm) radius