Basic operation, Microphone inputs, Phantom power – Cloud Electronics 46-120TMedia User Manual
Page 22: Gain & level eq high-pass filter, Use of mic 1 with a telephone system, Gain & level, High-pass filter
46-120 Installation and User Guide V1.2
22
Basic operation
The front panel transport controls operate in a similar
manner to the standard controls on, say, a CD player.
Plugging a memory device into one of the front panel sockets
will activate the player and after a short delay, the player will
enter PLAY mode, confirmed by the illumination of the
PLAY
LED ([17] at page 11). In Normal Mode (see below), the
first track played is the one whose filename starts with the
lowest numeric/alpha characters.
The track playing may be momentarily paused by pressing
the H button [12]; the
PLAY LED goes out and the PAUSE
LED [18] illuminates to indicate this. Play is resumed from
the point at which it was paused by a further press of the H
button. The track may be stopped from either Play or Pause
modes by pressing the A button [13]; both LEDs go off.
The next or previous track may be selected for immediate
play by pressing the E or F button respectively. These
buttons operate in any transport mode. (Unlike a CD player,
the F button will cause the play point to jump to the start of
the previous track, not that of the current one).
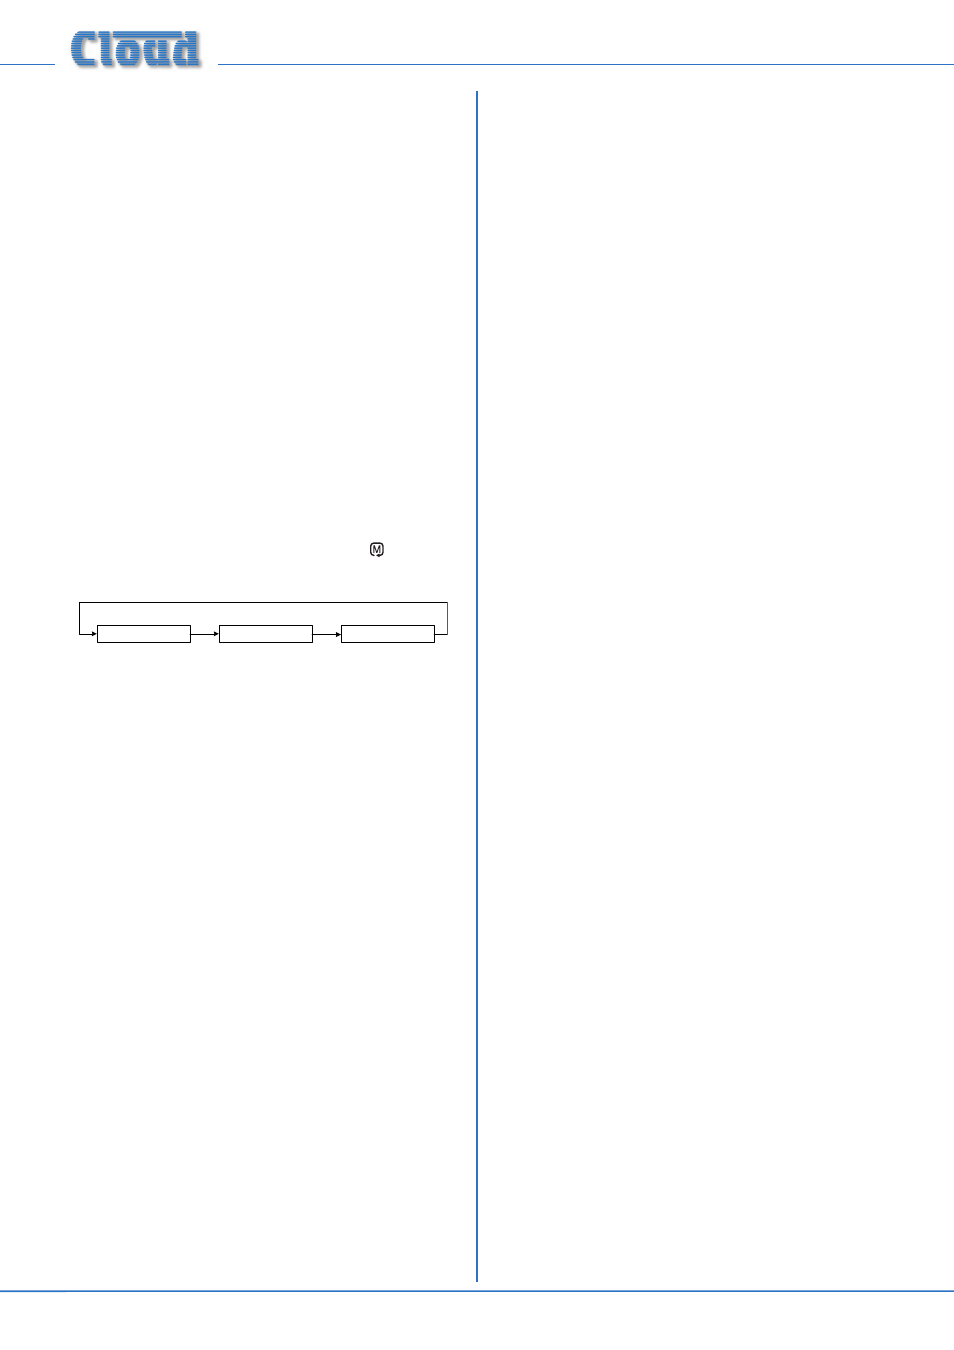
Three operational modes are available, selected by the
MODE button [16] (marked with the symbol ). Successive
presses of the MODE button step through the modes:
The
REPEAT and RANDOM LEDs [20] and [19] illuminate
to confirm these two particular modes. Both LEDs off
indicates Normal Mode.
Normal Mode
In Normal Mode, the media player plays through all the
available audio files in order of filename, regardless of which
folder they are in on the memory device.
Numeric characters are given higher priority than alphabetic
ones, so audio tracks whose filenames begin with numbers
will be played first. This makes it very simple to pre-ordain
track playing order; if the tracks are given filenames beginning
“01”, “02”, etc., they will always be played in that order in
Normal Mode.
Random Mode
In Random Mode, the next track to be played is selected at
random from all the tracks available on the memory device.
Note that this is not the same as the “Shuffle” mode found
on portable MP3 players - a fresh random selection from all
available tracks is made at the end of each track, and thus
there is a possibility that the same track may be played twice
in succession.
Repeat Mode
If Repeat Mode is enabled while a track is playing, the track
will be repeated when it has finished. This repetition will
continue until Repeat Mode is cancelled. Repeat Mode may
also be selected from Stop Mode; the next track played when
H
is pressed will then repeat until Repeat Mode is cancelled.
Note that Repeat Mode only applies to individual tracks; it is
not possible to repeat a sequence of tracks.
Microphone inputs
Phantom power
Both microphone inputs have 15 V phantom power available.
This will be adequate to power a wide range of condenser
microphones. (Some “studio quality” mics may require a
higher phantom voltage and thus necessitate an external
PSU.)
To enable phantom power at a mic input, internal PCB
jumpers J1 (MIC 1/TEL) or J2 (MIC 2) should be moved to
their ON position. See page 30 for jumper location.
Phantom power should NOT be enabled if dynamic
microphones are to be used.
Gain & level
Both
microphone inputs are provided with a rear panel
preset
gain control ([3] on page 12). A wide range of gain
(10 to 50 dB) is available and there should be no problem in
obtaining a satisfactory level from any normal microphone.
The
GAIN controls should be adjusted by speaking normally
into a microphone of the correct type. Turn the corresponding
front panel
MIC LEVEL control up to maximum and listen
in a convenient zone; the rear panel gain control should be
carefully advanced until the mic volume is as loud as it is ever
likely to be needed, and then reduced slightly. There should be
no audible distortion. The use to which the microphone is to
be put should be borne in mind – karaoke is more likely to
overload the mic preamplifier than spoken announcements, if
the gain is not set correctly.
In normal operation, the mic level in each primary zone is
set with the
MIC LEVEL controls on the front panel ([3]
and [4] on page 11). The mic level at the Utility output is
set with the rear panel
MOH/UTILITY MUSIC LEVEL
preset control ([15] on page 12).
EQ
Each mic input has associated
HF and LF EQ controls ([7] on
page 12) These provide 10 dB of cut or boost at 5 kHz and
100 Hz respectively and should be adjusted by listening to
achieve a clear mic sound. Again, the application should be
borne in mind when making adjustments.
High-pass filter
The mic input has a fixed 100 Hz high-pass filter to remove
the lowest frequencies. This helps to reduce the effects of
breath blasts and microphone handling noise. The filter is
always in circuit.
Use of Mic 1 with a telephone system
The
MIC 1/TEL input on the 46-120 may be reconfigured to
accept an audio input directly from a compatible telephone