DH Satellite NPRM Mount 1.2M 1.5M & 1.8M User Manual
Nprm mount, Installation manual
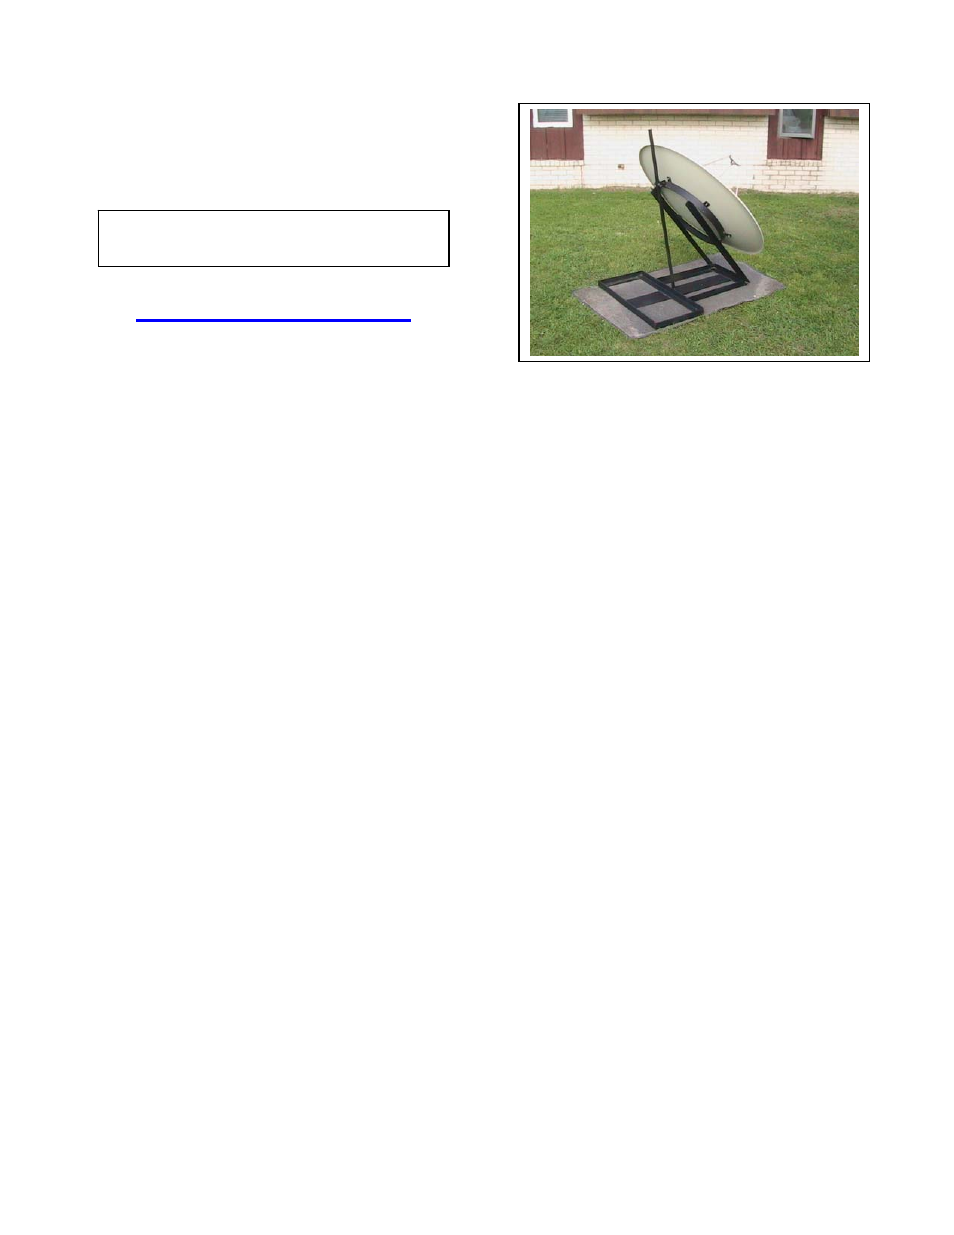
NPRM MOUNT
INSTALLATION MANUAL
This mount will support the 1.2m, 1.5m, &
1.8M DH Antenna.
1. Assembling the Ring to Base
As you look at the 26” diameter steel ring, you will notice that it has two angles welded to it. At the
base of the angles you will find the ½” holes that match up to the front of the base tray. Line up the holes
on the angle with those in the tray, insert the ½” bolt into each of these two holes and tighten with ½”
nut. ( SEE photo 1A Ring to Base)
2. Installing the Extension Bar
The extension rod is the ¾” tubing that is 50” long. Put the end with the holes in it into the bracket at the
end of the first tray. Line up the holes and insert the 3/8” bolt. Secure in place with the 3/8” nut. Place
the slide bracket over the upper end of the extension tube and tighten the thumb screw on the bracket.
Take the end of the bracket and insert it into the bracket tab welded to the top of the ring and secure
using the 3/8” bolt and nut. Be sure to tighten all nuts and bolts at this point. (See 4A)
3. Placing the dish on the ring
Move the slide bar down to a very low angle. Take the antenna and place it on the ring and line up the
holes on the antenna to the holes on the tabs of the ring. Insert a 3/8” bolt through the hole and secure
finger tight with a 3/8” washer and nut. Use every other hole as the other three holes are for the feed
assembly or feed struts. (see photo 3A on page 2 and page 3 for further help in this area)
4. Installing the feedhorn
Locate the three aluminum feed struts. You will place these as shown in (photo 4A). Place a nut on the
of the end of the rods. On the thicker end of the strut place a washer. Place the thicker end of the rod or
strut into the three remaining holes in the dish. They should be placed every other hole and be at
approximately 120 degree intervals. You will attaché the nut to each end of all three rods or struts. Use
a tape measure and measure the focal length. Measure distance from the ½” center hole on the dish to
the throat of the closest part of the feedhorn. This length should be exactly 21 7/8”. Look to see that the
feedhorn is looking at the center of the dish. When the focal length is set properly, tighten the ¼” nuts.
Snug the nuts only because the soft aluminum threads strip easily. You can now put your Ku band lnb on
the feed and hook up to your receiver. Turn the power on and use the scan button if you have one. Point
the dish to the south. Rotate dish back and forth, up and down until you see a picture. Manually adjust
the antennas elevation and azimuth for best picture (4A). (see optional feed collar ku3fl)
www.dhsatellite.com
1/800-627-9443