Genee World Genee Pad User Manual
Page 9
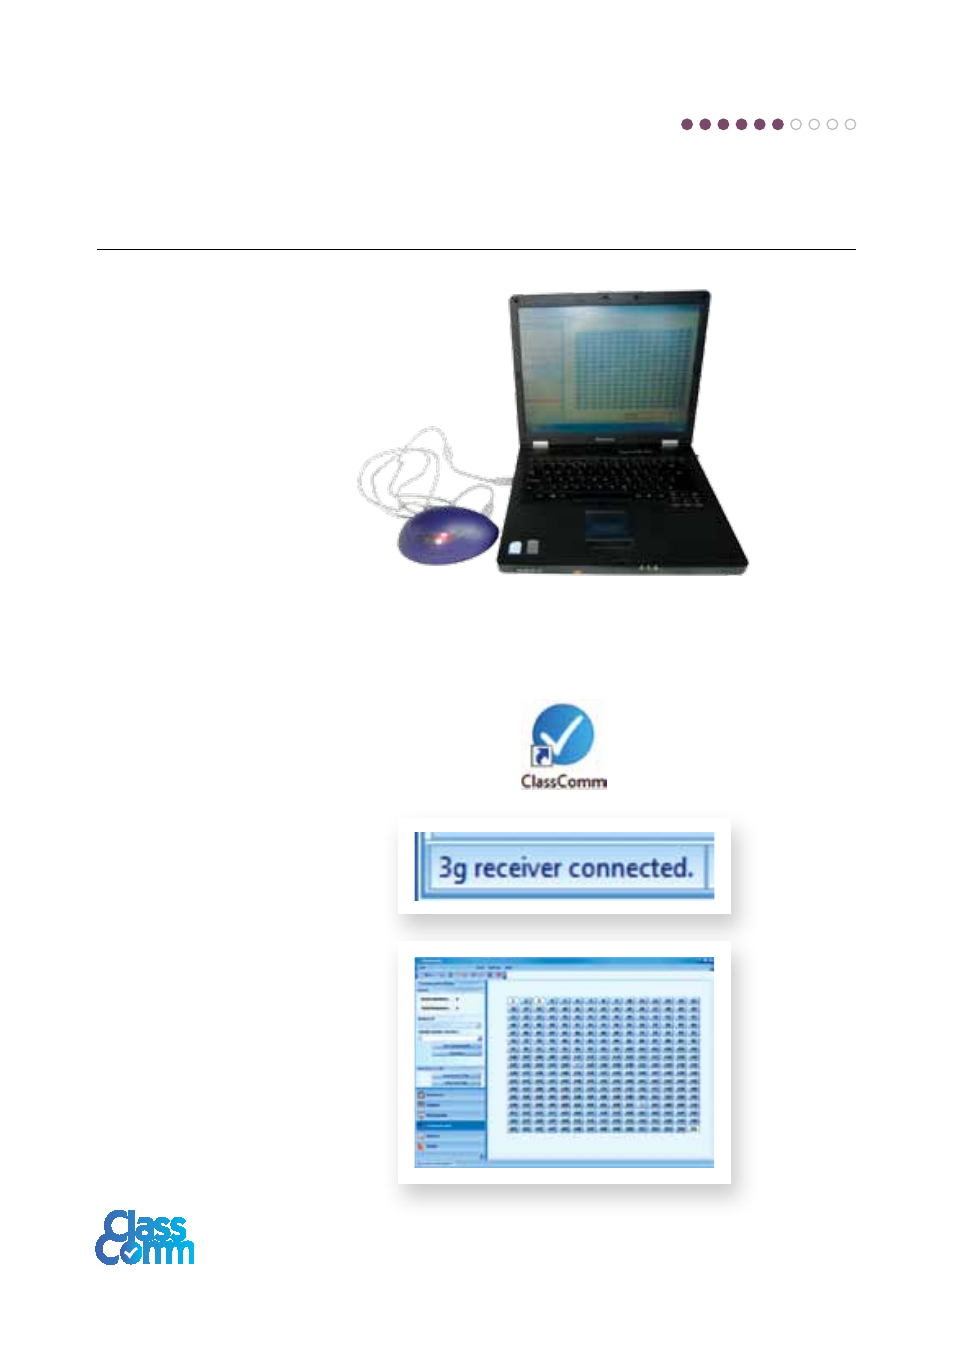
Connect the receiver and test handset
communication within ClassComm
Connect the ClassComm
receiver to an available USB
port on the PC. A red LED will
light up in the receiver.
• At this stage, the PC will automatically detect the receiver and configure the drivers accordingly.
NOTE – The receiver drivers are installed during the ClassComm software installation described
in STEP 3 – CLASSCOMM SOFTWARE INSTALLATION of this guide. It is important to install
ClassComm software before attaching the receiver.
• Launch the ClassComm software by
clicking the icon from the desktop or from
Start > All Programs > ClassComm.
• A message in the bottom-left area
of the ClassComm Software will
appear stating that the receiver
has connected successfully.
• Click on the Communication tab
within ClassComm. This will display
the communication grid as shown
below. Turn on the handsets
(assuming that they have been
charged as described in STEP 2 –
Charging the handsets) and press
any keys followed by the send key.
The corresponding handset ID will
light up in the grid.
The software is now installed and the hardware is configured correctly
and has been tested in the communication area of ClassComm.
Step
6