Phone configuration – Grandstream GXP2130 Quick Installation Guides User Manual
Page 5
5
6
Note: For the detailed user manual, please download from:
http://www.grandstrea
m
.com/support
This product is covered by one or more of the U.S. patents (and any foreign patent
counterparts thereto) identified at www.cmspatents.com.
Tips For Using the Keypad:
PHONE CONFIGURATION:
Configure the GXP2130 using Web Browser:
1. To access the MENU, press the round MENU button.
2. Navigate the menu by using the UP/DOWN and LEFT/RIGHT buttons.
3. Press the round MENU button to confirm a menu selection.
4. The phone automatically exits MENU mode with an incoming call, the phone
goes off-hook or the MENU mode is left idle for 60 seconds.
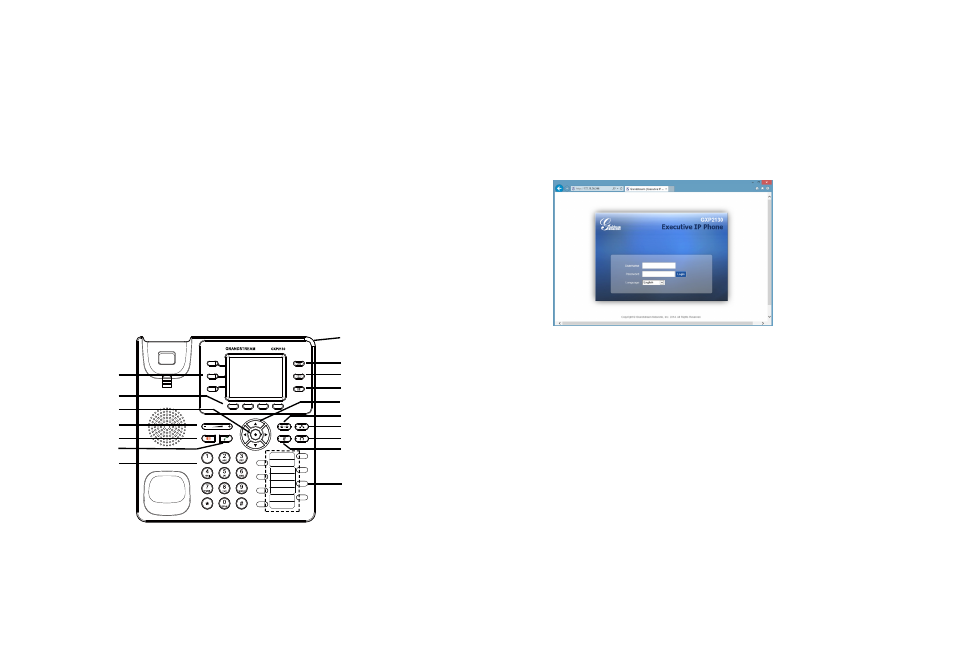
1. Ensure your phone is powered up and connected to the Internet.
2. Press the UP button to see the IP address.
3. Type the phone’s IP address in your PC browser (See figure on right).
4. The default administrator username and password are “admin”; the default end-
user username is “user“ and the password is “123”.
Configure the GXP2130 using the Keypad:
1. Make sure the phone is idle.
2. Press the MENU button to access the keypad MENU to configure the phone.
3. Select MENU-> Phone-> SIP-> Account to configure settings for SIP Proxy,
Outbound Proxy, SIP User ID, SIP Auth ID and SIP Password.
4. Follow MENU options to configure the basic features of the phone. For
example: the IP address if using a static IP. For details, please check GXP2130
User Manual.
5. Please contact your ITSP (Internet Telephony Service Provider) for additional
settings that may be necessary to configure the phone.
Message Waiting
Indicator
Multi-Purpose keys
Message
Contacts
Transfer
Hold
Headset
Conference
Mute
Standard Keypad
Navigation keys
Send
Line keys
Soft keys
Volume
Speaker
Menu/OK Key
To setup the GXP2130, follow the steps below:
1. Connect the handset and main phone case with the phone cord.
2. Connect the LAN port of the phone to the RJ-45 socket of a hub/switch or a
router (LAN side of the router) using the Ethernet cable.
3. Connect the 12V DC output plug to the power jack on the phone; plug the power
adapter into an electrical outlet.
4. The LCD will display provisioning or firmware upgrade information. Before con-
tinuing, please wait for the date/time display to show up.
5. Using the phone embedded web server or keypad configuration menu, you can
further configure the phone using either a static IP or DHCP.