Hoefer PR150 User Manual
Page 7
•
p5
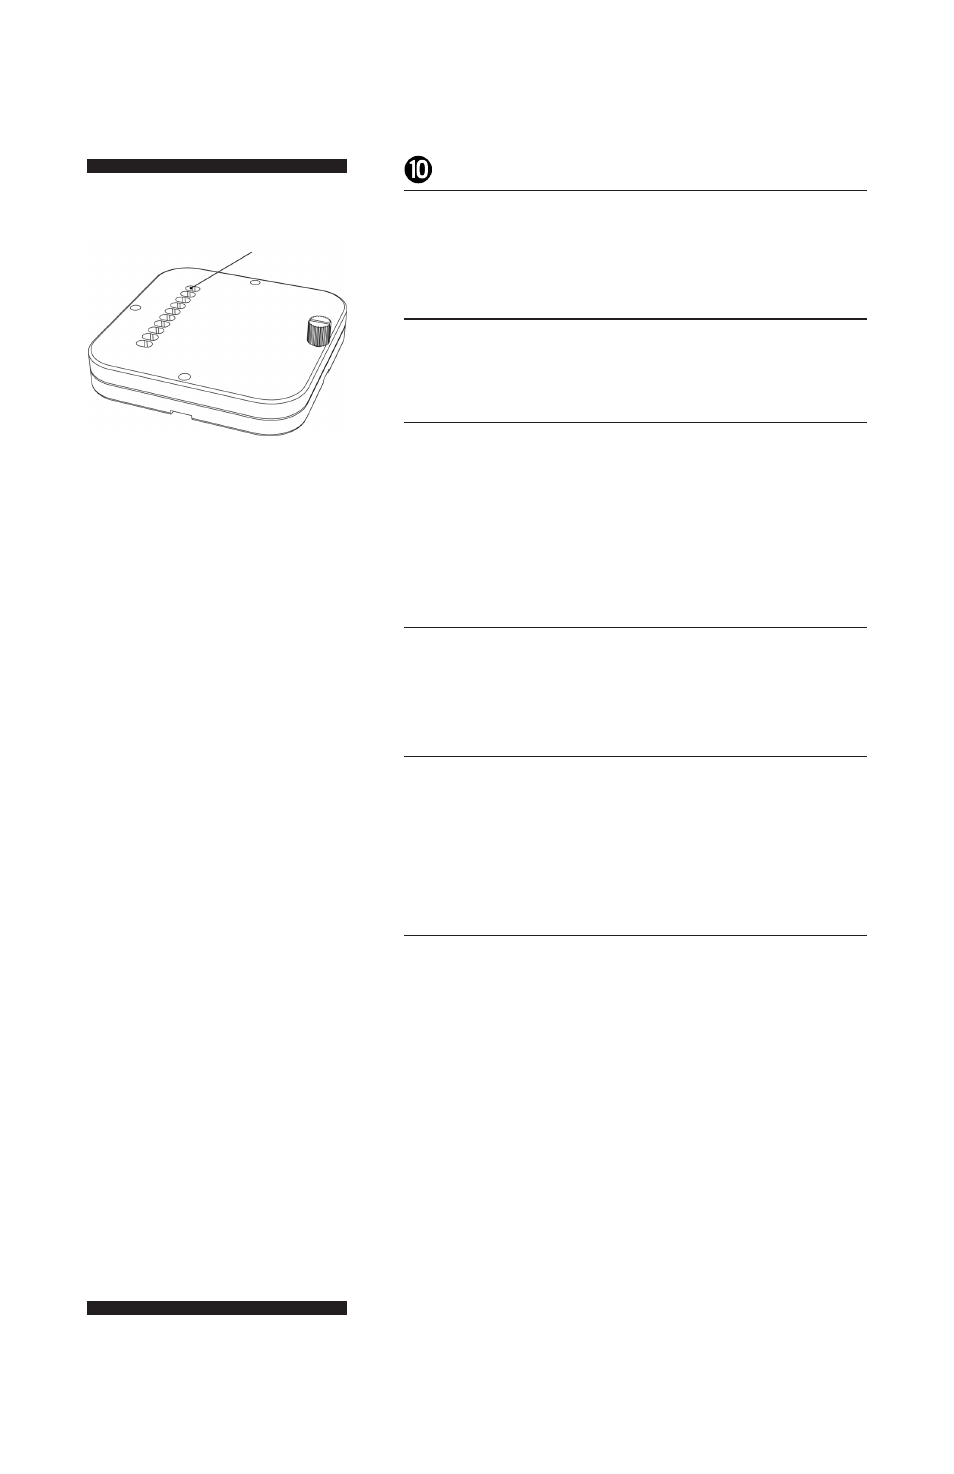
Turn the assembly over so the incubation chambers
are above the transfer membrane. The access ports to
the chambers will then be on top (Fig 3).
!
Insert the nylon screws and tighten them one-quarter
turn past snug. Do not overtighten.
@
Each chamber holds up to 2 ml. With adequate
mixing, as little as 0.5 ml or less may be used in
each incubation step. Add reagents to the chambers
through the access ports. If you wish to close off the
chambers, place a piece of tape on the topside of the
upper plate.
#
Place the entire unit on a rocker so that the reaction
mixture in each chamber flows back and forth from
one end of the chamber to the other.
$
After a particular incubation step has been completed,
remove the tape from the holes and withdraw the
solution from each chamber with a Pasteur pipette.
Any number of sequential reactions may be carried
out without taking the unit apart.
%
When all reaction and wash steps have been
completed, disassemble the unit and air dry the
membrane. If an immunological reaction coupled with
an enzymatic generation of a colored product has
been used, the bands of interest should already be
visible. If a radioimmune assay has been employed,
the dry membrane is now ready for autoradiography.
Fig 3. PR150 in loading /
incubation position.
access
ports
Note: Small molecules will
gradually diffuse out of the
incubation chambers through
the membrane. This wicking
effect is usually not significant
over a few hours provided the
membrane was wet to start with.
However, the PR150 is not
recommended for procedures
extending over a period of days.