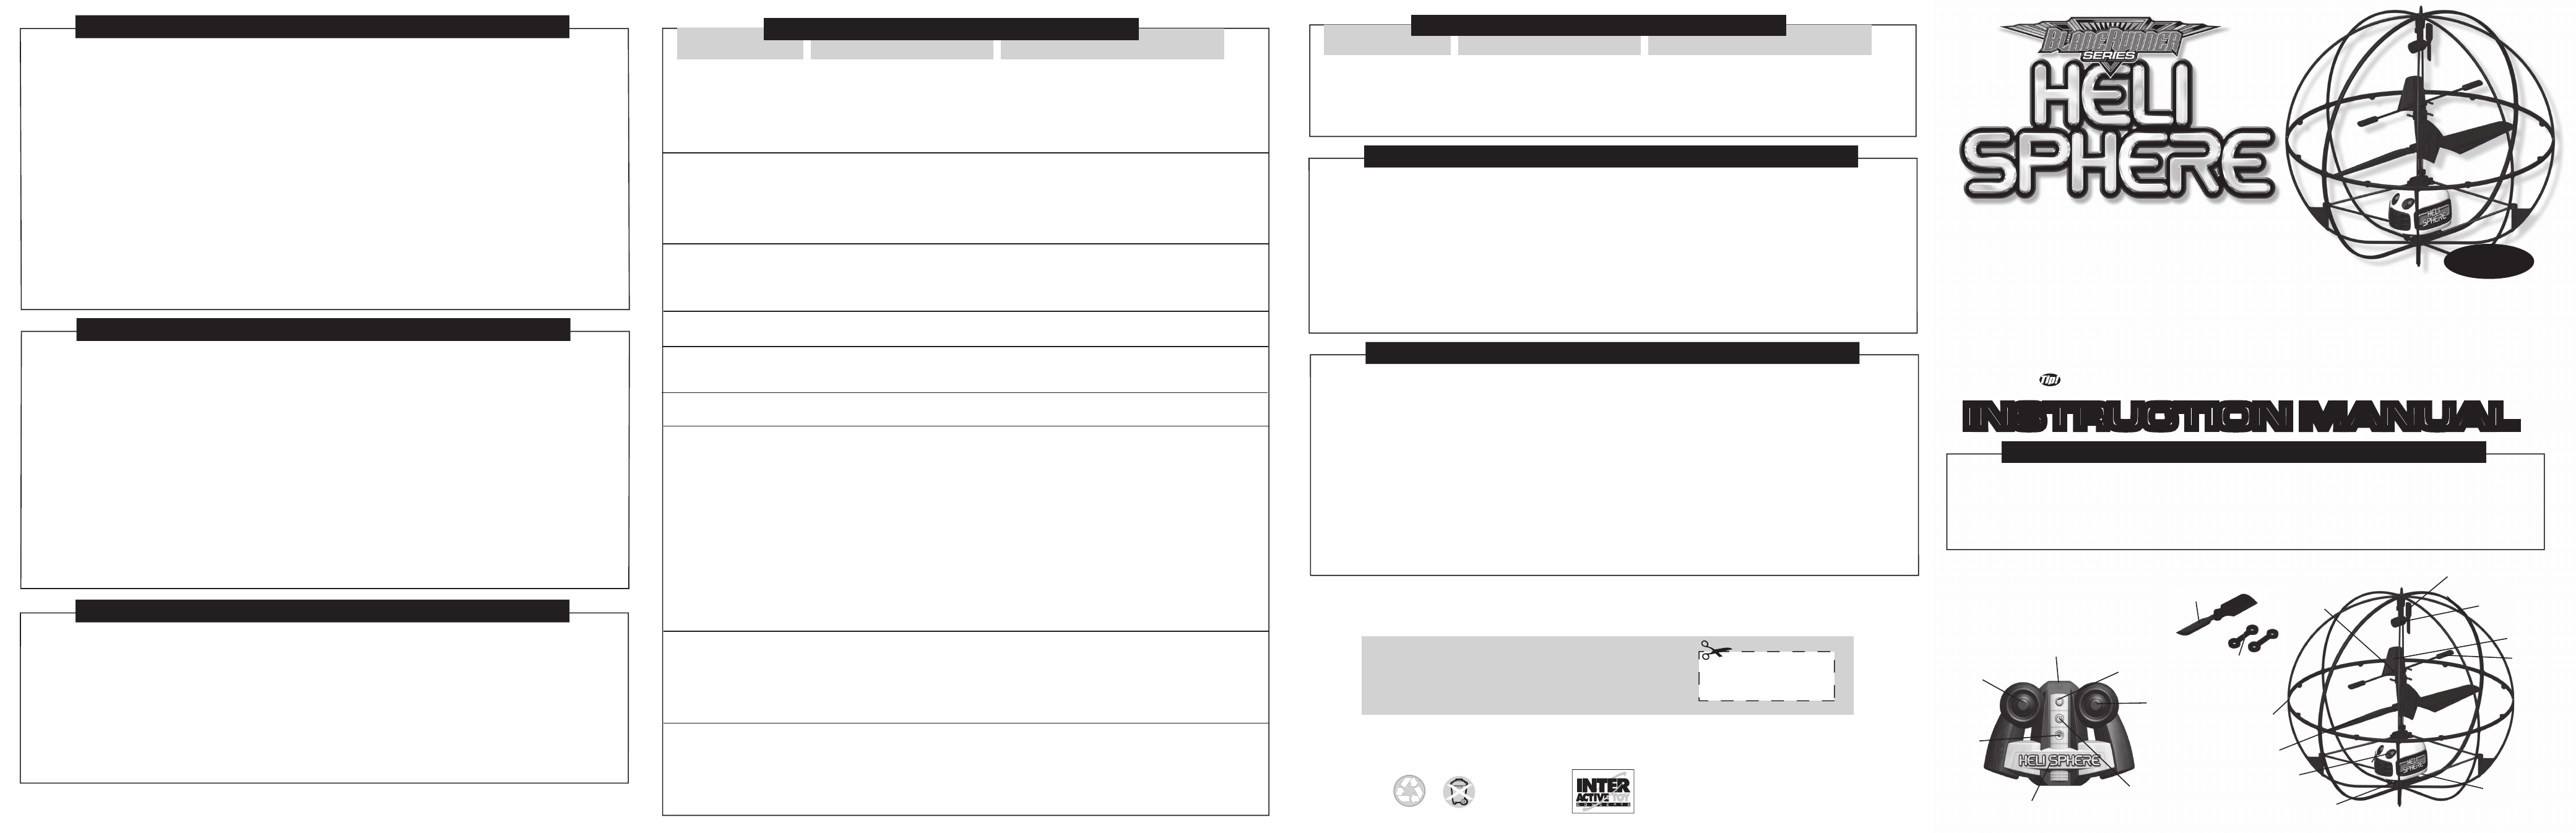
Interactive Toy Concepts Heli Sphere User Manual
Instruction manual, Corrective action: cause: troubleshooting issue, Unpacking your bladerunner heli sphere helicopter
BladeRunner is a registered trademark of Interactive Toy Concepts Ltd. © 2013 All Rights Reserved.
HELI SPHERE is a trademark of Interactive Toy Concepts Ltd. © 2013.
Manufactured by and distributed by Interactive Toy Concepts Ltd. Conforms to Safety Standards ASTM F963-03 Regulatory Requirements.
Products and colors may vary. MADE IN CHINA.
INS-22008-130117-US
Limited 30-day warranty
Product is warranted by Interactive Toy Concepts Limited against
manufacturing defects in material and workmanship under normal use
for (30) days from the date of purchase.
Warranty is validated upon receipt of proof or purchase
and confirmation of UPC code.
Proof of Purchase
UNPACKING YOUR BLADERUNNER HELI SPHERE HELICOPTER:
WARNING:The HELI SPHERE is a delicate machine, before removing it from the packaging please read the
instructions! To prevent damage during shipping, the HELI SPHERE is securely fastened in the package.
Please ensure that all of the tie-down and fastening locations are unfastened before attempting to remove
the HELI SPHERE Helicopter from the package. Be very careful when removing the HELI SPHERE to
prevent damaging the Helicopter.
COMPLETE PACKAGE CONTENTS AND COMPONENT BREAKDOWN:
HELI SPHERE Helicopter
will not start, LEDs on
HELI SPHERE Helicopter
are off.
1. HELI SPHERE Helicopter is not
turned on.
2. Battery is not charged.
3. HELI SPHERE Helicopter was not
set to off during charging.
4. Rotors locked for overload protection.
1. Turn HELI SPHERE Helicopter on.
2. Charge Internal HELI SPHERE Helicopter Battery.
3. Ensure HELI SPHERE Helicopter is off and charge
Internal HELI SPHERE Helicopter Battery.
4. Slide HELI SPHERE Helicopter's On / Off Switch to
Off, then switch it On again.
HELI SPHERE Helicopter
will not start, LEDs on
HELI SPHERE Helicopter
are ON.
1. HELI SPHERE Helicopter's infrared
link is not established with the IR
Controller.
2. IR Controller is not turned on.
3. HELI SPHERE Helicopter’s battery
is low.
1. Push Left Stick (Throttle) completely UP, then back
DOWN to initialize infrared link and throttle control.
2. Turn on IR Controller.
3. Ensure HELI SPHERE Helicopter is off and charge
Internal HELI SPHERE Helicopter Battery.
CORRECTIVE ACTION:
CAUSE:
TROUBLESHOOTING
ISSUE:
HELI SPHERE Helicopter
will not start, LEDs on
HELI SPHERE Helicopter
are flashing.
1. Motor stall protection is activated.
2. HELI SPHERE Helicopter's Internal
Battery power is low.
1. Reset the HELI SPHERE Helicopter by turning its
power off and on.
2. Ensure the HELI SPHERE Helicopter is Off and
recharge the Internal Battery.
INSTRUCTION MANUAL
INSTRUCTION MANUAL
TM
TM
Forward / Backward Rotor
Welcome to the BladeRunner HELI SPHERE Helicopter. The
HELI SPHERE brings advanced, 3-Channel, hobby-level flying
technology to flyers who are looking for great performance from an
indoor Helicopter. The HELI SPHERE has built-in advanced gyroscope
technology for providing an ultra-smooth flight and balance control assistance.
In addition, the HELI SPHERE Helicopter has digital proportional control. The HELI SPHERE
is available in Infrared Control Channels A and B. The compact and stylish design of the IR Controller
has an integrated charging mechanism so that only 6 AA Batteries in total are required to charge and
operate the HELI SPHERE Helicopter. Do not throw away this instruction manual as it contains valu-
able information for the operation of your HELI SPHERE Helicopter as well as warranty information.
The helpful tips in this Instruction Manual will improve your skill and enhance your experience.
Look for these symbols for extra help.
1. BladeRunner HELI SPHERE Helicopter
2. IR Controller
3. Instruction Manual
4. 1 Replacement Forward / Backward Rotor
5. 2 Replacement Balance Bar Connectors
REPLACING DAMAGED ROTOR BLADES -Continued:
Main Rotor Blades (continued):
2. Pull the damaged Rotor Blade horizontally out and away from its location on the Hub Mount.
3. Install a new Rotor Blade in the same location on the Hub Mount by sliding it in horizontally. The holes for the
screw have to align. It is very important that the correct Rotor Blade is installed as the Upper and Lower Main
Rotor Blades may appear to be similar but are in fact very different. The HELI SPHERE Helicopter will not be
able to fly if the incorrect Rotor Blades are installed.
4. Fasten the new Rotor Blade to its Hub Mount with the same tiny screw that was pulled out earlier. Do not over
tighten the screw as the Rotor Blade needs to be able to spin freely inside its Hub Mount. Your HELI SPHERE
Helicopter is ready to fly again!
Forward / Backward Control Rotor:
1. Locate the broken Forward / Backward Control Rotor on the top of the HELI SPHERE Helicopter’s Sphere-Cage.
2. Remove the broken Forward / Backward Control Rotor by gently pulling it off of the Forward / Backward
Motor’s Axle Shaft.
3. Install the replacement Forward / Backward Control Rotor (Included with the HELI SPHERE) by sliding it onto
the Forward / Backward Motor’s Axle Shaft in the reverse process as outlined in step 2.
4. Gently press down on the replacement Forward / Backward Control Rotor until it is firmly in place.
REPLACING THE BALANCE-BAR-TO-UPPER-ROTOR CONNECTOR:
REPLACING THE BALANCE BAR CONNECTORS:
There are 2 small Balance Bar Connectors which connect the Upper Rotor to the Balance Bar. In the event that
either Balance Bar Connector becomes disconnected, broken, or lost, it will need to be reconnected or replaced.
2 replacements Balance Bar Connector are included with the HELI SPHERE Helicopter. Replacement Bar Con-
nectors Connector also can be purchased separately as part of the HELI SPHERE Replacement Parts Kit.
Replacement is easy with the following steps.
1. The Balance Bar Connector is attached by 2 simple ball joints. Remove the broken Balance Bar Connector by
disconnecting it from the Upper Rotor Hub Mount and the Balance Bar and pull it away. Once removed, the ball
joints will be exposed. A ball joint will be visible on both sides of the Upper Rotor Hub Mount, and a ball joint will
be visible on both sides of the Balance Bar. There will be a total of 4 ball joints visible!
2. Install the new Balance Bar Connector following the reverse of step 1. The Balance Bar Connector only needs
to connect 2 of the 4 ball joints. The Balance Bar Connector must connect a set of ball joints that are in vertical
alignment only. Gently but firmly press the Balance Bar Connector into position, connecting the Upper Rotor and
the Balance Bar. The Balance Bar Connector will just snap into the 2 ball joints as shown.
STORING THE HELI SPHERE HELICOPTER:
It is a good idea to store the HELI SPHERE Helicopter, IR Controller and this Instruction Manual together so no
components become misplaced or lost. Please respect the below points to extend the operational life of your
HELI SPHERE Helicopter during storage.
1. Product may be damaged or performance may be adversely affected if the HELI SPHERE Helicopter is not
properly stored.
2. Never place any items on top of any components of the HELI SPHERE Helicopter.
3. Always keep your HELI SPHERE Helicopter in a cool dry place. Do not allow your HELI SPHERE Helicopter
to get wet as it is not water resistant.
4. Keep the HELI SPHERE Helicopter away from pets and other household animals.
5. Do not rest your HELI SPHERE Helicopter on any potential heat source such as electronic equipment or a radiator.
HELI SPHERE Helicopter
is flying too high.
1. You need to reduce the Throttle
Input.
1. Push the Left Stick (Throttle) gradually down.
HELI SPHERE Helicopter
is flying too low.
1. Needs more power (Throttle Input).
2. The battery in the HELI SPHERE
Helicopter is low.
1. Push the Left Stick (Throttle) gradually up.
2. Ensure the HELI SPHERE Helicopter is off and
charge the Internal HELI SPHERE Helicopter Battery.
HELI SPHERE Helicopter
doesn’t hover.
1. The HELI SPHERE Helicopter drifts
forwards/backwards.
1. Push the right stick up or down to compensate and
hold the HELI SPHERE Helicopter in position.
HELI SPHERE Helicopter
doesn't fly forward fast
enough.
1. The Internal Battery charge is
getting low.
2. The Forward / Backward Rotor is
damaged.
3. The HELI SPHERE Helicopter
center of gravity is no longer correct.
4. The HELI SPHERE Helicopter is
not designed for fast flight as it is an
indoor toy.
1. Turn the HELI SPHERE Helicopter off and charge
the Internal HELI SPHERE Helicopter Battery.
2. Replace the Forward / Backward Rotor with a new
one included with your HELI SPHERE Helicopter, or
from the HELI SPHERE Replacement Part Kit (available
in stores or online)
3. Use light adhesive tape to mount a clip on the front
bottom of the HELI SPHERE Helicopter to add weight
and adjust the center of gravity. See also “HELI
SPHERE Helicopter doesn’t hover” issue.
4. If desired, add a small amount of weight to the
bottom front area of the body by taping a paper clip or
something similar in weight and size onto it. However,
note that this will reduce the ability of the HELI SPHERE
Helicopter to fly backwards.
HELI SPHERE Helicopter
doesn’t fly backwards
1. The HELI SPHERE Helicopter only
flies backwards briefly then spins to fly
forward.
1. Aerodynamics make flying backwards more difficult
than flying forwards and this flight pattern is normal.
Practice flying backward and control the left / right
turning motion of the HELI SPHERE Helicopter to keep
the rear of the HELI SPHERE pointed in the direction
you desire.
HELI SPHERE Helicopter
always turns.
1. Trim Control is not set correctly.
2. The Main Rotor Blades have
sustained damage / or wear from use.
1. Adjust the Trim Control Knob on the IR Controller.
2. Replace the damaged Rotor Blades! It is dangerous
to fly with damaged Rotor Blades! Replacement Rotor
Blades are not included, but can be purchased sepa-
rately as part of the HELI SPHERE Replacement Part
Kit.
The Main Rotor Blades
spin erratically causing
unpredictable flight charac-
teristics.
1. The Balance Bar Connector is
either broken or missing.
1. Install a new Balance Bar Connector using the instruc-
tions in the “REPLACING THE BALANCE BAR CONNEC-
TOR” section. 2 Replacement Balance Bar Connectors
are included and can also be purchased separately as
part of the HELI SPHERE Replacement Part Kit.
CORRECTIVE ACTION:
CAUSE:
TROUBLESHOOTING -Continued
ISSUE:
IMPORTANT SAFETY INFORMATION
Keep the HELI SPHERE Helicopter away from face, eyes and hair at all times. Keep fingers away from moving
rotors or propellers. Do not fly the HELI SPHERE Helicopter near or at other people or animals. Use caution
when flying, make sure people around you know that you are playing with the HELI SPHERE Helicopter. Recom-
mended for use indoors only in rooms without obstacles, breakable objects or fans. The IR Controller's built-in
Charger provided in this package is for charging the HELI SPHERE Helicopter ONLY. Do not use any other
source to charge the HELI SPHERE Helicopter. Do not attempt to overcharge your HELI SPHERE Helicopter.
Do not attempt to charge any other products with the IR Controller's Charger. Any attempts to charge other
products with the IR Controller's built-in Charger are strictly prohibited and will void the warranty! Follow the
charging instructions provided in this Instruction Manual. Do not attempt to replace the Internal Lithium Polymer
Rechargeable Battery inside the HELI SPHERE Helicopter! The HELI SPHERE Helicopter’s Lithium Polymer
Rechargeable Internal Battery is sealed inside the unit and is not replaceable. Any attempts to replace the HELI
SPHERE Helicopter's Lithium Polymer Rechargeable Internal Battery will void the warranty.
IR Control Emitter Window
Power Button
and Power LED
Trim Control Knob
Charge
LED
Charge Cable
Compartment Door
Left Stick
- Up / Down - Throttle
Right Stick
- Left / Right Steering
Direction Control
Sphere-cage
Balance Bar
Connector
LED Lights
Bottom Rotor
Top Rotor
On/Off Switch
Replacement Forward
/ Backward Rotor
2 Replacement
Balance Bar Connectors
Forward / Backward
Motor
12+
Item# 22008
Balance Bar
FCC NOTES
This device complies with Part 15 of the FCC Rules. Operation is subject to the following two conditions:
1) This device may not cause harmful interference.
2) This device must accept any interference received including interference that may cause undesired operation.
Warning: Changes or modifications to this unit not expressly approved by the party responsible for compliance
could void the user’s authority to operate the equipment. The manufacturer is not responsible for any radio or TV
interference caused by unauthorized modifications to this equipment. Such modifications could void the user’s
authority to operate the equipment. Note: This equipment has been tested and found to comply with the limits for
a class B digital device, pursuant to Part 15 of the FCC Rules. These Limits are designed to provide reasonable
protection against harmful interference in a residential installation. This generates, uses and can radiate radio
frequency energy and if not installed and used in accordance with the instructions, may cause harmful interfer-
ence to radio communications. However, there is no guarantee that interference will not occur in a particular
installation. If this equipment does cause harmful interference to radio or television reception, which can be
determined by turn the equipment off and on, the user is encouraged to try and correct the interference by one or
more of the following measures: •Reorient or relocate the receiving antenna • Increase the separation between
the equipment and receiver • Connect the equipment to an outlet on a circuit different from that to which the
receiver is connected • Consult the dealer or an experienced radio/TV technician for help.
PLEASE! DO NOT RETURN THIS PRODUCT TO ANY RETAIL STORE!
For any questions or problems with this product please contact us at:Email: [email protected]
Phone: Inside North America: +1-416-444-6873 Outside North America: 1-866-214-2220
Address: Interactive Toy Concepts, 17 Vulcan Street, Toronto, Ontario, Canada. M9W 1L3 Website: www.interactivetoy.com
Charge Port