Quick start instructions, Installing batteries: -continued, Inflating the tires – Interactive Toy Concepts Squeeler User Manual
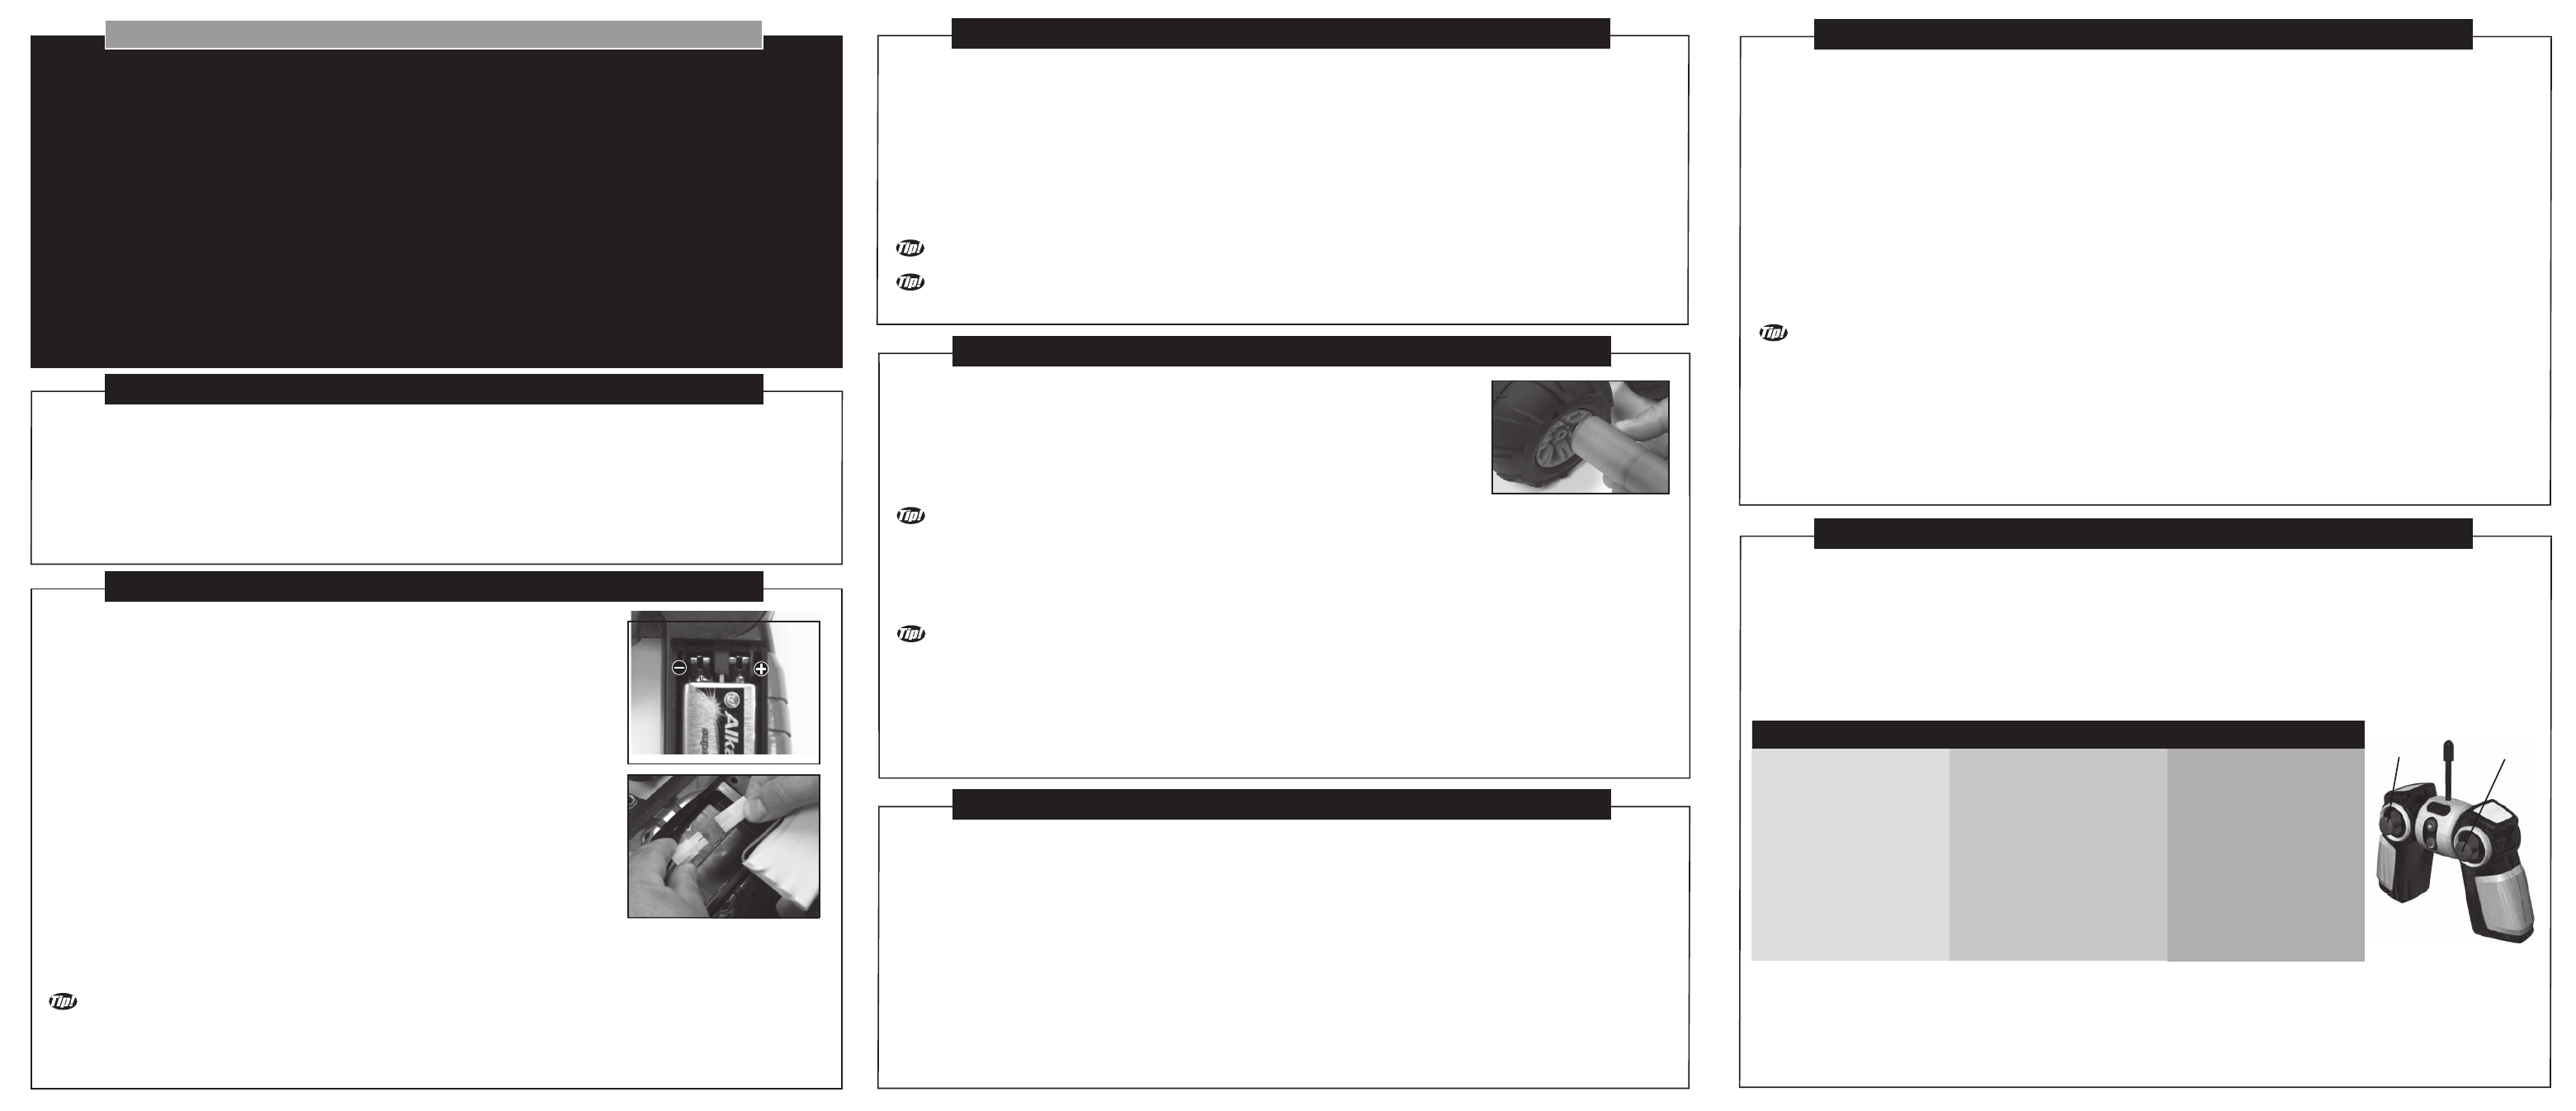
Page 2: Choosing your playing location, Preparing the squeeler controller, Operating the squeeler
QUICK START INSTRUCTIONS:
1. Charge the 9.6V NIMH Rechargeable Battery Pack (included). (As outlined in the section: "INSTALLING
BATTERIES", sub-section: "Charging the 9.6V NIMH Rechargeable Battery Pack and Installing it into the
Squeeler"). Insert the fully charged Battery Pack into the Squeeler.
2. Insert the Antenna into the Controller and extend it. Also insert a 9-Volt Battery into the Controller (not
included). (As outlined in the section: "INSTALLING BATTERIES", sub-section: "Installing the 9-Volt Battery into
the Squeeler Controller".)
3. Inflate the Squeeler’s tires using a standard pump (not included) and the Tire Inflation Needle (Included). (As
outlined in the section: "INFLATING THE TIRES".)
4. Turn on the Squeeler and the Controller. You’re ready to play!
5. Control the Squeeler using the Left and Right Sticks as if the Squeeler were operated using “Tank Drive”.
Also use the Twist Control on the Controller by twisting the right handle forward and backward. Experiment with
the controls to see what sorts of high-speed stunts you can perform, or refer to the section "OPERATING THE
SQUEELER" for a more in-depth description of the controls and functions.
INSTALLING BATTERIES:
IMPORTANT BATTERY INFORMATION:
Use only batteries recommended in this manual. Do not mix old and new batteries, different types of batteries,
standard, carbon zinc, alkaline or rechargeable batteries of different capacities. Battery installation should be
performed by an adult. Rechargeable batteries are only to be charged under adult supervision. Batteries should
not be left unattended during recharging. Please respect the correct polarity (-) or (+). Do not try to recharge
non-rechargeable batteries. Do not throw batteries into the fire. Replace all batteries of the same type/brand at
the same time. The supply terminals are not to be short-circuited. Remove exhausted batteries from the toy.
Remove batteries if the toy is not going to be played with for some time. Rechargeable batteries are to be
removed from the toy before they are charged. Never leave a battery unattended in the presence of children.
The Squeeler uses a 9.6V NIMH Rechargeable Battery Pack (included). The
Squeeler Controller requires one 9-Volt Battery (not included).
Installing the 9-Volt Battery into the Squeeler Controller:
1. Open the battery compartment door on the back of the Squeeler controller
by sliding it down. (Note, there is no screwdriver required)
2. Insert the 9-Volt battery as shown. Make sure to respect the polarity.
3. Replace the battery compartment door and slide it up until it clicks to be
sure it is closed.
Charging the 9.6V NIMH Rechargeable Battery Pack and installing it into
the Squeeler:
Attention: It is important to fully charge the Battery Pack prior to using the
Squeeler for the first time! This will prolong the life of your Battery Pack.
1. To Charge the 9.6V NIMH Rechargeable Battery Pack, ensure that it is not
inside the Squeeler’s Battery Compartment and it is not connected to the
Squeeler.
2. Connect the Battery Pack’s connector cable to the Charger’s Connector
Cable.
3. Plug the Charger into a standard household electrical outlet and allow the
Battery Pack to Charge for 4 hours. Do not charge the Battery Pack for a period longer than 4 hours as this may
damage the Battery Pack!
It is not necessary to completely deplete the Battery Pack before recharging. It is also not necessary to
completely recharge the Battery Pack in order to use it. However, if the Battery Pack is charged for a shorter
period of time, then the Squeeler will operate for a shorter period of time. On a full 4 hour charge, the Squeeler
should operate for up to 8 minutes. The duration of the Squeeler’s operation period will vary depending on how
aggressively the Squeeler is driven.
INSTALLING BATTERIES: -Continued
4. Once the Battery Pack is fully charged, the Battery Pack will be ready for use. First disconnect the Charger
from the electrical outlet and then disconnect the Charger from the Battery Pack.
5. To install the Battery pack into the Squeeler, ensure that the Squeeler's On/Off Switch is in the OFF position.
6. Open the Squeeler’s Battery Compartment Door located at the bottom of the Squeeler, by unscrewing the
retaining screw with a Philips screwdriver. Remove the Battery Compartment Door.
7. Locate the Connector Cable inside the Squeeler’s Battery Compartment and Connect the mating Connector
Cable from the fully charged Battery Pack to it.
8. Insert the fully charged and connected Battery Pack into the Battery Compartment.
9. Replace the Battery Compartment Door in its location on the bottom of the Squeeler and tighten the Philips
screw. Do not over tighten the retaining screw.
Charge time varies based on the battery pack’s internal charge conditions. Typically after playing for up to 8
minutes the battery pack will need a 4 hour charge.
You do not need to wait for the charge to be complete to drive your squeeler. Shorter charge times = shorter
play times.
INFLATING THE TIRES:
1. Attach the Tire Inflation Needle (included) to any standard air pump (not included).
2. Gently insert the Tire Inflation Needle into the Tire Inflation Point on one of the
Tires (as shown).
3. Position the cardboard Tire Inflation Gauge Template (Included with the Squeeler)
on the tire to ensure that the Tire is fully inflated to the proper size. Inflate the Tire so
that the outer rim of the Tire touches the inner edge of the Tire Inflation
Gauge Template.
The Squeeler is designed to operate properly when the tires are fully inflated and have the same diameter.
The Tire Inflation Gauge Template is a handy tool to ensure that your tires are properly inflated. For the Squeeler
to operate properly, the Tires need to have a maximum diameter of 6.1" (155 MM). Underinflated tires may cause
the body of the Squeeler to contact the ground and the body may become scratched or damaged. Overinflated
tires may cause the Squeeler to bounce uncontrollably or for the Tires to physically conflict with the body. Inflating
the tires is fun and easy so inflate the tires fully as specified to avoid damage!
Do not lose your Tire Inflation Gauge Template as it is an important part of the toy. If you happen to lose your
Tire Inflation Gauge Template, you can download an image of it at www.interactivetoy.com. The image will be at
the proper scale so you can print it out, mount it on cardboard, and cut it out to the proper size. Adult supervision
is required when operating a knife or a pair of scissors.
4. Once the Tire is fully inflated, disconnect the Tire Inflation Needle from the Tire by pulling it out, and remove
the Tire Inflation Gauge Template. Repeat these steps on the other 3 Tires until all 4 Tires are inflated to the
exact same size. You are now ready to play!!
CHOOSING YOUR PLAYING LOCATION:
You can operate your Squeeler indoors or outdoors. The Squeeler is designed to operate in most rugged condi-
tions and terrains. Do not operate your Squeeler on roads or any areas where there are cars. Operating your
Squeeler on roads or any areas with cars is extremely dangerous and most likely illegal! The Squeeler is not
water resistant. Do not operate your Squeeler in any wet conditions, mud, puddles, rain or any other form of
precipitation or harsh weather. The Squeeler has open Cooling Vents in some strategic locations. If water gets
into these Cooling Vents, the Squeeler could sustain damage which would not be covered under warranty. If
operating your Squeeler indoors, be careful to avoid contact with any objects such as furniture, plants, electron-
ics, and any other items which can break easily. The Squeeler is capable of some relatively high speed stunts
and could easily damage some household objects. Avoid operating your Squeeler around pets or people, and
especially crowds. If the Squeeler is stepped on or otherwise crushed, it will sustain damage that would not be
covered under warranty. Ensure that people around you are aware that you are playing with your Squeeler. Be
aware of changes in your operational environment and play safe! The radio control range of your Squeeler is up
to 80’ (24 M), and varies depending on interference within the operational environment.
WARNING:The relatively high speed stunts of the Squeeler are capable of damaging or injuring plants,
furniture, pets or people so play carefully.
PREPARING THE SQUEELER CONTROLLER:
The Squeeler Controller is a Radio Control Transmitter. The Squeeler Controller works in a manner similar to
“Tank Drive”. In other words, the Left Stick controls forward / reverse speed on the left side wheels (while also
adding minimal thrust on right side wheels). The Right Stick controls forward / reverse speed on the right side
wheels (while also adding minimal thrust on left side wheels). The Wheels of the Squeeler do not actually turn in
the direction of the intended steering input like in a real car. Instead, the Squeeler turns by operating the Wheels
on one side faster than the Wheels on the other side like a tank.
ON / OFF SWITCH - Turns the Controller on and off.
RED LED - Turns on when the transmitter is on. Blinks on and off when the Battery is low.
ANTENNA - Fully extend to ensure the greatest control range.
LEFT STICK - UP / DOWN - Controls Forward / Reverse speed on left side wheels of Squeeler (also adds mini-
mal thrust on right side wheels)
RIGHT STICK - UP / DOWN - Controls Forward / Reverse speed on right side wheels of Squeeler (also adds
minimal thrust on left side wheels)
TWIST CONTROL - Controls twisting of the Squeeler
As the Squeeler is driving towards you, you will naturally experience a phenomenon called “Control Rever-
sal”. For example, moving the right stick forward on its own will make the Squeeler turn to your right as it drives
towards you. Moving the left stick forward on its own will make the Squeeler turn to your left as it drives towards
you. It is as if “Tank Drive” were reversed. This is normal.
1. Once the 9-Volt battery is inserted into the Battery Compartment, insert the Antenna into the Controller and
rotate it until it is securely in place.
2. Extend Controller Antenna.
3. Turn on the Controller by sliding the switch at the front. The red LED will light up. Your Controller is now
ready.
OPERATING THE SQUEELER:
Once the fully charged Battery Pack is inserted into the Squeeler and the Controller is likewise prepared you are
ready to play with your Squeeler! Operation of the Squeeler is simple as described below. See what sorts of
stunts you can come up with!
1. Ensure that the On / Off Switches on the Squeeler and the Controller are in the On position.
2. Move the Left and Right Sticks on the Controller and also twist the Controller to drive the Squeeler. Twisting
the Controller will twist the Squeeler under certain circumstances. It is recommended to experiment with this
feature and develop your own stunts. Let the off-road stunt driving begin! The following is a table of Squeeler
Controller Stick inputs and their functional results:
Left Stick Right Stick Function
Neutral Neutral
Nothing
Up Up
Forward
Down Down Reverse
Up Down Spin Right
Down Up
Spin Left
Up Neutral
Forward & Turn Right
Down Neutral
Reverse & Turn Left
Neutral
Up
Forward & Turn Left
Neutral Down Reverse & Turn Right
3. If your Squeeler’s Battery Pack becomes depleted, you will need to recharge your Battery Pack as outlined in
the section: "INSTALLING BATTERIES", sub-section: "Charging the 9.6V NIMH Rechargeable Battery Pack and
Installing it into the Squeeler"
4. When you are finished playing with your Squeeler or if the Battery Pack is depleted, turn off the Controller and
the Squeeler.
LEFT
STICK
RIGHT
STICK