Kreg KKS-KBKSYS Bench Klamp System User Manual
Practical uses, Product features/specs large bench klamp only
This manual is intended
for use with:
• Large Bench Klamp
TM
• Klamp Plate
TM
KBK-IP - Klamp Plate
TM
KLBK - Large Bench Klamp
TM
See the entire system of
KLAMP SYSTEM
TM
COMPONENTS at:
WWW.KREGTOOL.COM
8-2009 NK7514B
Practical Uses
Hold Pocket-Hole Jigs in place.
Firmly clamp your Pocket-Hole Jig to its
workpiece. Learn more about Pocket-
Screw Joinery at www.kregtool.com.
Frame construction.
Perfectly flush joints, every time!
Great for edge-banding, joining miters,
sanding, routing, and many other
frame construction processes.
Sawhorse hold down.
Rout into a sawhorse for an extremely
mobile clamping station. Great for
clamping roofing-steel, vinyl siding, or
framing stock on the job site.
Klamp Plate
Item# KBK-IP
•3” x 4” plate
•1/4” thick Anodized Aluminum
•Hardware Included
Rigid aluminum clamping
hub routs easily into any
workbench, drill-press,
or sawhorse. Allows for
quick-attach and release
of Bench Klamp
TM
, and
360
o
clamping wherever
you need it most! Expand
your work area with 2 or
3 Klamp Plates
TM
on the
same workbench.
Large
Bench Klamp
Item# KLBK
•10” square plate
•Zinc plated, 1/4” thick steel
•Hardware Included
Rigid steel clamping
surface routs into any
workbench and can be
used independently on
the job-site. Allows for
quick-attach and release of
Bench Klamp
TM
, and 360
o
clamping wherever you
need it most! Bring your
clamp to your work, not
the other way around.
Product Features/Specs
Large Bench Klamp Only
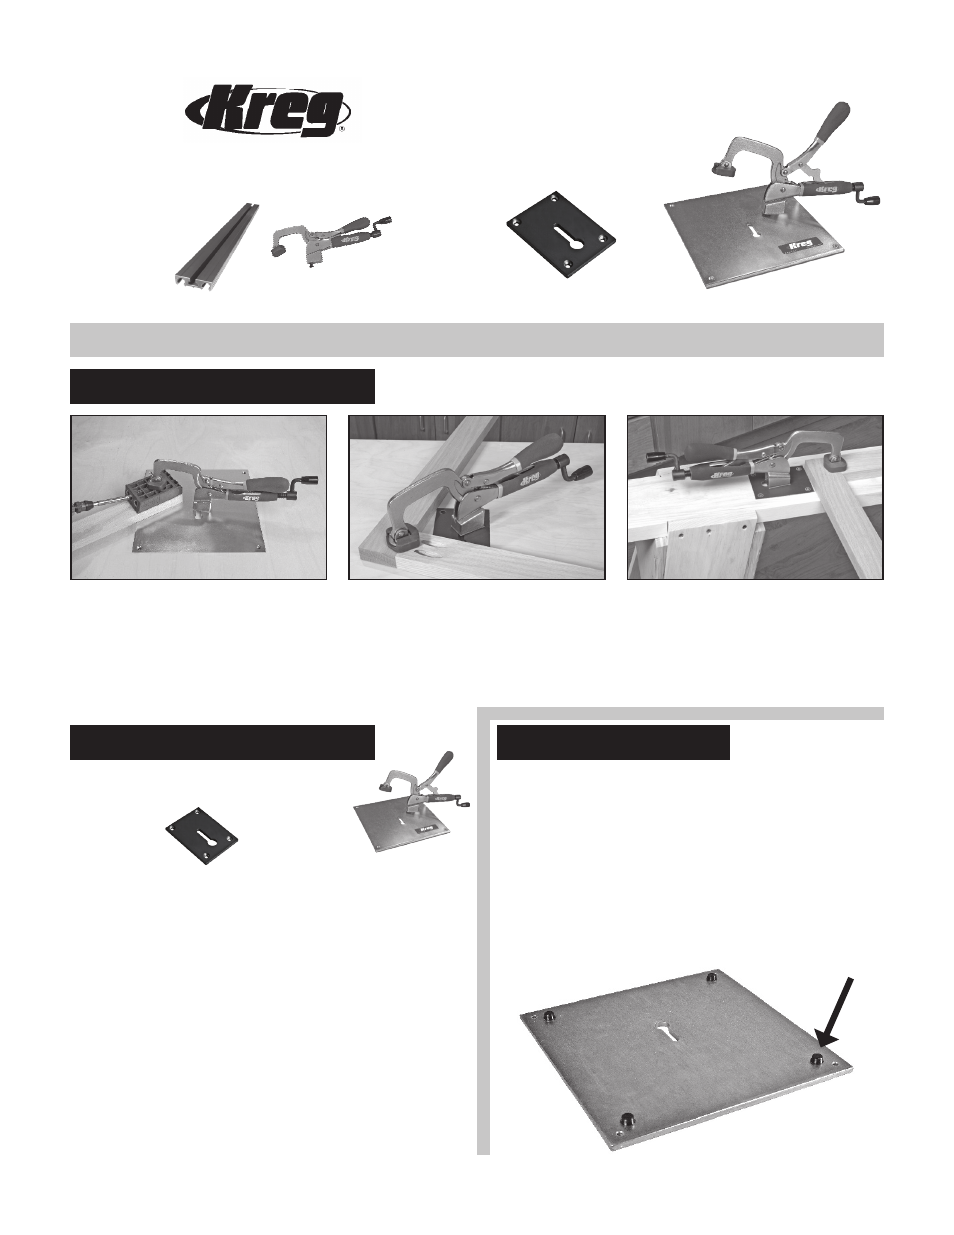
Rubber Bumpers
When not routed into a workbench, the Large Bench Klamp
requires the use of rubber bumpers to elevate the base
from the work surface. This allows the Bench Klamp’s
anchoring screw to slide and rotate freely. The bumpers
can be installed to the bottom-side of the Large Bench
Klamp. First, mark a point on each corner, roughly 1” from
each side, as shown in the picture below. Then, remove the
protective coating on each rubber bumper, and place over
your mark. An exact placement is not essential. Allow
several minutes for glue compund to cure.
(Bottom-side of plate shown)