Legrand RT-24 User Manual
Rt-24, Warning
In
sta
lla
tio
n I
ns
tru
cti
on
s
Please read all instructions before installing
DESCRIPTION AND OPERATION
The RT-24 is an astronomic time clock that controls the connected light or fan
either manually or through user programmed times.
Upon installation the user enters the correct longitude/latitude coordinates,
date, and local time. (See SETUP.) This ensures that once the schedules are
programmed, the load turns ON/OFF at the correct local times.
Lighted Switch
To help locate the switch button in a dark room, a green LED illuminates the ON/
OFF button while the controlled load is OFF. When the load is ON, the LED is OFF.
INSTALLATION & WIRING
WARNING
Disconnect power at the circuit breaker
before installing this product.
1. Prepare the switch box
After the power is turned OFF at
the circuit breaker box, remove
the existing wall plate and
mounting screws. Pull the old
switch from the wall box.
2. Identify the type of circuit
In a single pole circuit, two single
wires connect to two screws on
the existing switch. A ground
wire may also be present and
connected to a ground terminal
on the old switch. A neutral wire
should also be present in the
wall box.
SPECIfICATIONS
Voltage…………………….. ...........................................120/277VAC, 50/60Hz
Load
@120VAC…………. .........................0-800W tungsten or ballast, 1/6HP
@277VAC…………. ...........................................0-1200W ballast, 1/6HP
Environment……………….. ................................................ Indoor Use Only
Operating Temperature…… ......................32˚ to 131˚ F (0˚ to 50˚ C)
Humidity………………….. ............................... 95% RH, non-condensing
Tools Needed
Insulated Screwdriver
Wire Strippers
Syracuse, NY 13221-4822
WARNING
Only connect the RT-24 to a Single Pole Circuit.
The RT-24 is not suitable for 3-way switching.
If the existing wiring does not match the description for a Single
Pole Circuit, you should consult with a qualified electrician.
3. Prepare the wires.
Tag the wires currently connected to the existing switch,
so that they can be identified later. Disconnect the wires.
Make sure the insulation is stripped off the wires to
expose their copper cores to the length indicated by the
“Strip Gage” (approximately ½ inch).
4. Wire the time switch.
Twist the existing wires together with the wire leads on the RT-24 as indicated
in the table below. Cap them securely using the wire nuts provided.
Power wire from the circuit (hot)
to
Black wire on RT-24
Power wire from the lamp or fan (load) to
Red wire on RT-24
Neutral wires from the circuit
to
White wire on RT-24
Ground wire from the circuit
to
Ground terminal on RT-24
5. Put the RT-24 in the wall box with the display
positioned above the ON/Off button.
Secure it to the wall box with the screws provided.
6. Attach the cover plate.
7. Restore power to the circuit.
Turn on the breaker or replace the fuse.
SETUP
To access the programming buttons, place your finger
or screwdriver behind the lip at the top of the ON/OFF
button and pull it toward you. Slide the ON/OFF button
down over the wallplate.
Buttons
The three programming buttons
are used to set up the astronomic
time switch according to the user’s
preferences and location.
RT-24 Menu Options
From the standard display,
known as the “MAIN PAGE”
press and release the ↑
button to enter SETUP menu.
Press the ↓ button to
move to desired SETUP
menu option.
When the option that
you want to program is
highlighted, press the
CENTER button.
SETUP
SET TIME AND DATE
LOCATION
PREFERENCES
SCHEDULING
MAIN PAGE
DST
PM
Tue 03/31/2009
12:04
PROG
SETUP
SET TIME AND DATE
LOCATION
PREFERENCES
SCHEDULING
MAIN PAGE
Once in the SETUP menu if there is no activity for 10 minutes, the unit
automatically exits out to the MAIN PAGE.
www.passandseymour.com
RT-24
Astronomical
Time Clock
Wall Switch
Call 800.223.4185 for Technical Support
Display
Lighted Switch
ON/OFF button
Strip Gage
1/2"
12.7 mm
Call 800.223.4185 for Technical Support
SET TIME AND DATE MENU
Within the SET TIME AND DATE menu you will enter the correct time, date and
Daylight Savings Time (DST) start and end days.
Setting
Steps
TIME
Hour
1. From the SETUP menu highlight SET TIME AND
DATE and press the CENTER button. TIME should be
highlighted.
Press the CENTER button to highlight hour.
2. Press the ↓ button to decrease hour or the ↑ button
to increase hour.
3. Press the CENTER button to save hour setting and
move highlighted cursor to minute.
Minute
Follow step 2 above.
Press the CENTER button to save time setting.
DATE
1. Press the ↓ button to highlight DATE.
Month
1. Press the CENTER button to highlight month.
2. Press the ↓ button to decrease the month or the ↑
button to increase the month.
3. Press the CENTER button to save month setting and
move highlighted cursor to day.
Day
Follow step 2 above.
Press the CENTER button to save day setting and move
highlighted cursor to year.
Year
Follow step 2 above.
Press the CENTER button to save year setting.
DAYLIGHT
SAVINGS TIME
(DST)
Factory Default Setting: DST ENABLED (The unit will
automatically adjust for Daylight Savings Time). Press
the ↓ button to highlight DST
DST
When enabled,
DST appears in
the upper right
corner of the
MAIN PAGE.
1. Press the CENTER button to highlight ENABLED.
2. Press the ↑ button to switch between ENABLED and
DISABLED.
3. Press the CENTER button to save DST setting.
Start - Week
(Input week when
DST starts)
1. Press the ↓ button to highlight START. Press the
CENTER button to highlight 1st.
2. Press the ↓ button to decrease the week of the
month or the ↑ button to increase the week of the
month.
3. Press the CENTER button to save the week and move
highlighted cursor to the month.
Start – Month
(Input month
when DST starts)
Follow step 2 above.
Press the CENTER button to save month.
End – Week
Press the ↓ to highlight End. Follow same steps for
Start – Week.
End – Month
Follow same steps for START - Month.
To exit SET TIME AND DATE menu, press the ↓ button to highlight PREVIOUS
menu. Press the CENTER button to select and return to the SETUP menu.
LOCATION MENU
Within the LOCATION menu you will be required to enter the local longitude/
latitude coordinates and time zone. If you do not know this information, you can
use a search engine on the Internet. In the search field, type the words “longitude
and latitude.” It is necessary to enter the longitude and latitude in degrees. Then
perform a second search for “time zone.”
Setting
Steps
TIME ZONE
1. From the SETUP menu highlight LOCATION and press
the CENTER button. TIME ZONE should be highlighted.
Press the CENTER button to select the time zone.
2. Press the ↓ button to decrease the time zone.
Press the ↑ button to increase the time zone.
3. Press the CENTER button to save time zone setting.
LONGITUDE
1. Press the ↓ button to highlight LONGITUDE. Press the
CENTER button to select the longitude
Follow step 2 above.
Press the CENTER button to save longitude setting.
LATITUDE
1. Press the ↓ button to highlight LATITUDE. Press the
CENTER button to select the latitude.
Follow Step 2 above.
Press the CENTER button to save latitude setting.
To exit the LOCATION menu, press the ↓ button to highlight PREVIOUS MENU.
Press the CENTER button to select and return to the SETUP menu.
PREfERENCES
The PREFERENCES menu allows the user to customize the unit’s features
including the time/date format, sound and flash.
Time format – choose between a 12-hour or 24-hour format
Date format – choose between MM/DD/YY or DD-MM-YY
Sound – When SOUND is enabled the RT-24 will beep every 5 seconds when the
load is going to be turned OFF in less than a minute. It will also beep each time
the user presses the ↑, the CENTER, or the ↓ button. A small ear icon will
appear on the MAIN PAGE when sound is enabled.
Flash – When FLASH is enabled the RT-24 turns OFF the load for 1 second and
then turns it back ON to warn the user that the load is turning OFF in 1 minute.
When flash is enabled, a lightening bolt icon will appear on the MAIN PAGE.
Setting
Steps
TIME FORMAT
1. From the SETUP menu highlight PREFERENCES
and press the CENTER button. TIME FMT should be
highlighted.
Press the CENTER button to select time format.
2. Press ↑ button to change format.
3. Press the CENTER button to save time format setting
and to move highlighted cursor back to TIME FMT.
DATE FORMAT
1. Press the ↓ button to highlight DATE FMT. Press the
CENTER button to select date format.
Follow step 2 above.
Press the CENTER button to save date format.
SOUND
1. Press the ↓ button to highlight SOUND. Press the
CENTER button to select the sound setting.
Follow step 2 above to enable or disable sound.
Press the CENTER button to save setting.
FLASH
1. Press the ↓ button to highlight FLASH. Press the
CENTER button to select the flash setting.
Follow step 2 above to enable or disable flash.
Press the CENTER button to save setting.
To exit the PREFERENCES menu, press the ↓ button to highlight PREVIOUS
MENU. Press the CENTER button to select and return to the SETUP menu.
SCHEDULING
The RT-24 has 8 programs allowing the user flexibility in setting schedules to turn
the connected load ON/OFF.
Setting
Steps
PROGRAM
1. From the SETUP menu highlight SCHEDULING and
press the CENTER button. PROGRAM should be
highlighted.
Press the CENTER button to select program #.
2. Press the ↓ button to decrease the program and
the ↑ button to increase the program #.
3. Press the CENTER button to save the program #.
Day(s) - Set the
days of the week
the lights will
turn ON for that
particular program
1. Press the ↓ button to highlight DAY(s). Press
the CENTER button to select the days when the
program will operate.
2. Press the ↑ to choose the day(s); choices include:
- None (program is not in use).
- All (program turns ON the connected load every day).
- Mon – Fri (program turns ON the connected load
Monday through Friday).
- Weekends (program turns ON the connected load
Saturday and Sunday.
- Each individual day of the week (choose the day of
the week that the connected load should turn ON).
Press the CENTER button to save setting.
ON – Program the
time the connected
load turns ON
Press the ↓ button to highlight ON. Press the CENTER
button to select what time the load will turn on.
Follow step 2 above to set the ON time; choices
include:
- TIME (program a specific time to turn ON the load).
- DUSK (program up to 99 minutes before or after
dusk for the load to turn ON. Note: this is one of the
reasons that it is important that the correct time
zone, longitude/latitude coordinates are entered so
that the time switch can determine when dawn and
dusk will take place).
- DAWN (program up to 99 minutes before or after
dawn for the load to turn ON.
Press the CENTER button to save setting.
OFF – Program the
time the connected
load turns OFF
Press the ↓ button to highlight OFF. Press the CENTER
button to select what time the load will turn off.
Follow Step 2 above to set the OFF time; choices are
the same as for the ON time.
Press the CENTER button to save setting.
Follow the same steps to set Programs 1-8.
To exit the SCHEDULING menu, press the ↓ button to highlight PREVIOUS menu.
Press the CENTER button to select and return to the SETUP menu.
VIEWING SETTINGS
Once the RT-24 has been completely set up, it is possible to see the various
programs without needing to enter the SETUP menu. From the MAIN PAGE press
and hold the ON/OFF button. After 5 seconds the display changes to show the
sunrise and sunset time. Continue to press and hold the ON/OFF button. The
display will cycle through the 8 programs. Once the RT-24 has completed this
cycle, it will continue to cycle through the programs as long as the button is being
pressed.
MANUAL-ON
When the lights are turned ON manually, the word MANUAL appears on the
bottom left corner of the display. The load stays ON until it is manually turned
OFF or until a scheduled program turns the load off. For example, if the load was
scheduled to be turned OFF at a set time, such as 10:00 PM, and it was manually
turned ON before 10:00, then at 10:00 the load automatically turns OFF and the
program number that turned it OFF will replace MANUAL on the display.
www.passandseymour.com
www.passandseymour.com
TROUBLESHOOTING
Lighted switch is Off, no load response to ON/Off button press:
- Make certain that the circuit breaker is on and functioning.
Lighted switch is ON, no load response to ON/Off button press:
- Check the light bulb and/or motor switch on the fan mechanism.
If load does not respond properly after following troubleshooting, turn Off
power to the circuit then check wire connections or call technical support.
POWER fAILURE
In the event of a loss of power to the RT-24, the unit will maintain the correct
time, location and settings for 72 hours.
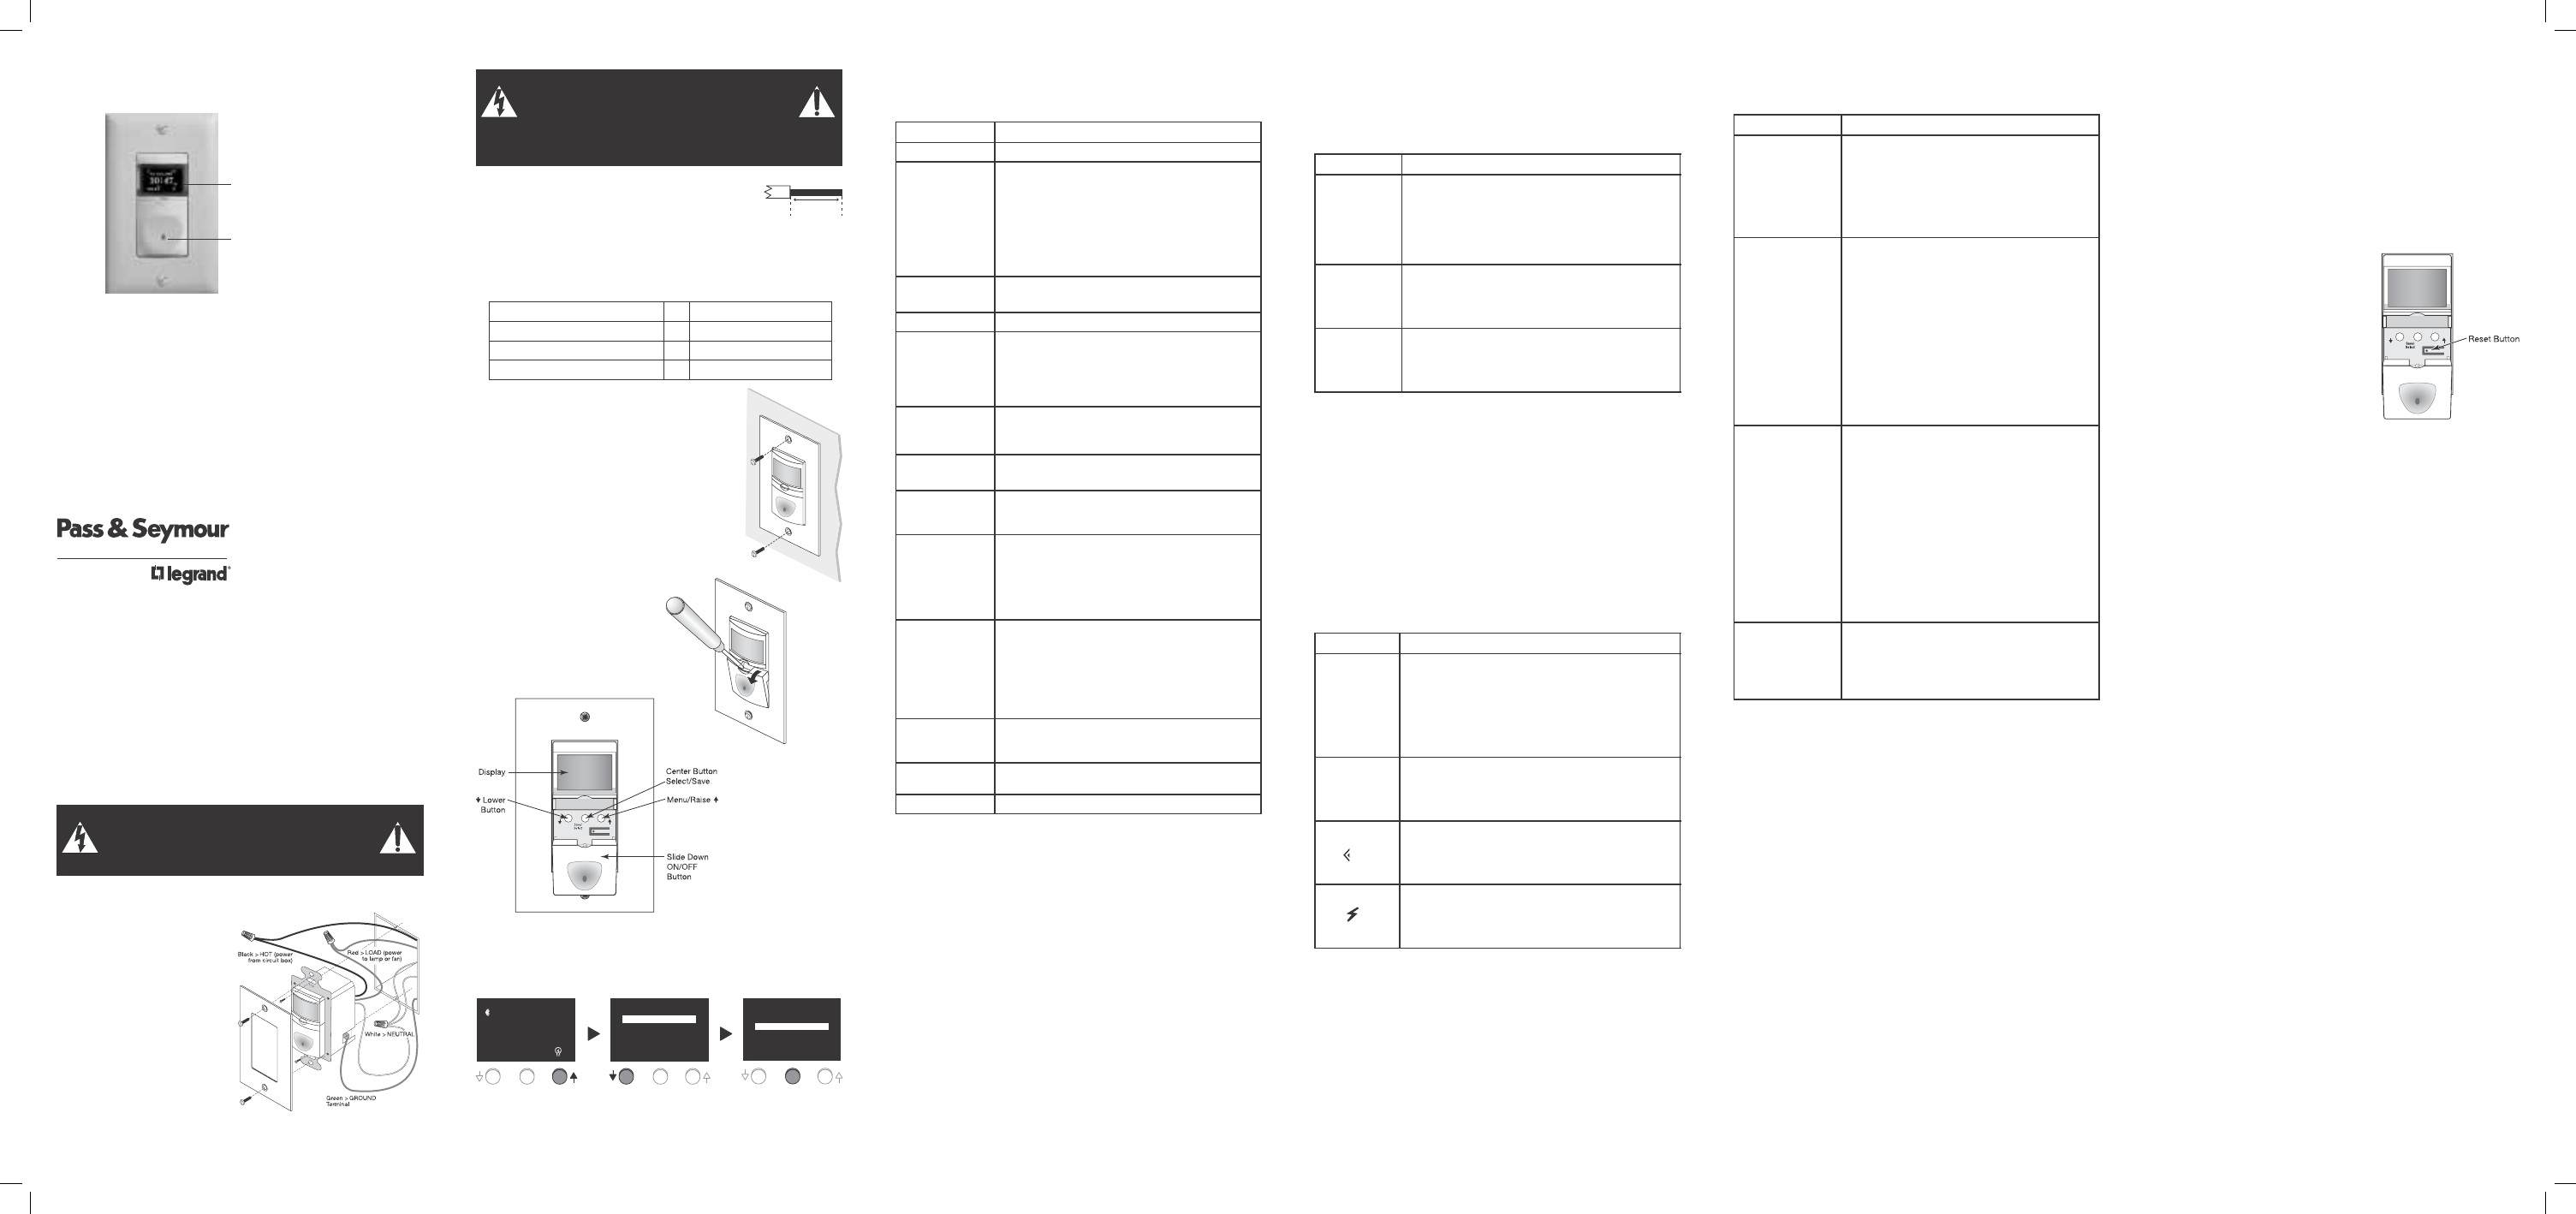
PRODUCT RESET
The RT-24 has a reset button located under
the ON/OFF button. If the unit has lost power
for an extended period of time (more than 72
hours) and the unit appears to be functioning
abnormally (the display is not on or lights
are not turning ON/OFF according to the
appropriate schedule), it may be necessary
to reset the unit. Press and release the reset
button. The display will reset so that the Watt
Stopper logo appears as it does upon initial
power up. At this point, the user will be able to
set the date, time and location and reset the
programs.
Call 800.223.4185 for Technical Support
340897 12252_RT-24.indd 1-6
8/25/09 4:04 PM