Legrand 364593-xx User Manual
Is-0213 rev. a
301 Fulling Mill Road, Suite G
Middletown, PA 17057
Phone (800) 321-2343 / Fax (717) 702-2546
www.onqlegrand.com
Page 1 of 2
INSTRUCTION/INSTALLATION SHEET
On-Q Enclosure Custom Door
IS-0213 REV. A
©Copyright 2008 by On-Q/Legrand All Rights
Reserved
.
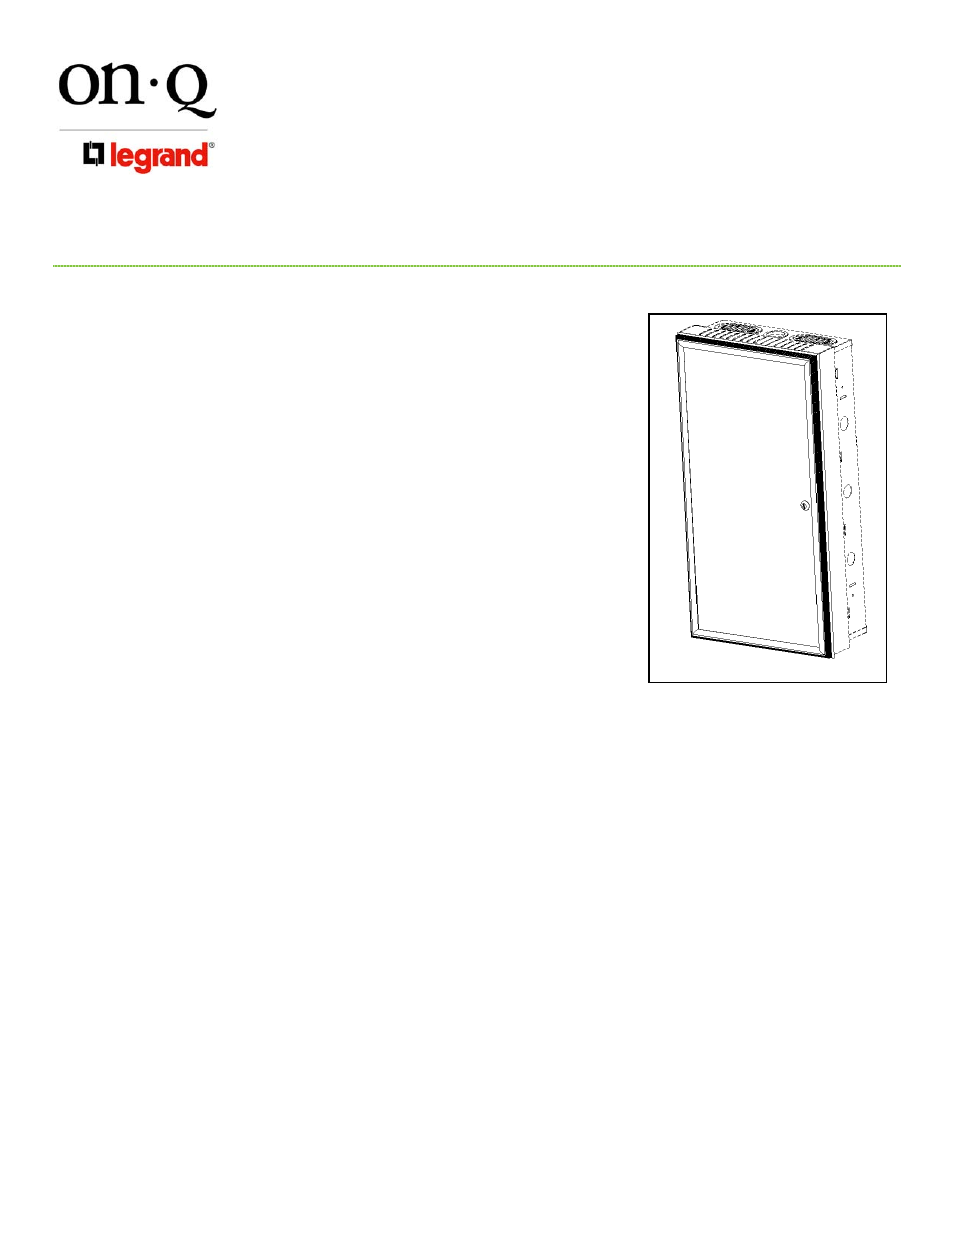
1. Introduction
The On-Q/Legrand Custom Door (see Figure 1) is an attractive option to
enhance the appearance of the On-Q Enclosure. Custom doors are available
for On-Q 28” and 42” Enclosures. The Custom Door is available in variety of
frame finishes and insert colors. The Custom Door can be mounted directly to
an On-Q Enclosure or the On-Q Enclosure Extender. The door can be
mounted on the left or right hand opening on the Enclosure Extender, however,
it only mounts on left side of the On-Q Enclosures.
The 28-inch Custom Door is P/N 364593-xy, the 42 inch Custom Door is P/N
364594-xy.
Note: The part number suffix “-xy” varies based on ordering options, see
description.
2. Description
The Custom Door is an aluminum frame with an insert. The frame is available in
two finishes, brushed aluminum (P/N suffix “-1y”) and white (P/N suffix “-2y”).
Available inserts are, clear (P/N “-x1”) and smoke (P/N suffix “-x4”). The doors
all include an installed lock. The Custom door comes preassembled with a
mounting kit. Doors ship with a protective cover over the inserts.
3.
Installation
A. Select right or left hand opening.
B. Partially install a screw and lock washer into the top-mounting hole on the Enclosure or Extender.
Note: Hinge brackets on doors have keyholes for hanging on either side of Extender.
C. Align and hang the door on the hole by slipping the top hinge keyhole over the screw (see Figure 2).
D. Align the door and install remaining screws. Tighten all
screws
.
E. Remove insert protective cover by peeling back paper film on both sides of insert.
Note: It is advisable to leave the protective cover on until construction is complete.
Note: Acrylic inserts are soft plastic. Use mild plastic cleaner and soft cloth. Many glass cleaners contain
abrasives, which will scratch and dull the finish.
Figure 1