MiG InfoCom MiG Layout Quick Start Guide User Manual
Mig layout quick start guide v1.2.2, Adding components to the grid, Merging and splitting cells
MiG Layout Quick Start Guide v1.2.2
This is a quick start to MiG Layout. For further information look at
as it will be
updated with links to the new and relevant information.
To start using MiG Layout all you need to do is to download the miglayout.jar and include it in your project or
classpath. There are different versions for Swing and SWT, but they work exactly the same. There is also a
version for JSE 1.5 and one for 1.4 where the latter has varargs support in the API.
Adding Components to the Grid
Adding components to a Container is as simple as writing text and follows the same basic principle. If you
just add them they will end up on the same row. When you want to change to next row you specify the
constraint "wrap" and the next component will be on the next row. For example:
panel.add(comp1)
panel.add(comp2)
panel.add(comp3, "wrap") // Wrap to next row
panel.add(comp4)
comp1
comp2
comp3
comp4
The grid can also be set to auto wrap at a specific column index by specifying that in the layout constraint
when creating the layout manager. Next shows how to create the same grid without having to specify the
"wrap" when adding comp3. It means that the grid should auto wrap after column 3 and there will thus not be
a fourth column.
MigLayout layout = new MigLayout("wrap 3");
From v2.5 the next row's gap can be set directly after the wrap keyword. E.g:
panel.add(comp3, "wrap 15")
will make the row gap 15 pixels high. You can even make the gap "pushing" by specifying for instance "wrap
push".
Merging and Splitting Cells
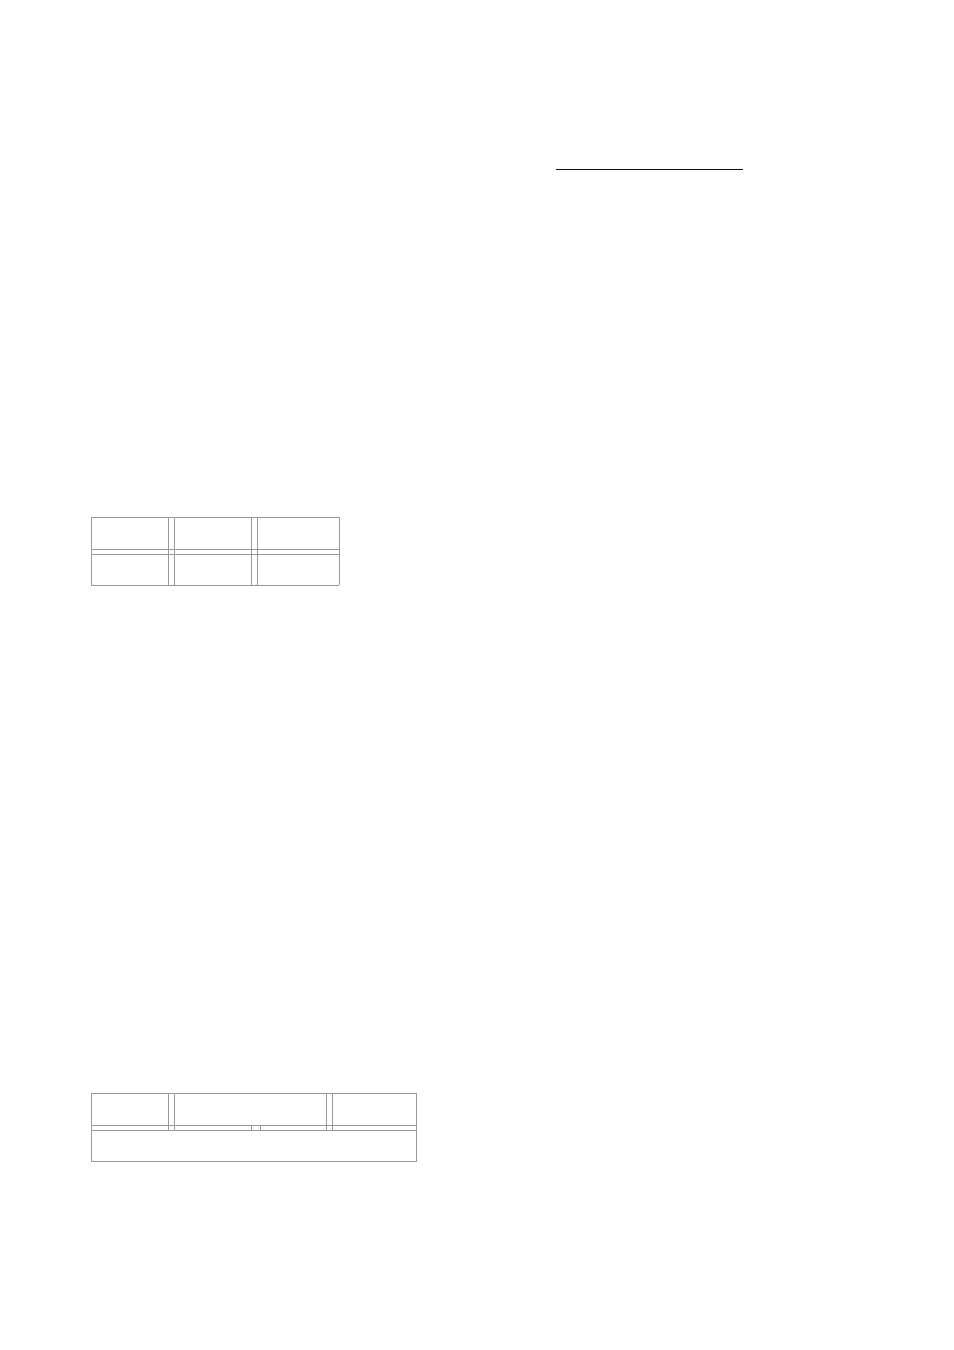
It is equally easy to split or span cells. Here is how to create the next grid.
panel.add(comp1)
panel.add(comp2, "span 2") // The component will span two cells.
panel.add(comp3, "wrap") // Wrap to next row
panel.add(comp4, "span") // Span without "count" means span whole row.
comp1
comp2
comp3
comp4
Span optionally takes two indexes, x and y. This means that you can span cells like this:
© 2009 MiG InfoCom AB