OpenEye OE-ENVR Quick Start User Manual
Quick start guide, Embedded digital recorder, E-series envr
QUICK START GUIDE
Embedded Digital Recorder
E-Series ENVR
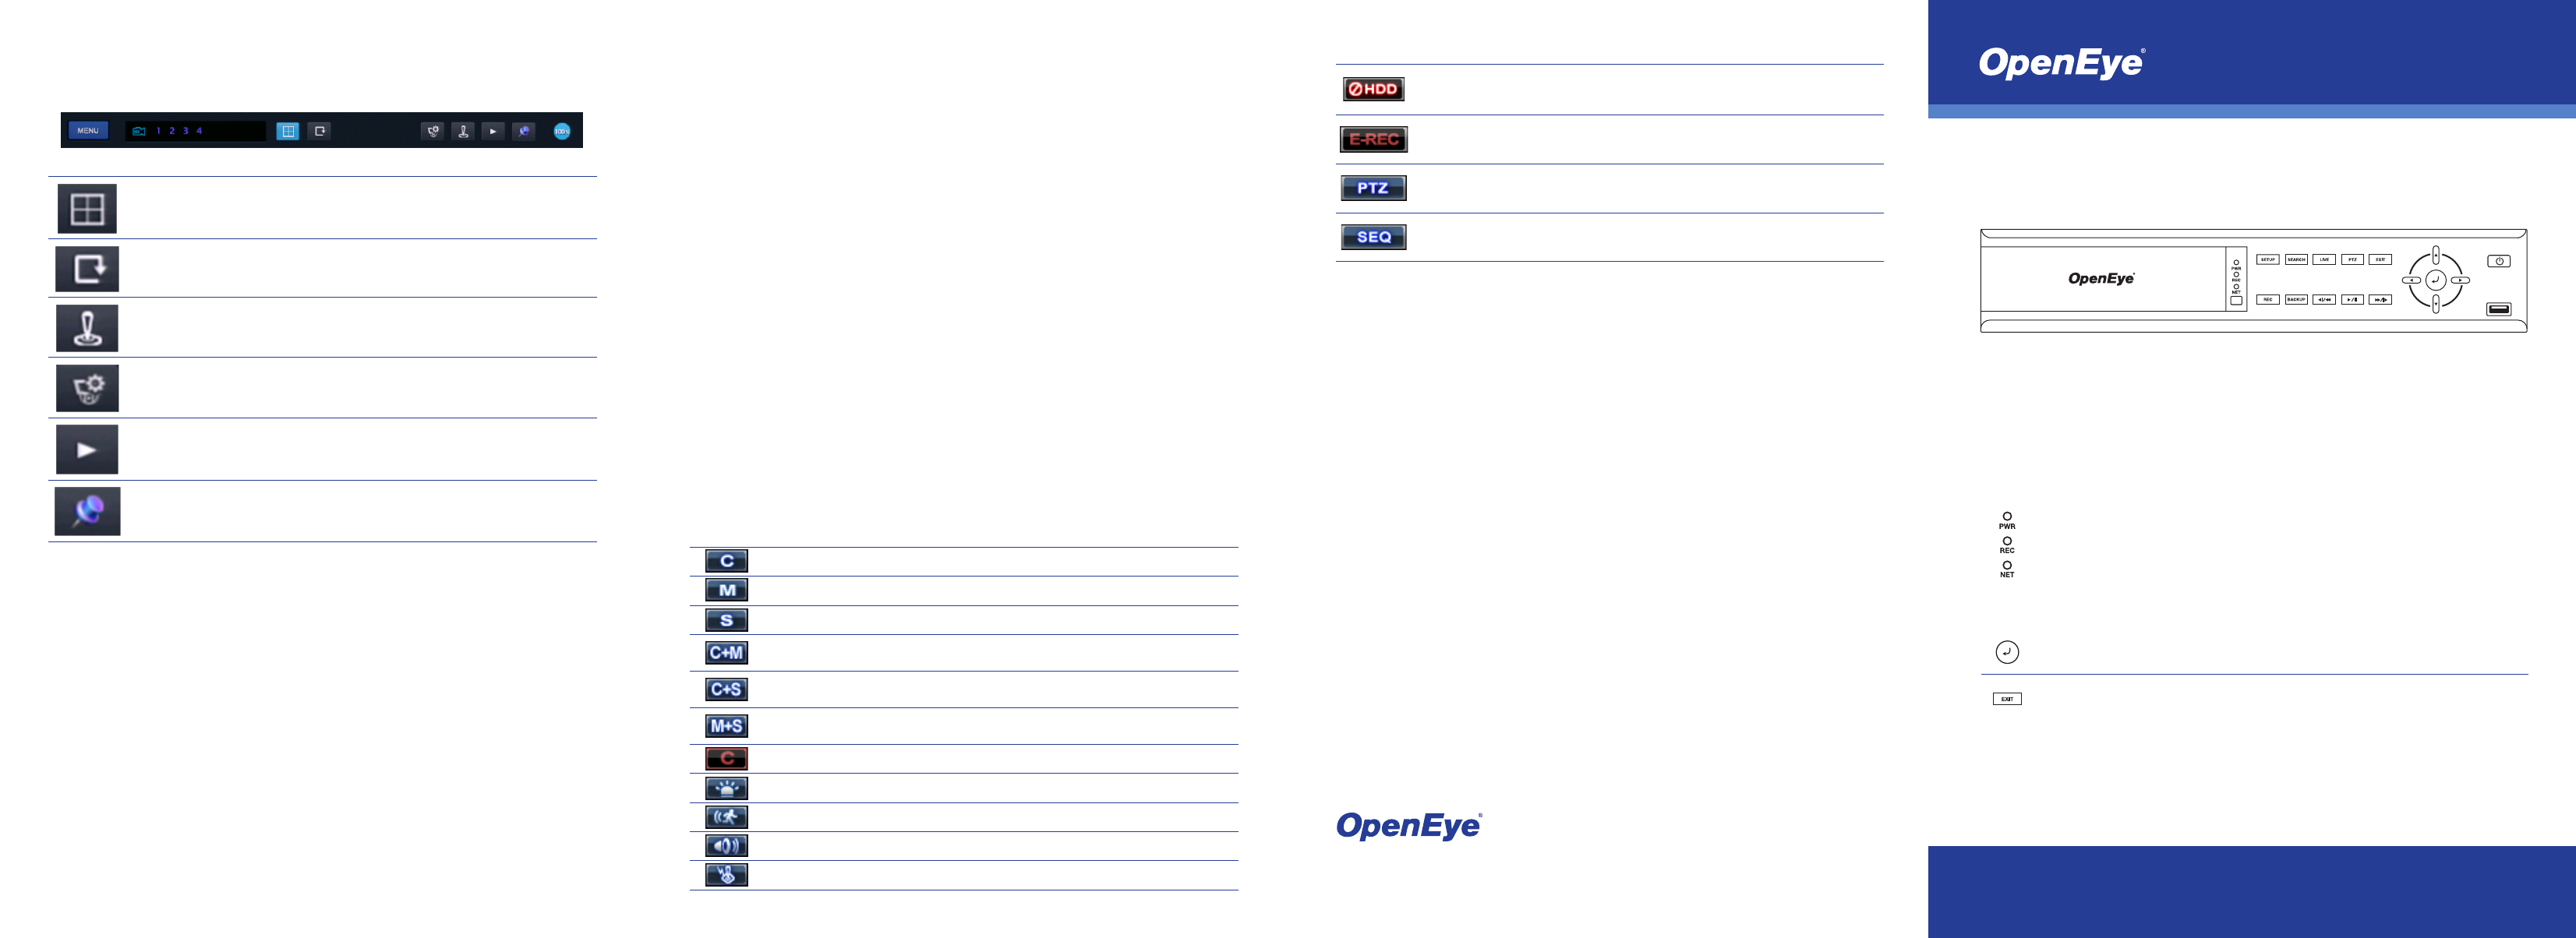
LED STATUS INDICATOR
ENTER / EXIT BUTTONS
Power
Illuminates when power is supplied to the recorder.
Record
Illuminates when video is being recorded.
Network
Illuminates when the recorder is connected to a network.
Enter
Input data and make selections.
Exit
Return to the previous mode or menu, without saving.
LOGGING IN FOR THE FIRST TIME
DVR
User ID: admin
Remote Software
User ID: admin
Password: 1234
Password: 1234
Note
After logging in for the first time, change the admin password for the recorder and
remote software to establish user level security. See the Manual for instructions.
SET UP RECORDING
1.
Cick MENU on the hover menu, and then click SETUP.
2.
Click RECORD, and then click RECORD SETUP.
3.
Click SCHEDULE, and then select the channels to set a Recording Schedule.
4.
Select your desired RECORDING MODE for this schedule.
5.
Select your desired days and times to record, and then click
SAVE to save your settings.
Copyright ©2014 OpenEye. All Rights Reserved. Information contained in this document is subject to change without
prior notice. OpenEye does its best to provide accurate information but cannot be held responsible for typos or mistakes.
33059AA
23221 E Knox Ave
Liberty Lake, WA 99019
1.888.542.1103
Continuous
Continuous Recording
Motion
Motion Detection Recording
Sensor
Sensor Activated Recording
Continuous +
Motion
Continuous + Motion Detection Recording
Continuous +
Sensor
Continuous + Sensor Activated Recording
Motion Detection +
Sensor Activated
Motion Detection + Sensor Activated Recording
Emergency
Emergency Recording
Sensor Activated
Sensor Activated
Motion Detected
Motion Detected
Audio
Audio Channel
PTZ
PTZ Camera
SEARCH RECORDED VIDEO WITH EXPRESS SEARCH
1.
On the hover menu, click MENU, and then click SEARCH.
2.
Click EXPRESS SEARCH.
3.
Select a date and time to view or click the NEXT / PREVIOUS button to move to another
date page.
4.
Select a time by clicking in the time line box. Click
HOUR to toggle between Hour and
Minute view. The highlighted blocks represent periods of recorded video.
5.
Use the arrow keys to move the bar across the displayed grid to select the search time.
Highlighted time blocks represent recorded video.
6.
Select PLAY.
CHANGE THE SCREEN DISPLAY
Change the screen display while in Live mode.
• Full Screen Display
Double-click your desired camera channel for full screen display.
• Divided Screen Display
Click a screen division icon on the hover menu to show multilpe cameras at once.
• Change the Displayed Channels
Click the camera channel numbers on the hover menu to change displayed channels. You
can view multiple channels at once by clicking a channel number, and then clicking a screen
division icon to view the other camera channels within that screen division.
SCREEN ICONS
In Live mode, icons or messages on the screen indicate the system mode or status.
Right-upper corner on each CH screen
QUICK BACKUP
1.
Insert a USB device, and then perform a Search to locate your desired video.
2.
Press BACKUP at the beginning of the desired clip, and then press BACKUP again at
the end of the desired clip.
3.
Confirm the Backup settings.
4.
Click EXPORT to start the backup.
PLAY BACKUP FILE ON A PC
1.
Insert a USB device into your client PC, and then navigate to the backup files on the USB
device.
2.
Double-click the MultiBackupPlayer application.
3.
Click OPEN to locate the desired backup file saved by Date.
MANUAL BACKUP
1.
Click MENU on the hover menu, and then click EXPORT.
2.
Insert a USB device, and then click SCAN to locate the device.
3.
Click TARGET to select a device to backup to.
4.
Select your desired CAMERAS and the FROM and TO time for the backup.
5.
Click ESTIMATE to display the estimated file size and free space available.
6.
It is recommended to select EXPORT VIEWER to add the Export Viewer to the backup
file.
7.
Click EXPORT.
HOVER MENU
The Hover Menu will appear when the mouse is moved to the bottom of the Live screen.
Screen Division
Indicator
Availability (1,4,9, or 16 channel display) is dependant
on recorder model. The button is blue when selected.
Sequence
Click to start camera sequence.
PTZ Mode
Click to enter PTZ mode. In PTZ mode, pan/tilt and
zoom by moving the mouse pointer.
Camera Discovery
Opens the camera discovery menu to search for IP
cameras.
Quick Search
Click to automatically play back the most recent video
clip.
Dock Tool Menu
Click to dock the Tool Menu at the bottom of the
screen.
No HDD
No Hard Disk Drive (HDD), Smart Alarm, and HDD
Failure
Emergency
Using Emergency Recording
PTZ
Using PTZ
Sequence
Showing Sequence Mode
Right-bottom corner on full screen.