Posiflex CR-6000 Series User Manual
Page 4
Part 4
INSTALLATION
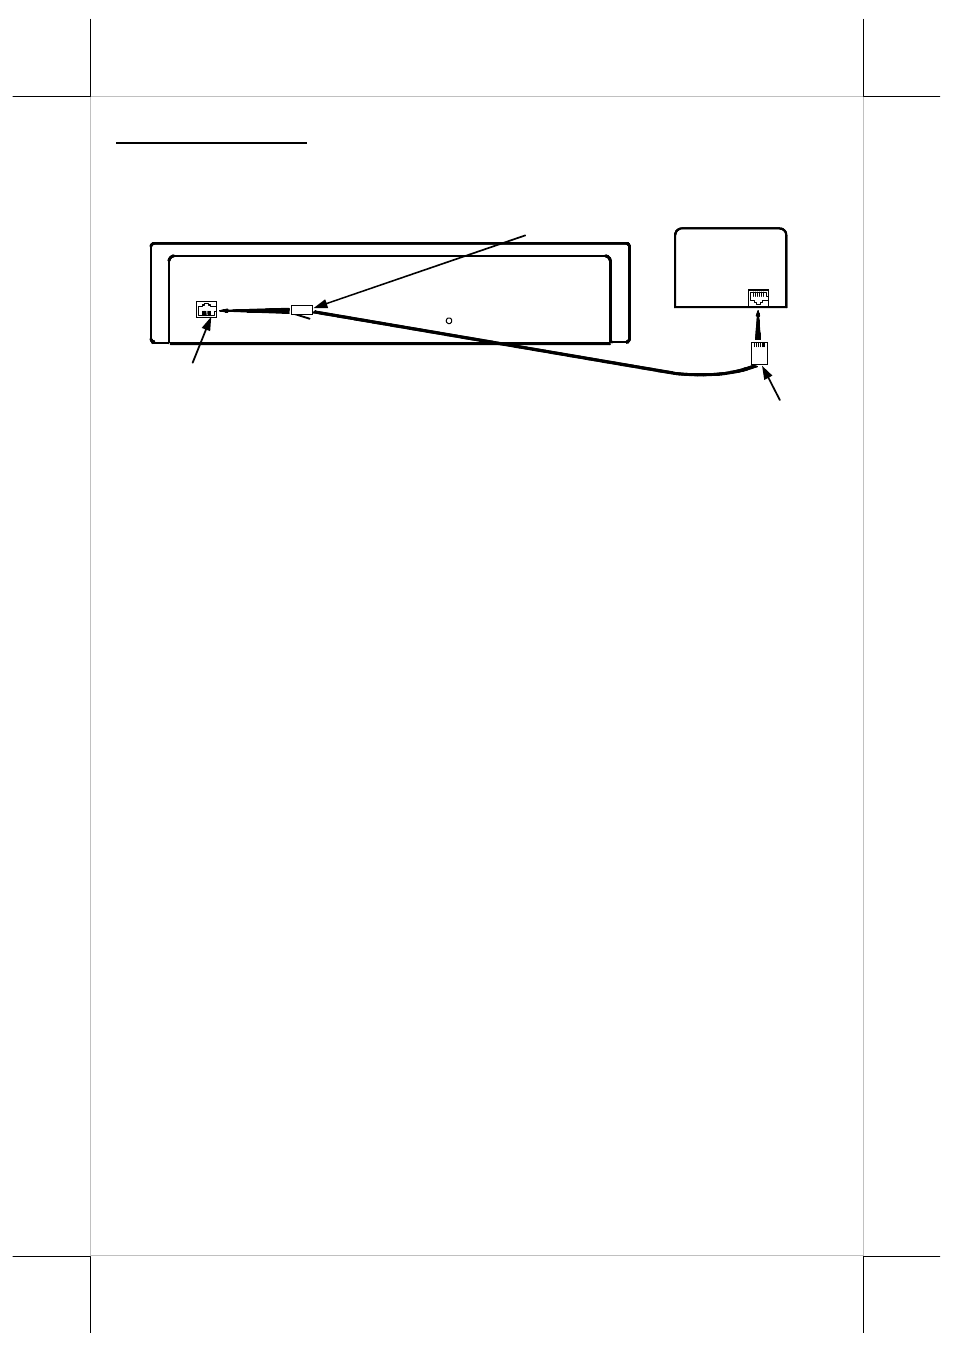
CR4000 / 4020 / 4100 / 4210 / 6210 Connect the drawer to POS
system/printer as shown below:
CR4001 / 4101 / 4211
1).
Connect the drawer serial I/P port to the computer COM port. Connect
the power adapter output to the Power Input jack
2).
No other RS232C devices should be connected to the serial O/P port.
3).
Set position 3 of S2 to OFF and position 4 of S2 to ON. Please refer to
rear panel illustration.
CR4002 / 4102 / 4212
1).
Connect the drawer serial I/P port to the computer COM port. Connect
the power adapter output to the Power Input jack.
2).
Other RS232C device can be connected to the serial O/P port when
needed as long as the security code makes no influence to this RS232C
device.
3).
Set position 3 of S2 to ON and position 4 of S2 to OFF. Set S1 for
security code to open cash drawer. In normal practice, the security code
is suggested to be a non-displayable ASCII character, for example, a
hexadecimal number between 01 to 1F. Please refer to rear panel
illustration below.
CR4003 / 4103 / 4213
1).
Connect the drawer parallel I/P port to the computer LPT port. Connect
the power adapter output to the Power Input jack.
2).
Other parallel device such as a printer can be connected to the parallel
O/P port when needed as long as the Security code makes no influence
to this parallel device.
3).
Set S1 for security code to open cash drawer. In normal practice, the
security code is suggested to be a non-displayable ASCII character. For.
example, a hexadecimal number between 01 to 1F. Please refer to rear
panel illustration below.
CASH DRAWER
With Printer Interface
8P Telephone Jack
8P Telephone Plug
6P Telephone Plug
Output to drawer
POS System or Printer
Ground
Rear View
Control signal input