Prior to initial operation, Initial operation – REMKO RKV 13 C User Manual
Page 22
22
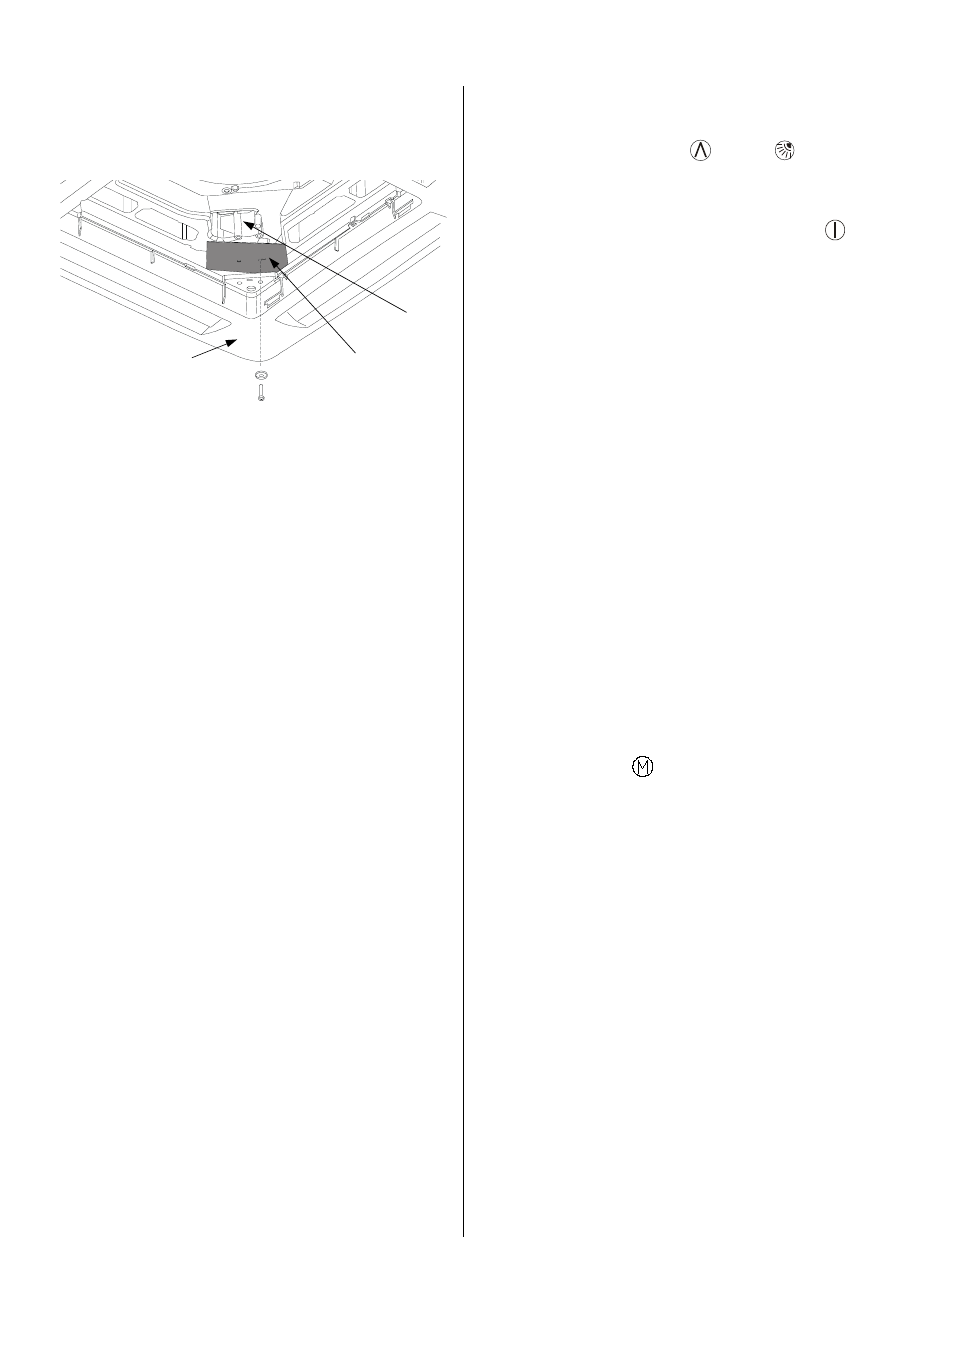
Installing the air direction plate
To provide cool fresh air to the room, it is necessary to
mount the supplied air direction plate made of plastic.
Separating
wall
Air direction
plate
Frame
Prior to Initial Operation
After the pressure check has been performed, the vac-
uum pump must be connected to the valve connections
of the outdoor part by means of the manometer station
and a vacuum created.
Prior to initial operation of the unit and after contact with
the cold cycle, the following checks must be performed
and documented in the initial operation log:
à Check all refrigerant lines and shut-off valves for leaks
with a leak locator spray or soapy water when the unit
is off.
à Check that the connection lines did not get switched
by mistake.
Especially for the RKM series 600 and 700.
à Check the refrigerant lines and the insulation for
damage.
à Check that the electrical connection between the in-
door unit and the outdoor part is correct.
à Check all fixtures and suspended parts to ensure that
they are in the proper position and at the correct
height.
à If the refrigerant line is longer than 5 m, more refriger-
ant should be added to the system.
G
To put the unit back into operation after a power
outage, it must be completely unplugged from the
power supply first!
The air direction plate is positioned as shown above.
à In the “Test” operating mode, “Room temperature
regulation“ and “Cooling mechanism start protection“
are not activated.
The green, red and yellow lights on the receiver of
the indoor unit blink to indicate operation.
3. Connect the unit to the power supply and switch the
power on.
4. Press down the buttons (9) and (13) of the re-
mote control for five seconds
The display is deleted. The letters “Src“ for a service
test appear on the time display.
5. After the test is complete, press the button (7) to
exit test mode.
6. Remember: if no button is pressed for 30 minutes,
the configuration menu is automatically exit and the
process must be reinitiated.
Initial Operation
The unit may only be put into operation by the manufac-
turer or an authorised representative. Initial operation
must be performed using the certification of initial op-
eration (page 18) and documented.
During the test run, check all regulating, control and
safety mechanisms to ensure that they are functioning
and set properly.
1. Switch the customer-installed main switch or fuse on.
2. Adjust the target temperature on the indoor unit to a
lower value than the existing room temperature us-
ing the remote control.
3. Press the button 6 to activate cooling mode.
4. The compressor starts a couple of minutes later due
to the delayed start.
5. Check the indoor unit’s control mechanisms using
the functions described in the section “The remote
control”.
Timer, temperature settings, fan mode and dehu-
midifying mode.
6. Familiarise the operator with the system and give
him the certification for initial operation.
Additional preparation
After the unit has been completely connected and
checked, the indoor unit, outdoor part and remote con-
trol must be prepared for operation.
The operating test is conducted as follows:
1. Check all electrical connections.
Follow instructions and wiring diagrams.
2. Insert the batteries into the remote control but leave
it switched off.