Spohn Q-GMP-A6467 User Manual
Page 2
INSTALLATION
• Screw the aluminum spring seat jam nut (shoulder up) and the spring seat (shoulder up) down to the
last thread, and NO further. Now is a good time to lubricate the threads of the shock body with anti-
seize lubricant.
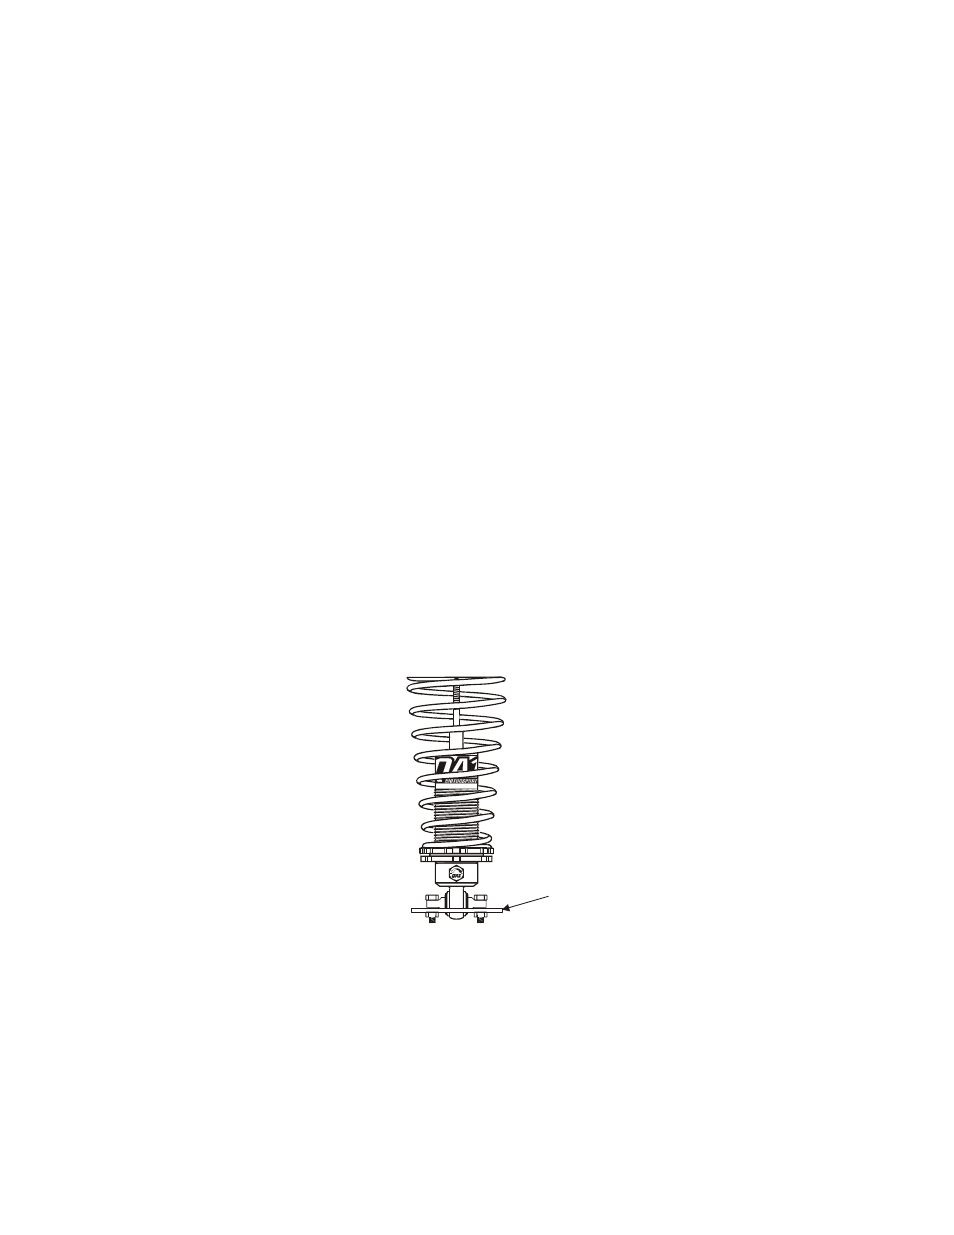
• Place the shock T-bar down on to the A-arm and insert the 3/8” bolts. Install the 3/8” Nylock nuts, do
not tighten. Center the shock assembly in the A-arm hole and tighten the nylock nuts to hold the
assembly in place. If applicable, the valving adjuster should be facing out toward the spindle.
• Install half of the shock stud bushing pack (one stud washer and one bushing)
• Coat one side of the stainless steel spring seat washer with anti-seize lubricant. Place the lubricated
side of the washer down on the spring seat. Slide the small diameter end of the spring over the shock
body and down on to the spring seat.
• Rotate the assembly vertically as you jack the A-arm and shock assembly into position. Once the
spring is in the frame rail rotate it until it lines up in the recesses from the factory so that it is properly
located. Continue jacking the A-arm up until the shock stud extends through the factory mount. Install
the upper stud bushing, washer, and nut.
• Reassemble the spindle and lower A-arm. Torque the spindle nut to the factory specifications. Insert
cotter pin.
• Adjust the spring seat up approximately ½” above the bottom most thread.
• Repeat both the removal and installation procedures for the other side.
• Now that both sides are fully installed, the final ride height (RH) has to be set.
• Measure the ride height (RH) as you did, before disassembly. If the new height does not match the
original, adjust the spring seats accordingly. When making any ride heights adjustments, make
them with the car jacked up and set on jack stands with the A-arms fully extended.
• It is recommended that, after the installation is complete, you have the front end realigned.
Shown as assembled
A-arm