Teac MX-2424 v1.04 User Manual
Page 34
To Back Up a Project to Travan Tape
1. Be sure all SCSI devices are properly connected.
2. Press SHIFT then UNMOUNT to un-mount all
drives.
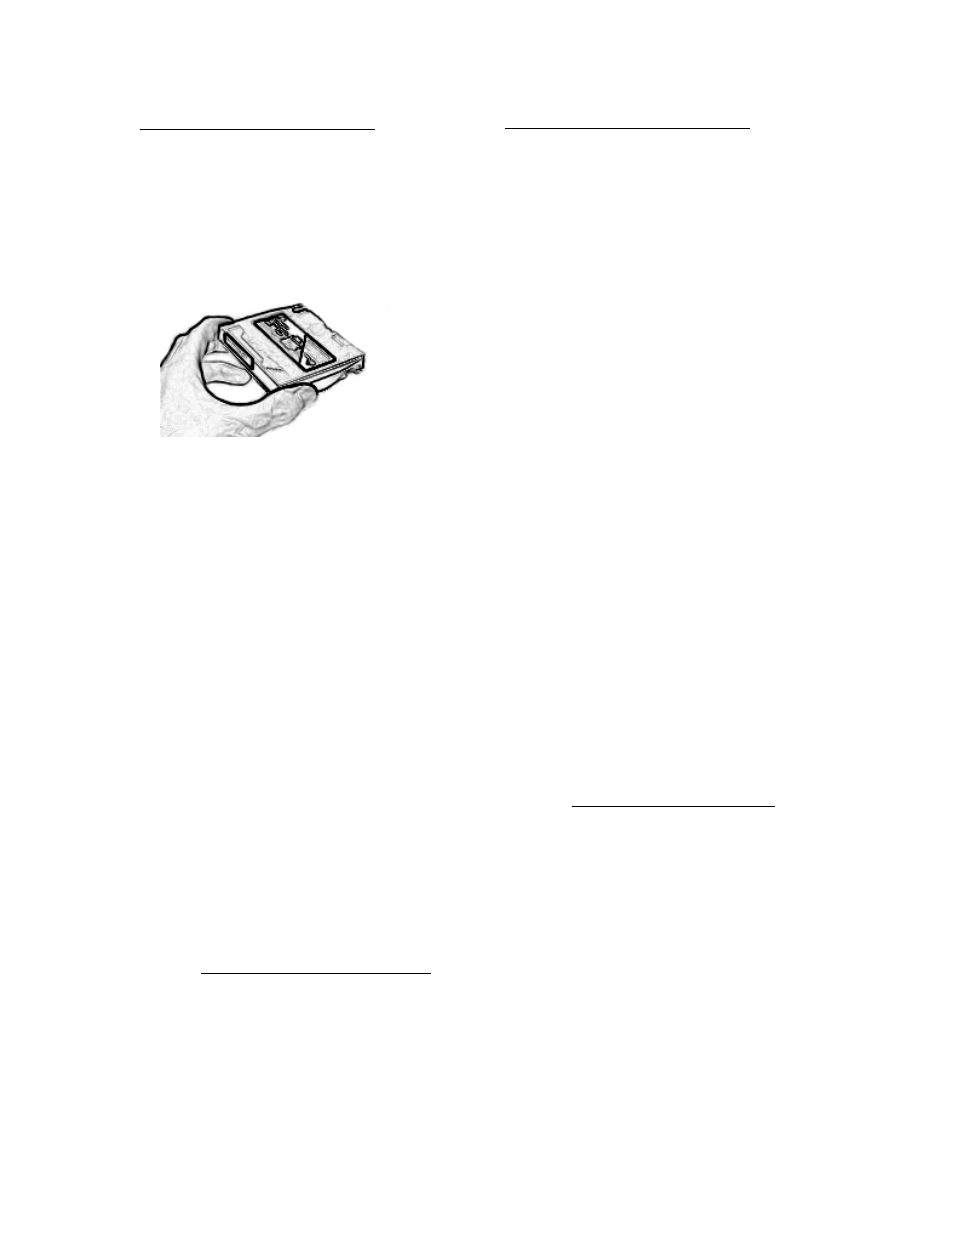
3. Insert a blank tape into the Travan drive. The
tape will stick out of the drive about one inch.
Always grasp the tape by the sides as shown
below.
4. Press MOUNT to mount all drives. This may
take a few minutes. Do not attempt to remove
the Travan tape while it is mounted or in motion.
5. Press PROJ, then use the UP/DOWN Arrow
keys until Smart Copy is displayed in the LCD.
Press PROJ again or YES.
6. Available Project names will be displayed in the
LCD. Use the UP/DOWN Arrow keys to select
the source project to be backed up then press
YES. (SCSI ID location of the project will be
indicated in brackets. If the project title is so
long that the brackets are not displayed it is
possible to turn the SHTL Ring to the right to
scroll the display until the brackets can be seen.)
7. “Smart Copy to:” will be displayed in the LCD
prompting for a SCSI ID of the Travan drive.
Press TRIM and use the UP/DOWN Arrow keys
to select the SCSI ID of the destination drive.
Press YES.
8. “Smart Copy as:” will be displayed in the LCD
prompting for a new project name (if desired).
Press YES to accept the current project name or
press TRIM to change it. Confirm your
selection.
9. ”EraseTape? No=Append” will be displayed in
the LCD. Press YES to completely erase the
currently mounted Travan tape and begin a
new backup. Press NO to add to an existing
backup. There is no Undo for this function.
10. The status of the backup will be displayed in the
LCD until it is completed. (NOTE: If projects
already exist on the tape the backup process will
begin after the tape’s directory information has
been loaded into the MX-2424’s memory, this
may take a few minutes. When completed, press
SHIFT then UNMOUNT to remove the Travan
tape.)
To Restore a Project from Travan Tape
1. Be sure all SCSI devices are properly connected.
2. Press SHIFT then UNMOUNT to un-mount all
drives.
3. Insert the tape into the Travan drive that contains
the project to be restored.
4. Press MOUNT to mount all drives. This may
take a few minutes. Do not attempt to remove
the Travan tape while it is mounted or in motion.
5. Press PROJ, then use the UP/DOWN Arrow
keys until Smart Copy is displayed in the LCD.
Press PROJ again or YES.
6. Available Project names will be displayed in the
LCD. Use the UP/DOWN Arrow keys to select
the source project to be restored the press YES.
Projects located on the Travan tape will be
indicated by “BU” displayed in brackets along
with the SCSI ID of the device where the project
is located. If the project title is so long that the
brackets are not displayed it is possible to turn
the SHTL Ring to the right to scroll the display
until the brackets can be seen.
7. “Smart Copy to:” will be displayed in the LCD
prompting for a SCSI ID of the destination hard
drive. Press TRIM and use the UP/DOWN
Arrow keys to select the SCSI ID of the
destination drive. Press YES.
8. “Smart Copy as:” will be displayed in the LCD
prompting for a new project name (if desired).
Press YES to accept the current project name or
press TRIM to change it. Confirm your
selection.
9. The status of the restore will be displayed in the
LCD until it is completed. When completed
press SHIFT then UNMOUNT to remove the
tape.
SPECIAL NOTES ABOUT TRAVAN
Tape spanning will be supported in a future release of MX-
OS. Currently if a project backup will require more space
than is available on a tape then a new tape must be used.
Currently maximum backup capacity to Travan is 10
gigabytes.
Only Travan tapes that specify 10 gigabytes uncompressed
may be used by the MX-2424.
34