5 – mastering – Teac 2488 User Manual
Page 63
5 – Mastering
TASCAM 2488
User’s Guide
63
wish to add to the final CD, press the
INSERT
key.
A check mark (✔) appears by the title of every
selected song. There is no need to worry about
the final running order of the CD at this stage.
If you have made a mistake in adding a song to
the list, you can remove it by highlighting the
title and pressing the
DELETE
key.
2
When you have added all the songs to the list
that you want to record on the CD, press
ENTER
.
NOTE
If you have only selected one song, the procedure from
now is as if you had highlighted the song and pressed
ENTER
, as described above. Read that section, and
ignore the remainder of this section.
The screen changes to the song order screen (if
you want to return to the song selection
screen, press
EXIT)
.
3
Use the wheel to scroll through the list of
songs.
4
When a song title is highlighted, use the §
and ¶ keys to move it up and down in the list.
As the song is moved up and down in the list it
remains highlighted.
5
Select further songs for rearrangement using
the wheel.
6
When you have completed the running order,
press
ENTER
.
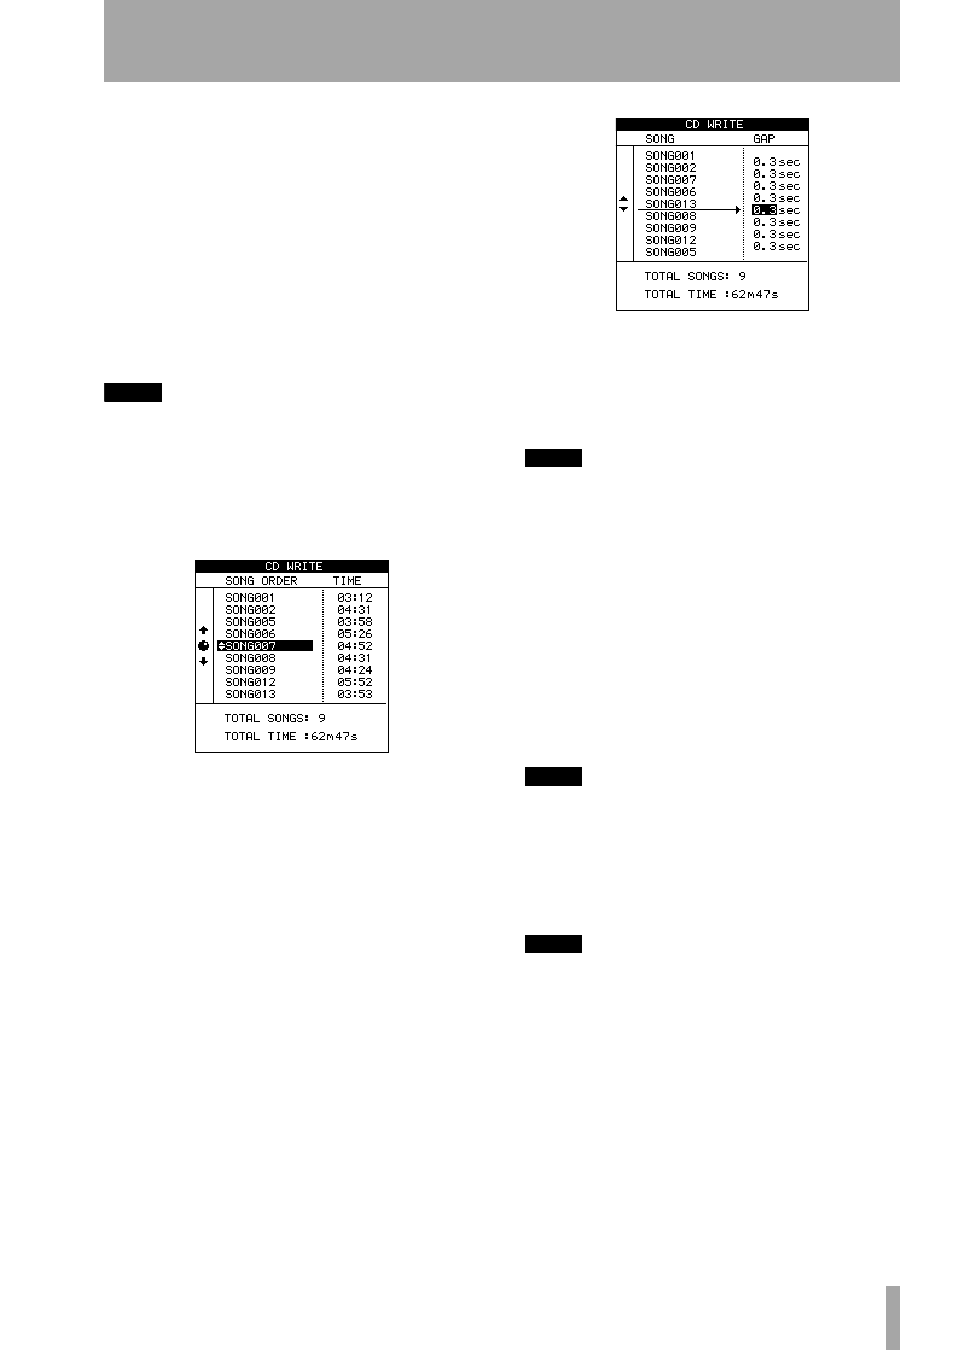
The screen changes to the “gap setting”
screen. This allows you to set the gap between
tracks on the CD (press
EXIT
to return to the
song order screen)
7
Use the § and ¶ keys to move the cursor to
the gaps between the songs on the CD.
8
Use the wheel to set the time in seconds
between songs, from
0.0
seconds (no gap)
through
9.9
seconds in 0.1 second steps.
NOTE
When you come to play back the disc on a CD player,
the start of the gap will appear as Index 0 on the track
following the gap, and the start of the track will appear
as Index 1. Because the gap counts as a part of the
track, the total length of the track and gap together
cannot exceed 80 minutes.
9
When all the gaps have been set, press
ENTER
.
A pop-up asks if you are sure. Use the
YES
key
to proceed with writing the CD or the
NO
key
to cancel the operation.
10
When you press
YES
, a disk image is made of
each song in turn, which is then written to the
CD.
NOTE
DO NOT TURN OFF the
2488
or the CD-RW drive while
this writing operation is taking place. You will almost
certainly spoil the disc and may corrupt the song data.
11
When the last song has been written, the disk
is finalized. You can now eject the disc and
play it in a CD player.
NOTE
The CD-RW drive eject button is locked while writing is
going on. You can only eject the disc after writing has
finished.
If you use CD-RW media, you cannot play the resulting
discs in most audio CD players.