Autobaud – Wavetronix Click 111 (16-channel Contact Closure Eurocard) (CLK-111) - User Guide User Manual
Page 23
22
CliCk 111 • User GUIde
Autobaud
The second option on the front panel menu label is the autobaud function. This option is
indicated by the green LED coming on solid.
Note
The autobaud function can only be accessed here, on the front panel menu.
This function initiates an autobaud on the RS-485 buses (you will select which bus to auto-
baud on the Level 2 LEDs). An autobaud will stop data reporting on the selected port and
attempt to communicate with the SmartSensor at all supported baud rates.
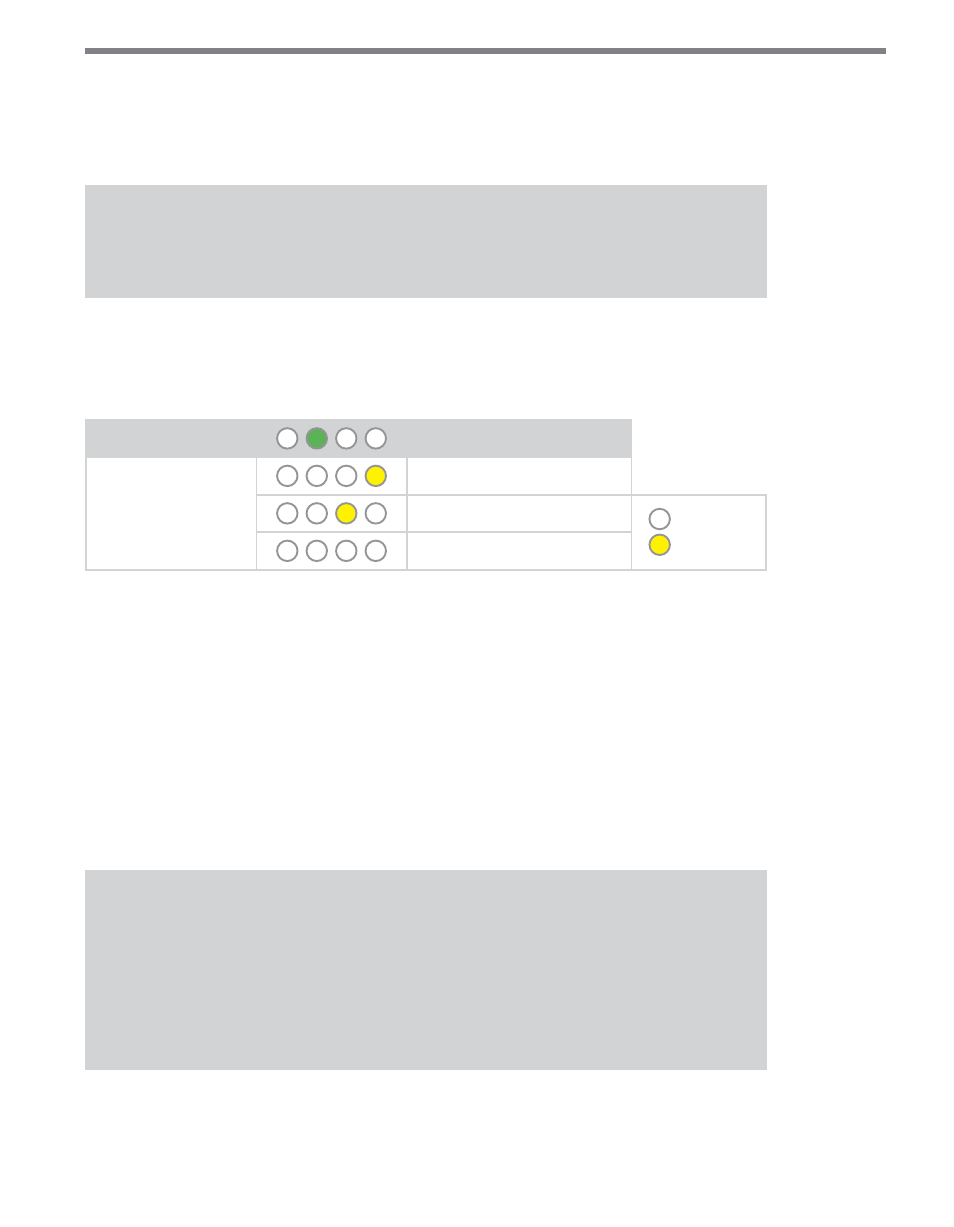
Level 1 LEDs
Autobaud
Level 2 LEDs
Autobaud on bus 1
Autobaud on bus 2
LED off
LED on
Cancel and exit menu
Table 10 – Front Panel Menu Autobaud Settings
See the earlier Navigating through the Menu and the Menu Operation Example sections for
how to configure this parameter.
If the Click 111 is successful in communicating with a SmartSensor, it will display the baud
rate found, using the same Level 2 LED system used in selecting the baud rate (covered in
the Baud Rate section of this chapter and Table 11). After a short time of displaying the
autobaud results, the menu will return to normal operation.
If the autobaud fails, all four Level 2 LEDs will flash once, and then the menu will return
to normal operation.
Note
If the baud rate of either of the RS-485 buses was configured using the DIP switches
(so that parameter is set to Hardware mode), the Level 2 LED configuration options
for that bus will not be displayed (the LED option will never come on). If both RS-485
buses are configured using the DIP switches, the Level 1 LED menu option for auto-
baud will not be displayed (the green LED option will never come on).