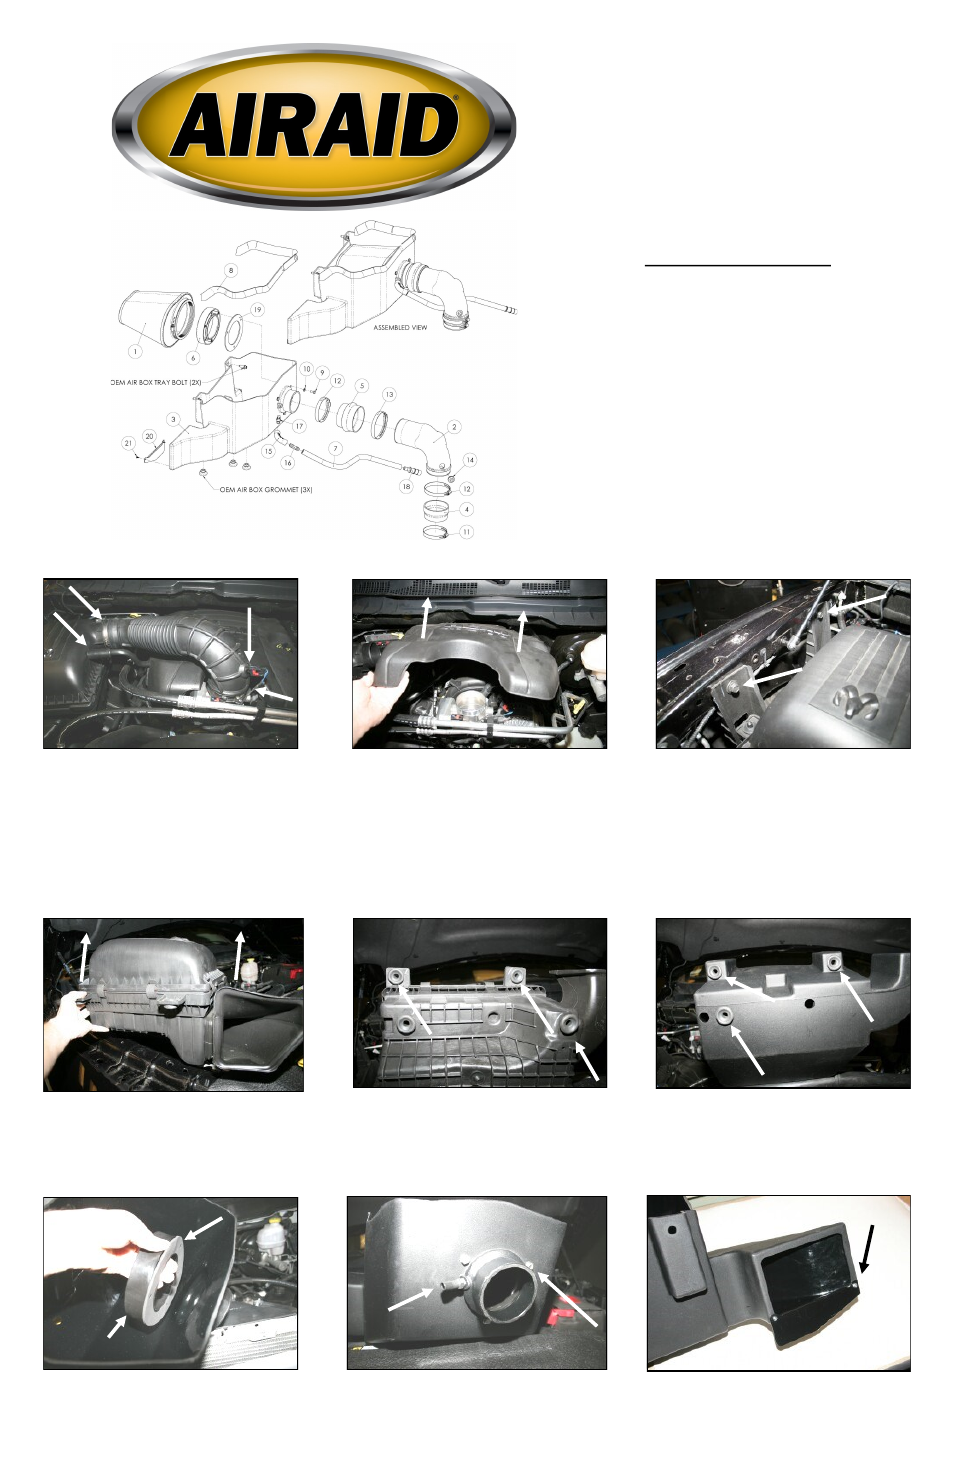
Airaid 300-237 User Manual
Installation instructions, Component identification
2. Lift up the front of the engine beauty cover, and
then pull it towards you to remove it from the vehi-
cle. It is only held in position by rubber grommets.
3. Using a 13mm socket, remove the two bolts that
hold the air cleaner mount to the inside right fend-
er. Save them for reinstallation in step #10.
4. Rock the airbox back and forth as you are lift-
ing it straight up to remove it from the vehicle. It is
only held in by grommets.
5. Remove and save three grommets from the bot-
tom of the factory airbox. They will be reused in
step #6.
6. Install the three grommets removed in step #5
into the bottom of the Airaid Cool Air Box (CAB)
(#3) at the locations shown here.
7. Install the adapter gasket (#19) and filter adapter
(#6) into the CAB using three 1/4-20 x 5/8” bolts
(#9) and flat washers (#10) as shown. Refer to the
line drawing above for reference.
8. Install the 1/4” NPT x 1/2” barbed fitting (#17)
into the filter adapter as shown.
1. Disconnect the negative battery cable!
Locate the temperature sensor on the air intake
tube. Slide the red tab, squeeze the black tab on the
electrical connector, and then disconnect the tem-
perature sensor wiring harness. Now carefully,
remove the sensor from the tube using a slow cir-
cular motion. Save the sensor for reinstallation
later. Disconnect the crankcase breather tube from
the air filter box. Loosen one hose clamp at each
end of the air intake tube and remove it from the
vehicle.
Installation Instructions
For Part Numbers:
300-237
720-476 Airaid Oiled Media Filter
301-237
721-476 SynthaMax Dry Media Filter - Red
302-237
722-476 SynthaMax Dry Media Filter - Black
303-237
723-476 SynthaMax Dry Media Filter - Blue
2009-12 Dodge Ram 1500/2500/3500
5.7L V8
Gasket
Filter Adapter
1/4” Bolts From Step #7
Fitting
Component Identification
1.
Airaid Premium Filter
1
2.
Airaid Intake Tube
1
3.
Cool Air Box
1
4.
Silicone Reducer Coupler
1
5.
Silicone Hump Hose
1
6.
Filter Adapter
1
7.
1/2” x 22” Breather Hose
1
8.
Weather Strip 33”
1
9 .
1/4-20 x 5/8” Hex Bolt
3
10.
1/4” Flat Washer
3
11.
#52 Hose Clamp
1
12.
#60 Hose Clamp
2
13.
#64 Hose Clamp
1
14.
Grommet
1
15.
1/2” x 90° Elbow
1
16.
1/2” x 1/2” Barbed Connector
1
17.
1/4”NPT x1/2” Barbed Fitting
1
18.
1/2” x 3/4” Barbed Connector
1
19.
Adapter Gasket
1
20.
Air Scoop Panel
1
21.
#8 x 3/8” Pan Head Screw
2
Temperature Sensor
9. Install the air scoop panel (#20) onto the scoop of
the CAB using two #8 x 3/8” self tapping screws
(#21) as shown.
Air Scoop Panel
Full color instructions can be viewed on our web site at Airaid.com. Use the Product Search function to find your part number, and click View Details.